Going tubeless? Here are a few tips and tricks
Ditch the tubes to enjoy comfort and reduced rolling resistance
by Nick Di Cristofaro
Modern cycling technology can sometimes be overwhelming, especially when it comes to the recent trends in wheel and tire design. One trend that has become more prevalent is the usage of tubeless tires and wheels. This isn’t “new” technology but over the last few years, many tire and wheel manufactures have started to introduce tubeless more often.
With the popularity of wider tires and gravel riding these days, tubeless has become the more logical choice. Since there is no tube inside, pinch flats are virtually eliminated and you gain the ability to run lower air pressures. These two reasons alone are why the popularity has increased for CX/gravel and MTB. However, the skinny tire road rider can also benefit from going tubeless.
One of the main benefits of riding tubeless on the road is less rolling resistance; this means more speed for less effort when compared to the traditional clincher tire/tube set-up. Since clinchers have a tube inside, friction between the tube and tire actually create a little more resistance. Though the difference is marginal, it’s enough to convince many to convert.
The ability to run lower air pressure without the risk of pinch flats while not suffering a performance loss is also a big plus of going tubeless. You can usually run 10-20 PSI lower then you normally would in a tubeless tire and reap the benefits of less road vibration and increased comfort.
With all these pros comes a few cons as well. Sealant can be messy, installs can be sometimes difficult and leaking can occur if not properly set-up. However, if you follow some of these tips, you’ll be rolling more efficiently in no time!
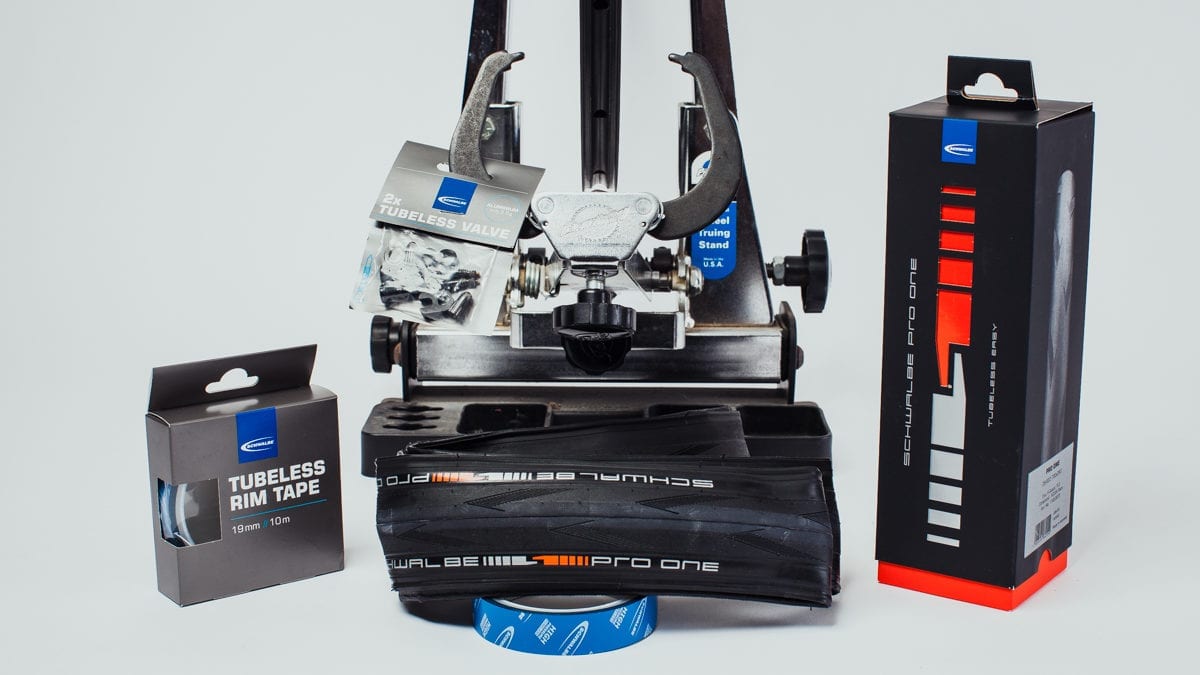
Tubeless tips and tricks
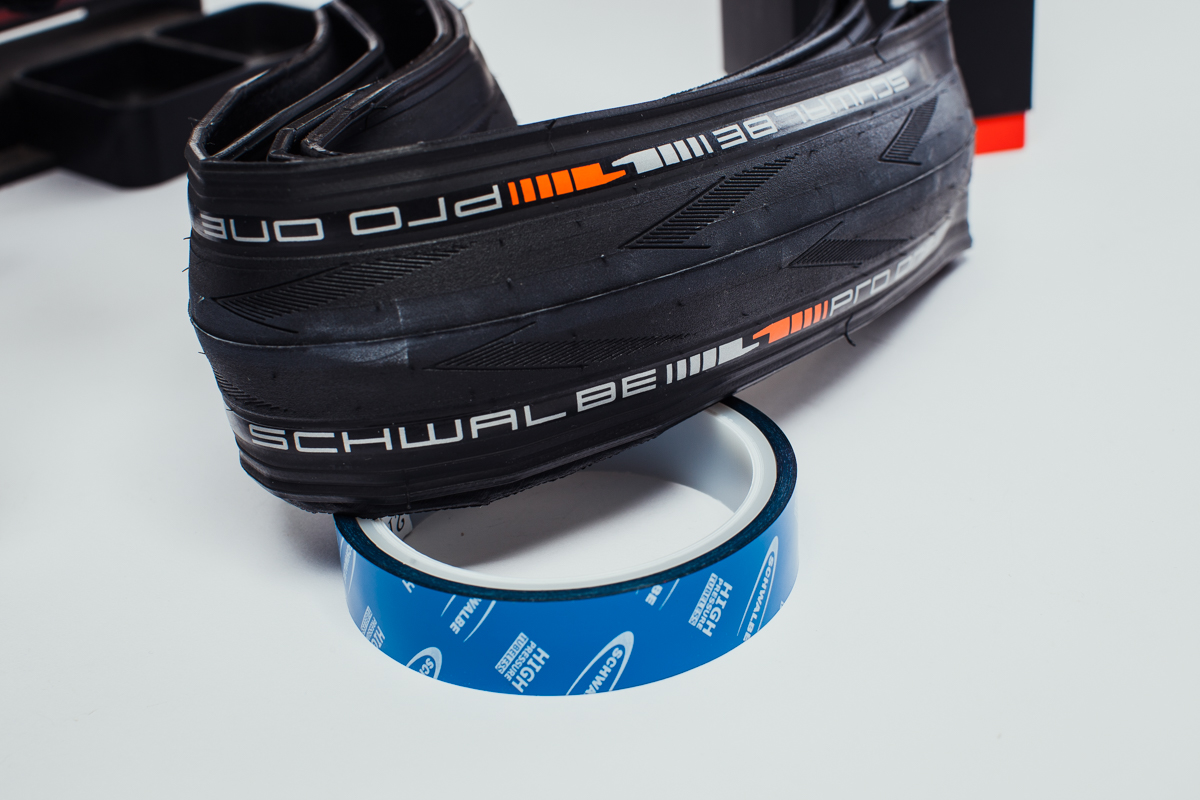
1) Make sure to choose the right tire/rim. Don’t ever try to set-up a clincher tire “tubeless”. The design in the bead of the tires differ significantly and tubeless tires have a much stiffer bead to be able to form an air tight seal on the rim. Trying to run a clincher tire tubeless could possibly blow the tire off the rim so I do not advise trying this at all. Always use a tubeless specific tire and rim. The beauty of tubeless is that you can go “backwards”. You can use a tube in a tubeless tire/rim to get you home if you get a flat and the sealant inside did not seal the hole. This is rare, but can happen.

2) If you can, choose a rim that is “solid” inside, meaning that there are no spoke nipple holes. This eliminates the need to tape the rim to seal the inside of the rim. No tape = less places for air to leak.
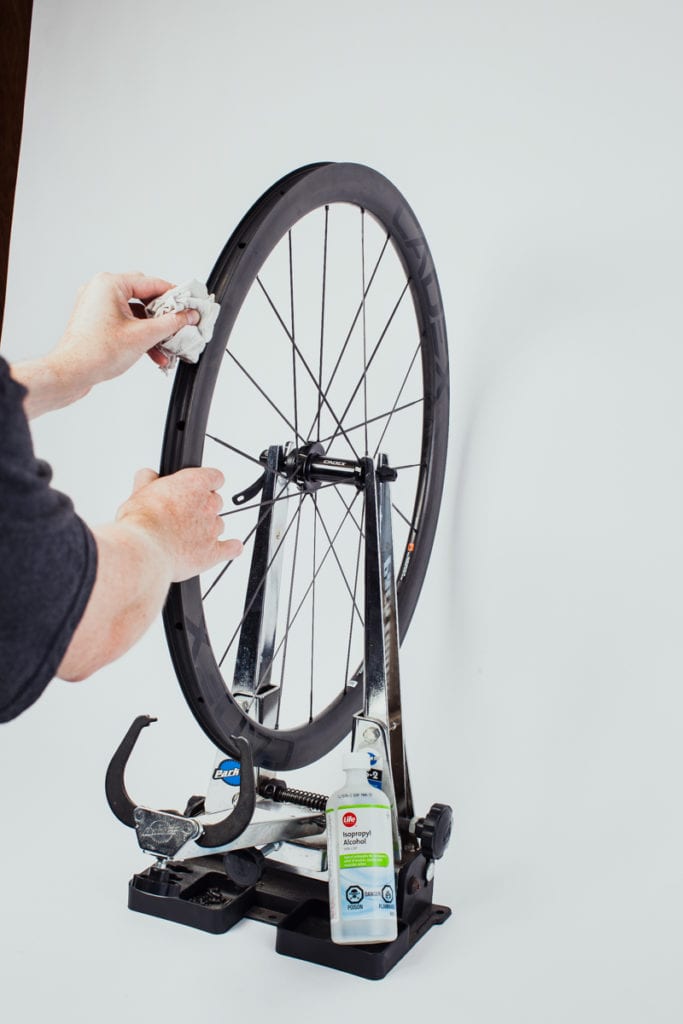
Clean the rim surface with rubbing alcohol before installing tape
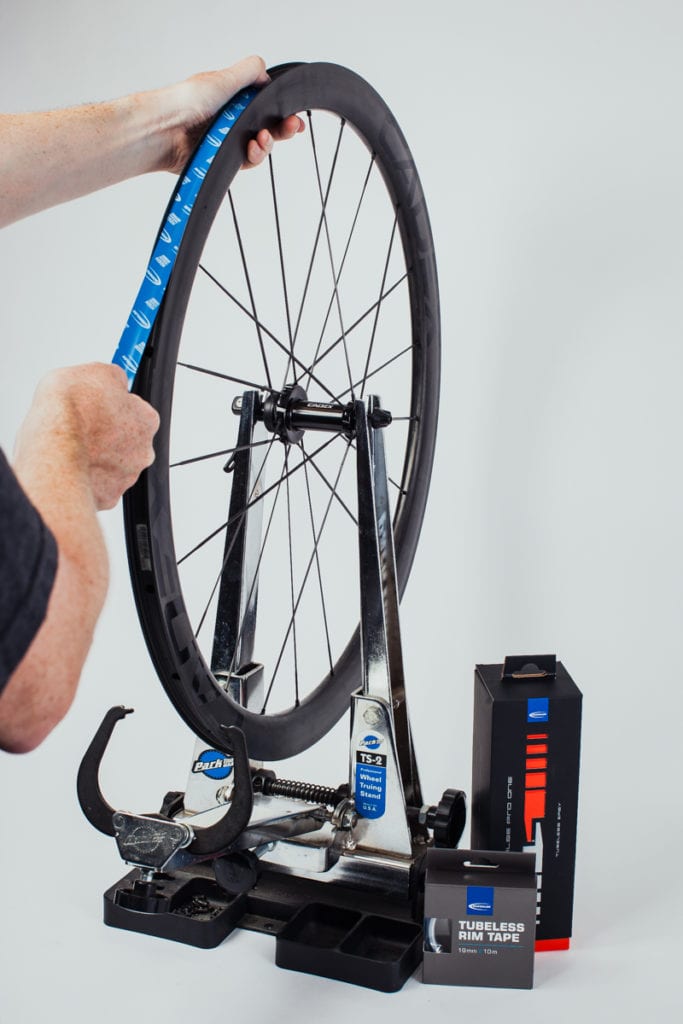
Install the appropriate width of rim tape securely


3) If you have a rim with nipple holes, be very vigilant in your prep of the rim prior to taping it. If the rim is not totally clean and dry (inside and out) the tape will not adhere properly and you will get leaks. Clean up any old glue residue and old sealant and make sure there is no liquid inside the rim. Clean the rim with alcohol or contact cleaner that leaves no residue.
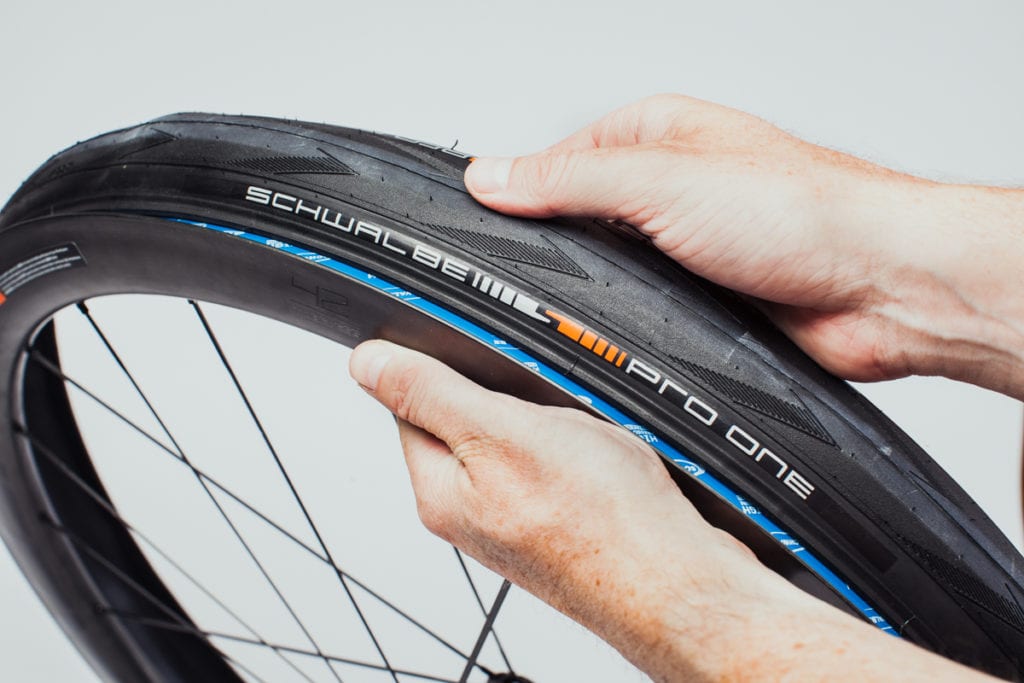
Install the first bead in the centre of the rim to allow for easier seating
Use two hands and seat the tire bead in rim


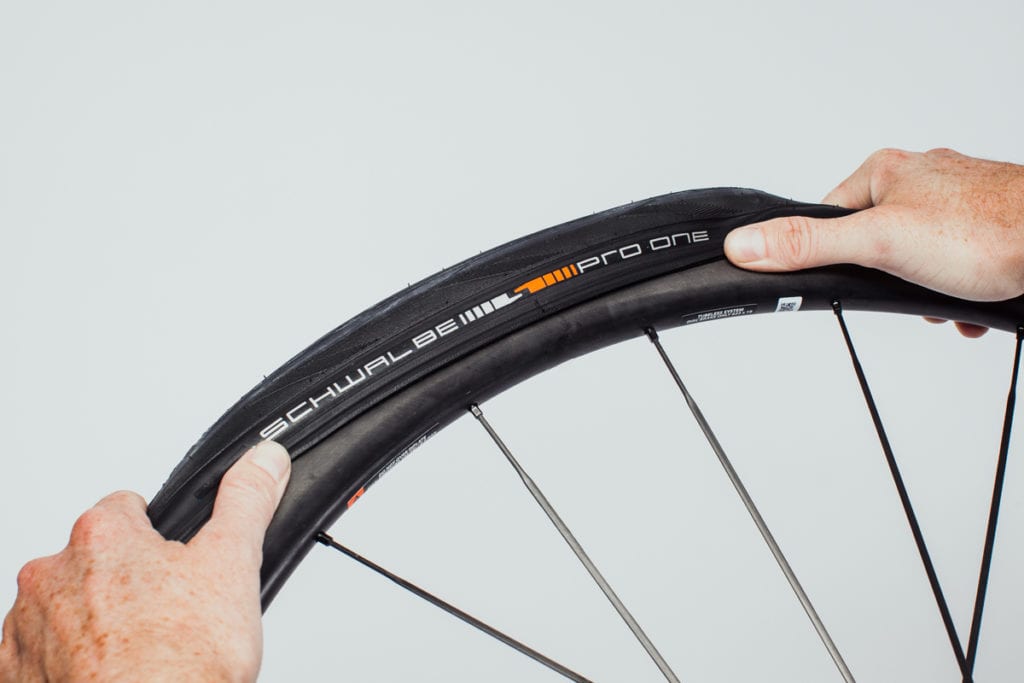
4) If you are having difficulty getting the last bit of tire bead onto the rim; make sure that the opposite side is in the center of the rim in the recess and not on the edge of rim at the sealing edge. This is near the rim diameter is at its smallest so getting creating more space for you to “stretch” the last bit of the bead over. I have seen countless riders struggling to get a tire on (both tubeless and clincher) only to walk over and push the tire into the center of the rim and then proceed to push it on effortlessly with my hands.

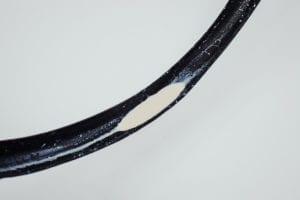
The appropriate amount of sealant protects against losing air but remains neat and tidy
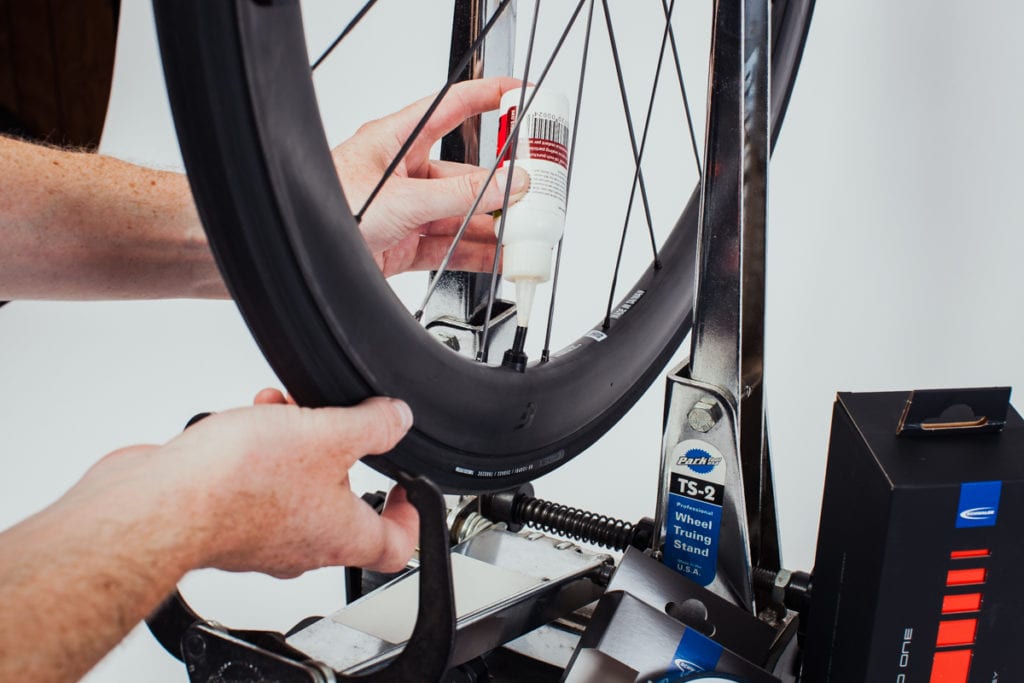
Fill tire with sealant via the valve. Remove valve core for easy access.
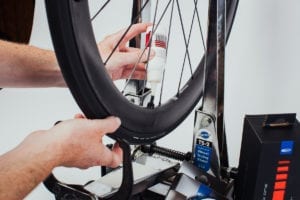
5) Don’t over do it with the sealant! You really don’t need that much for a 25c-ish tire. 30-50ml is all it takes. I’ve seen lots of people pouring too much in, all that does is create a mess and increases weight. Use a valve stem with a removable core and buy a cheap syringe, that will also act as a measuring tool, to inject the sealant into the tire via the valve stem. Some sealant manufactures actually make nice syringes that screw into the valve stem. They are really not that expensive and make the sealant application much more easier.
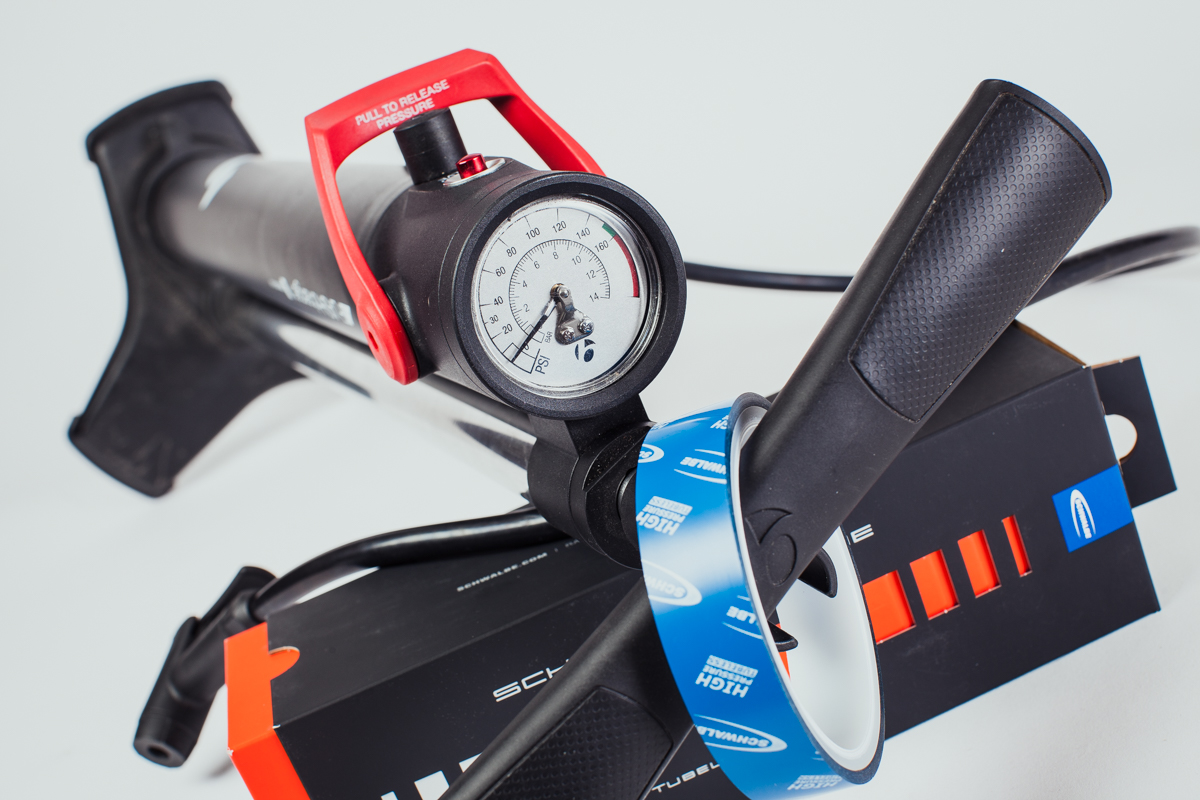
6) Invest in an air compressor or tubeless pump. One dreaded fact of installing tubeless tires is that sometimes they can be difficult to inflate. Having a good “shot” of air to blast the tire onto the rim makes life easier. A tubeless tire pump achieves this by allowing you to pump up an air canister built into it and then releasing the charge of air all at once (an air compressor will do this job better won’t be as portable as the pump).