Beginner’s guide: dropper posts
What to know, when to use them and other questions about adjustable-height seat posts
If you were looking for the single biggest change in mountain bikes in the last 10 years, there’s a solid argument that dropper posts would be it. They’ve changed how people ride their bikes and freed up designers to make bikes more capable, across the board.
Dropper posts have existed for over a decade, quickly gaining acceptance in gravity disciplines like enduro. In the last few years, they’ve become near-ubiquitous on all kinds of bikes, even making appearances on most cross country race bikes at this point. They’re crossing the boundary to drop bars, too, making their way onto some gravel bikes.
But why are they so popular? What do you need to know about them and when should you use one? Here’s our beginner’s guide to dropper posts.

By the numbers: What you need to know
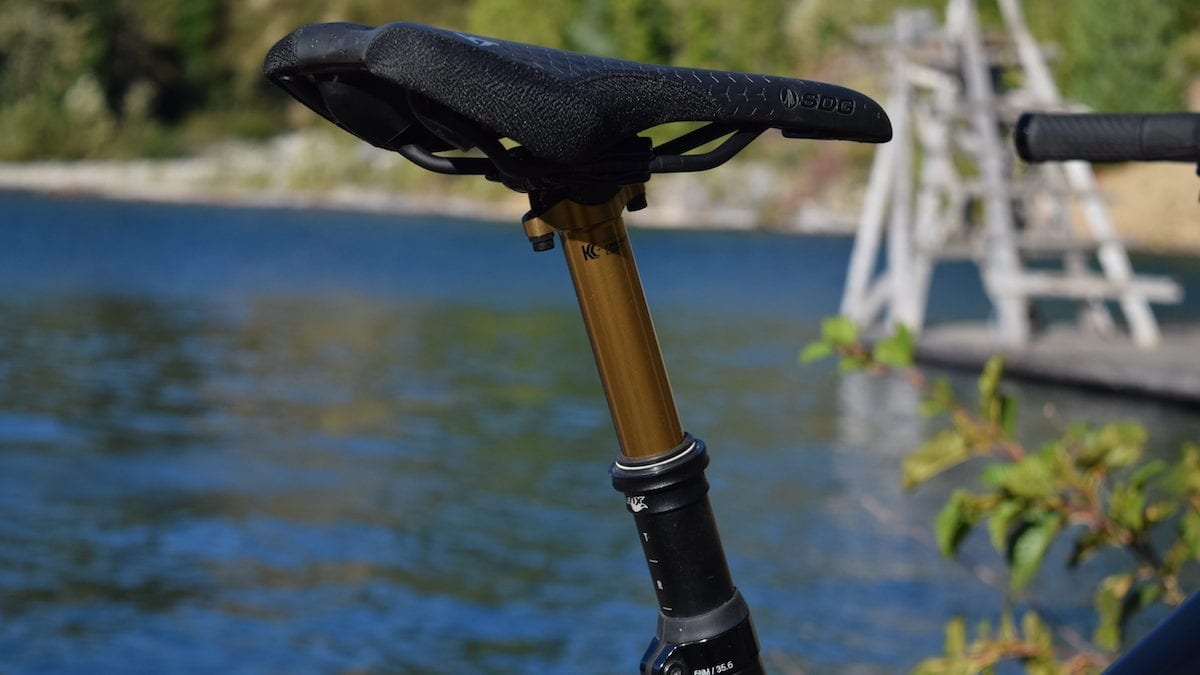
Like any component in mountain biking, there are a few important measurements to know before buying any dropper post. There are four main standards for seat post diameter used for dropper posts: 27.2, 30.9, 31.6 and, newest, 34.9mm. The latter was introduced in part to make longer travel posts more reliable.
Dropper posts come in a wide range of travel options. From the 60-mm DT Swiss D232 post all the way to 210-mm. Some posts now come with adjustable travel, too. Shorter travel posts tend to appear on more cross country bikes while the long posts are longer travel, more gravity-focused bikes.
The varying travel numbers mean dropper posts also have different insertion lengths – the distance the post must be inserted into the frame. Insertion length also varies by brand, as different companies use different designs and mechanisms. So two 125-mm-travel posts could have different insertion lengths if they’re from different brands. Knowing how long your post is is important as many mountain bikes have curved or interrupted seat tubes that limit how far into the frame a post can be inserted.
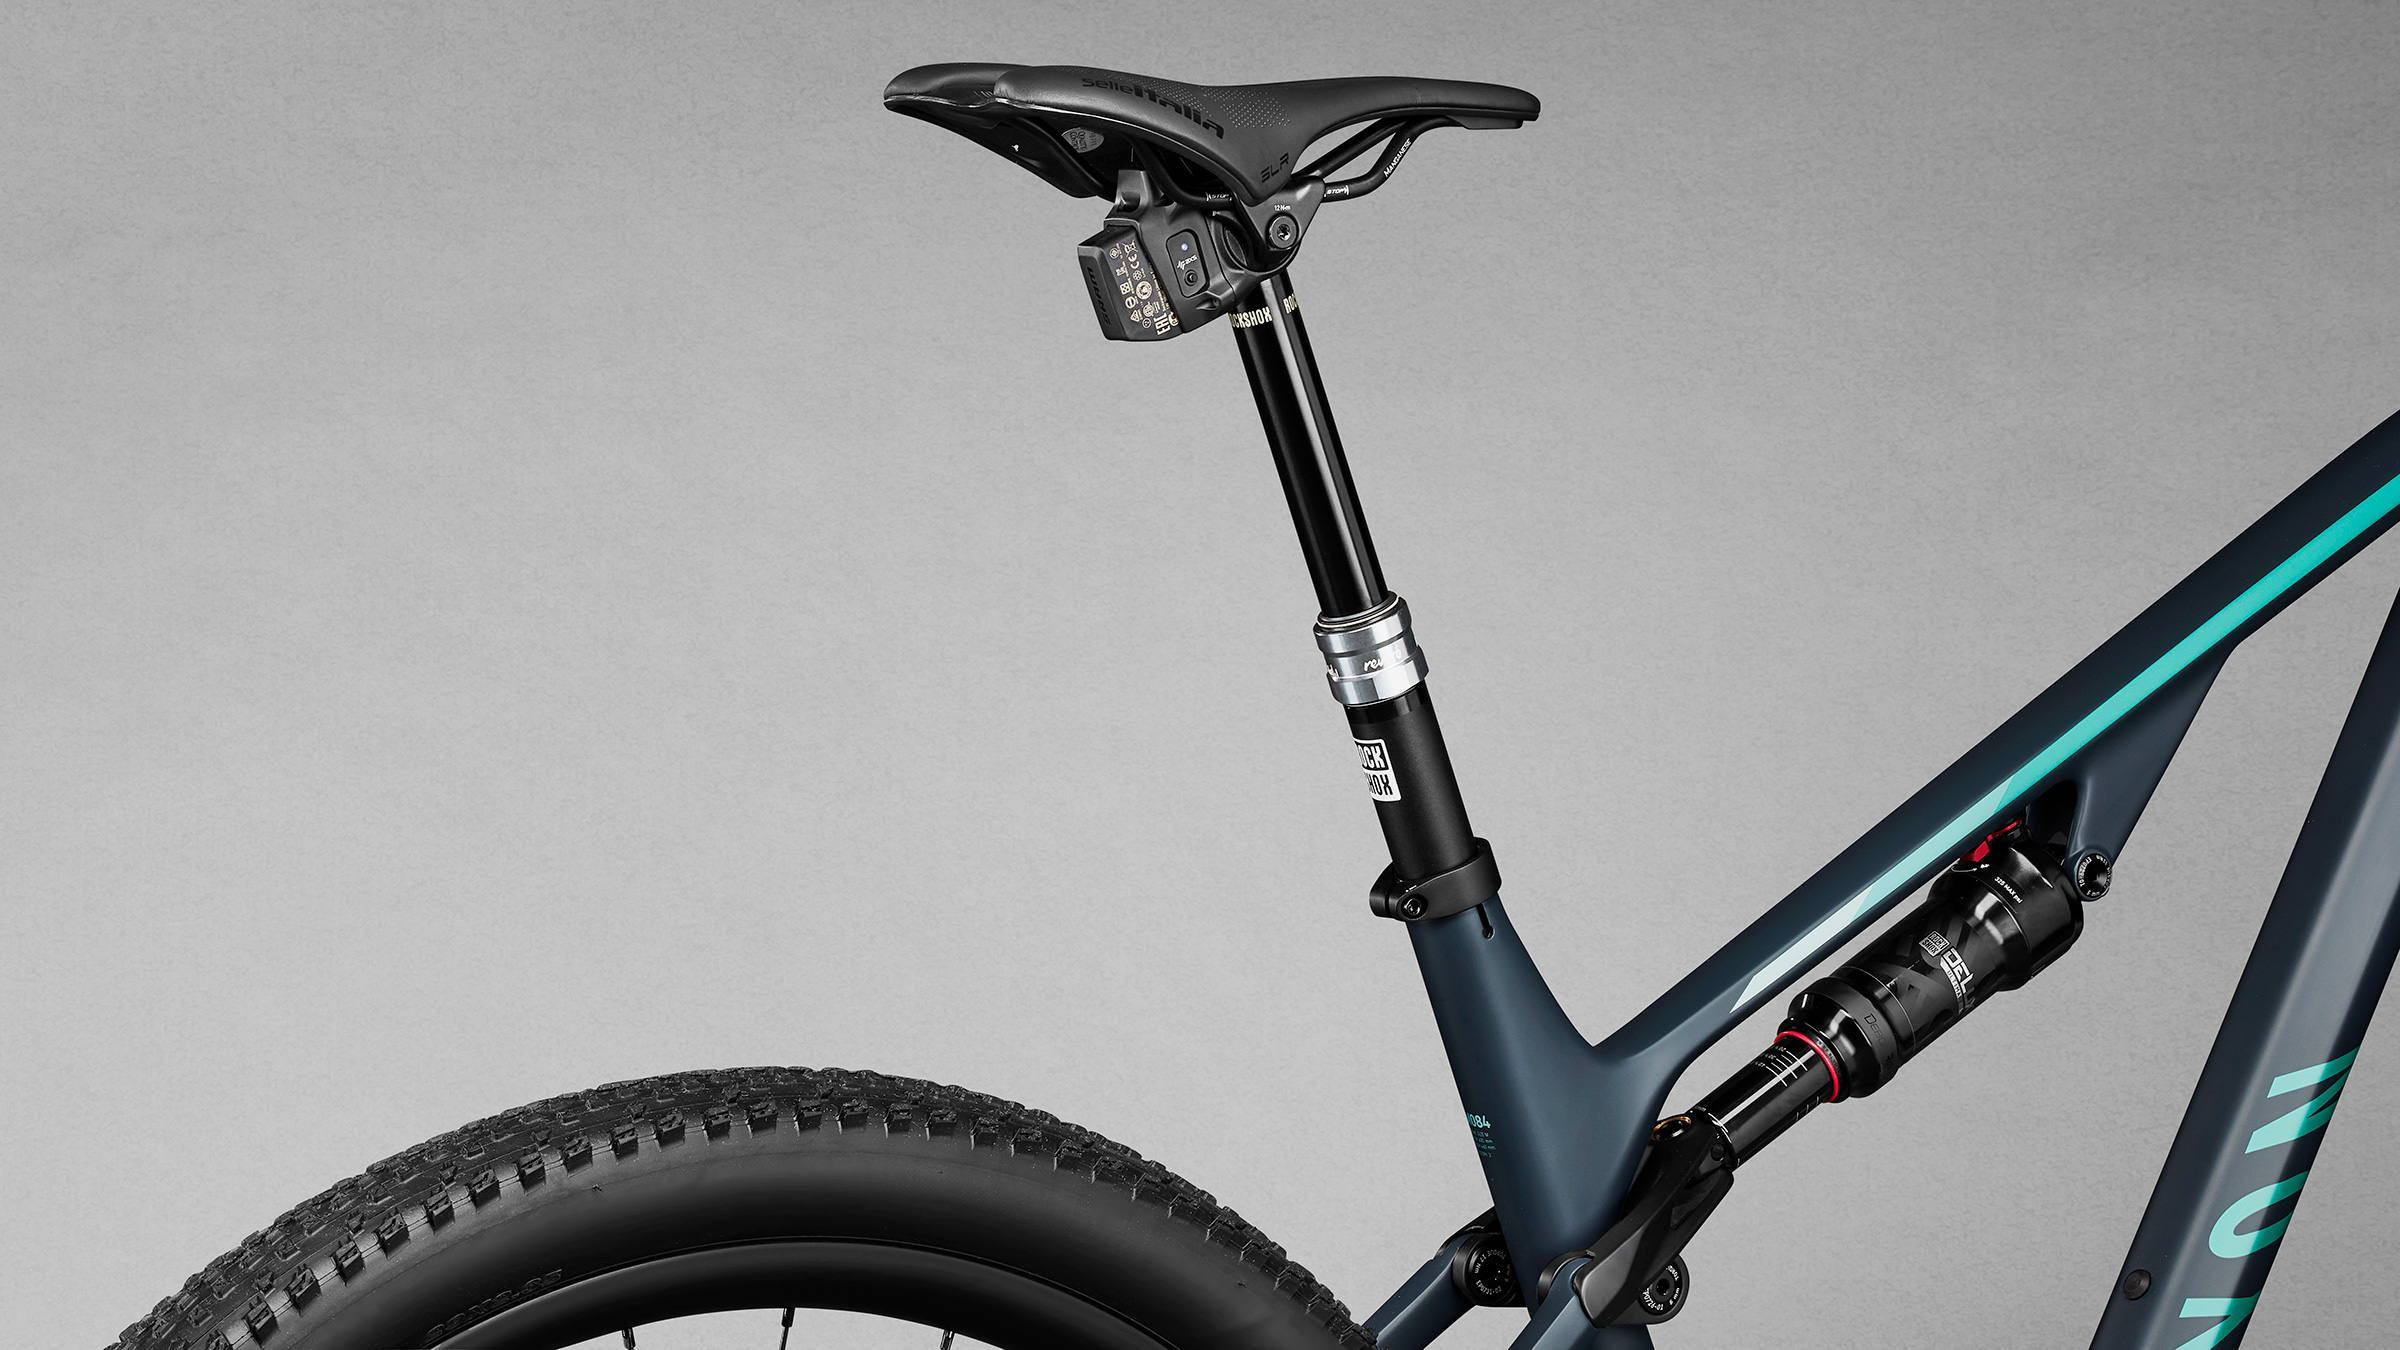
Dropper posts also have different cable routing options. Early models were mostly externally routed, meaning the cable to actuate the post ran outside of the frame. Most new posts are internally routed, with the actuator cable running inside the seat tube. Older bikes may not have a frame port for internal routing. This leaves riders with the choice between externally routed posts or the newest option: electronic dropper posts. RockShox AXS post is the most common, but not the first to use wireless remote, similar to its wireless shifting.
Which is right for me? picking a dropper post
There are two main considerations when picking a dropper post. One is fit. The other is intended use. Intended use has plenty of leeway, and is more about personal preference. Fit is trickier and can involve math.
There’s no hard and fast rule for intended use. But cross country riders generally prefer short travel posts, 60 to 125-mm. Longer travel bikes, whether enduro racers or just trail bikes, tend to prefer long travel posts in the 170-210mm range. There are a few reasons for this. Shorter posts are lighter, which is still an important factor in XC racing, and the type of terrain cross country races happen on means you don’t need as much of a change in seat height to get the benefit of a dropper post. At the opposite end, enduro racers want the most travel so they get the efficiency of full seat height on long transfer climbs but the full mobility that comes with the seat as far out of the way as possible on descents.
Between those two extremes, it’s largely a matter of preference. If you spend a lot of time descending, especially on steeper trails, longer travel is nice. At the other end, many riders like the lighter weight of shorter travel posts and the familiar feeling of having your seat in a similar place.
Will your frame fit a dropper post?
Fit is more finicky. Along with choosing the correct seat post diameter, you have to make sure the post you choose will fit in your frame. If your frame didn’t come with a dropper post, or if you want to replace yours with a different post, you’ll have to make sure there’s enough room in your seat tube to fit the new post and still get to your ideal seat height.
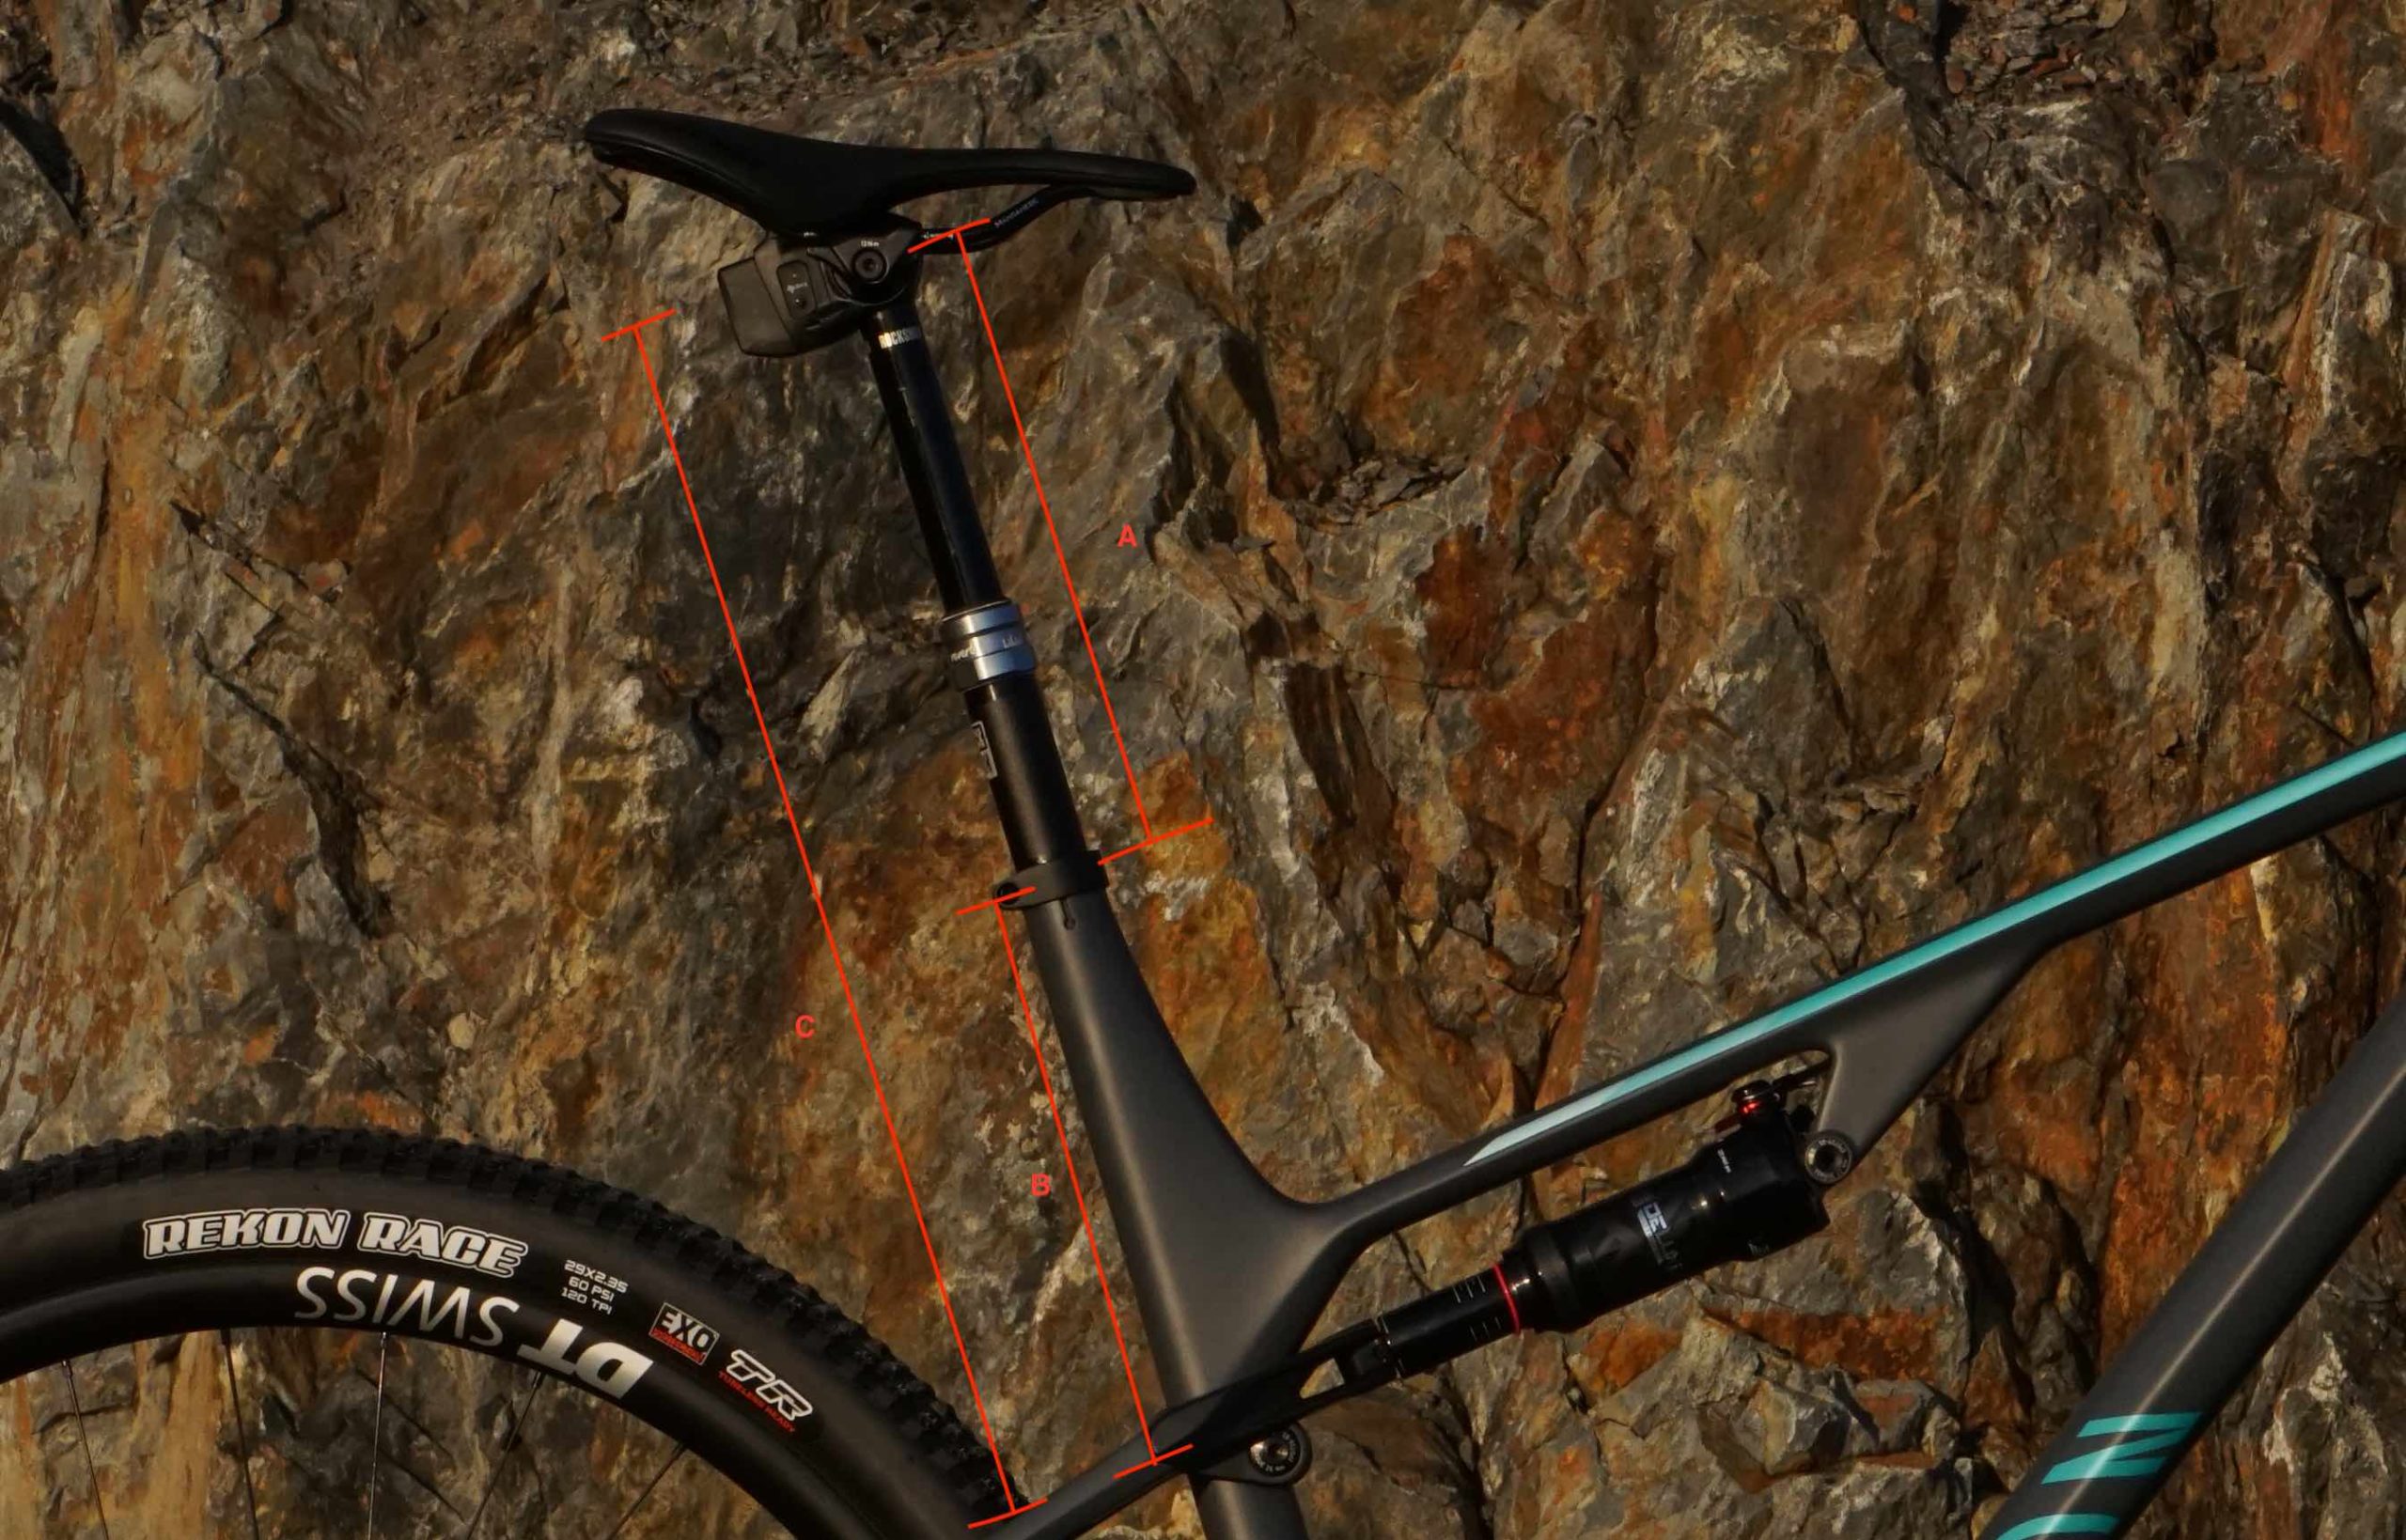
To see what your bike will fit, you need three measurements. First, maximum insertion (B), or the distance from the seat collar to the first obstruction in the seat tube. That could be a bend, a pivot that interrupts the tube, or a water bottle boss. Second, your seat height at full extension (A), from the top of the seat collar to the seat rails. Third, maximum total length (C), the combination of those two numbers. If the post matches those numbers, it should be good to go.
Full extension is the sum of post-travel, post collar, and seat post head height, not just travel. That means that if your normal seat height leaves you with a full extension length (A) of 150mm, your maximum travel will be less than 150mm since you still need to fit the post collar and post head between the seat rails and seat post collar. There are a few common problems to watch for, where these numbers become important. These include tall seat masts, which leave you with a shorter full extension length, or short or interrupted seat tubes which can result in shorter maximum insertion lengths.

Beginner’s guide: Why (and when) to use a dropper post
Dropper posts are a complicated way to do a simple thing: lower your seat post. Why? It gives you more room to lower your center of gravity and to move around on the bike on descents. With the post low, you don’t get stuck behind your seat post on descents like on old-school XC bikes. And you get all this without giving up the climbing efficiency of a full-height post.
Before droppers, the options were to stop at the top and bottom of every climb to drop and raise your post, or just deal with high-posting down sketchy descents. Dropper posts let you do that with the push of a lever while you’re still riding. They also give you precision in setting your max seat height, instead of guessing every time you change your post-height.
Lowering your post frees you to move around on the bike and get low on descents, through corners or while jumping. It just makes riding easier and more fun in general, no matter what kind of bike you’re on. There’s more to droppers than up and down, though. Many are infinitely adjustable, so you can get creative with how you use them. Leave them all the way up for smooth climbs. Drop it a little for technical climbs. Drop a little more to stay smooth on rolling terrain. Then drop it all the way for the steepest, sustained descents.