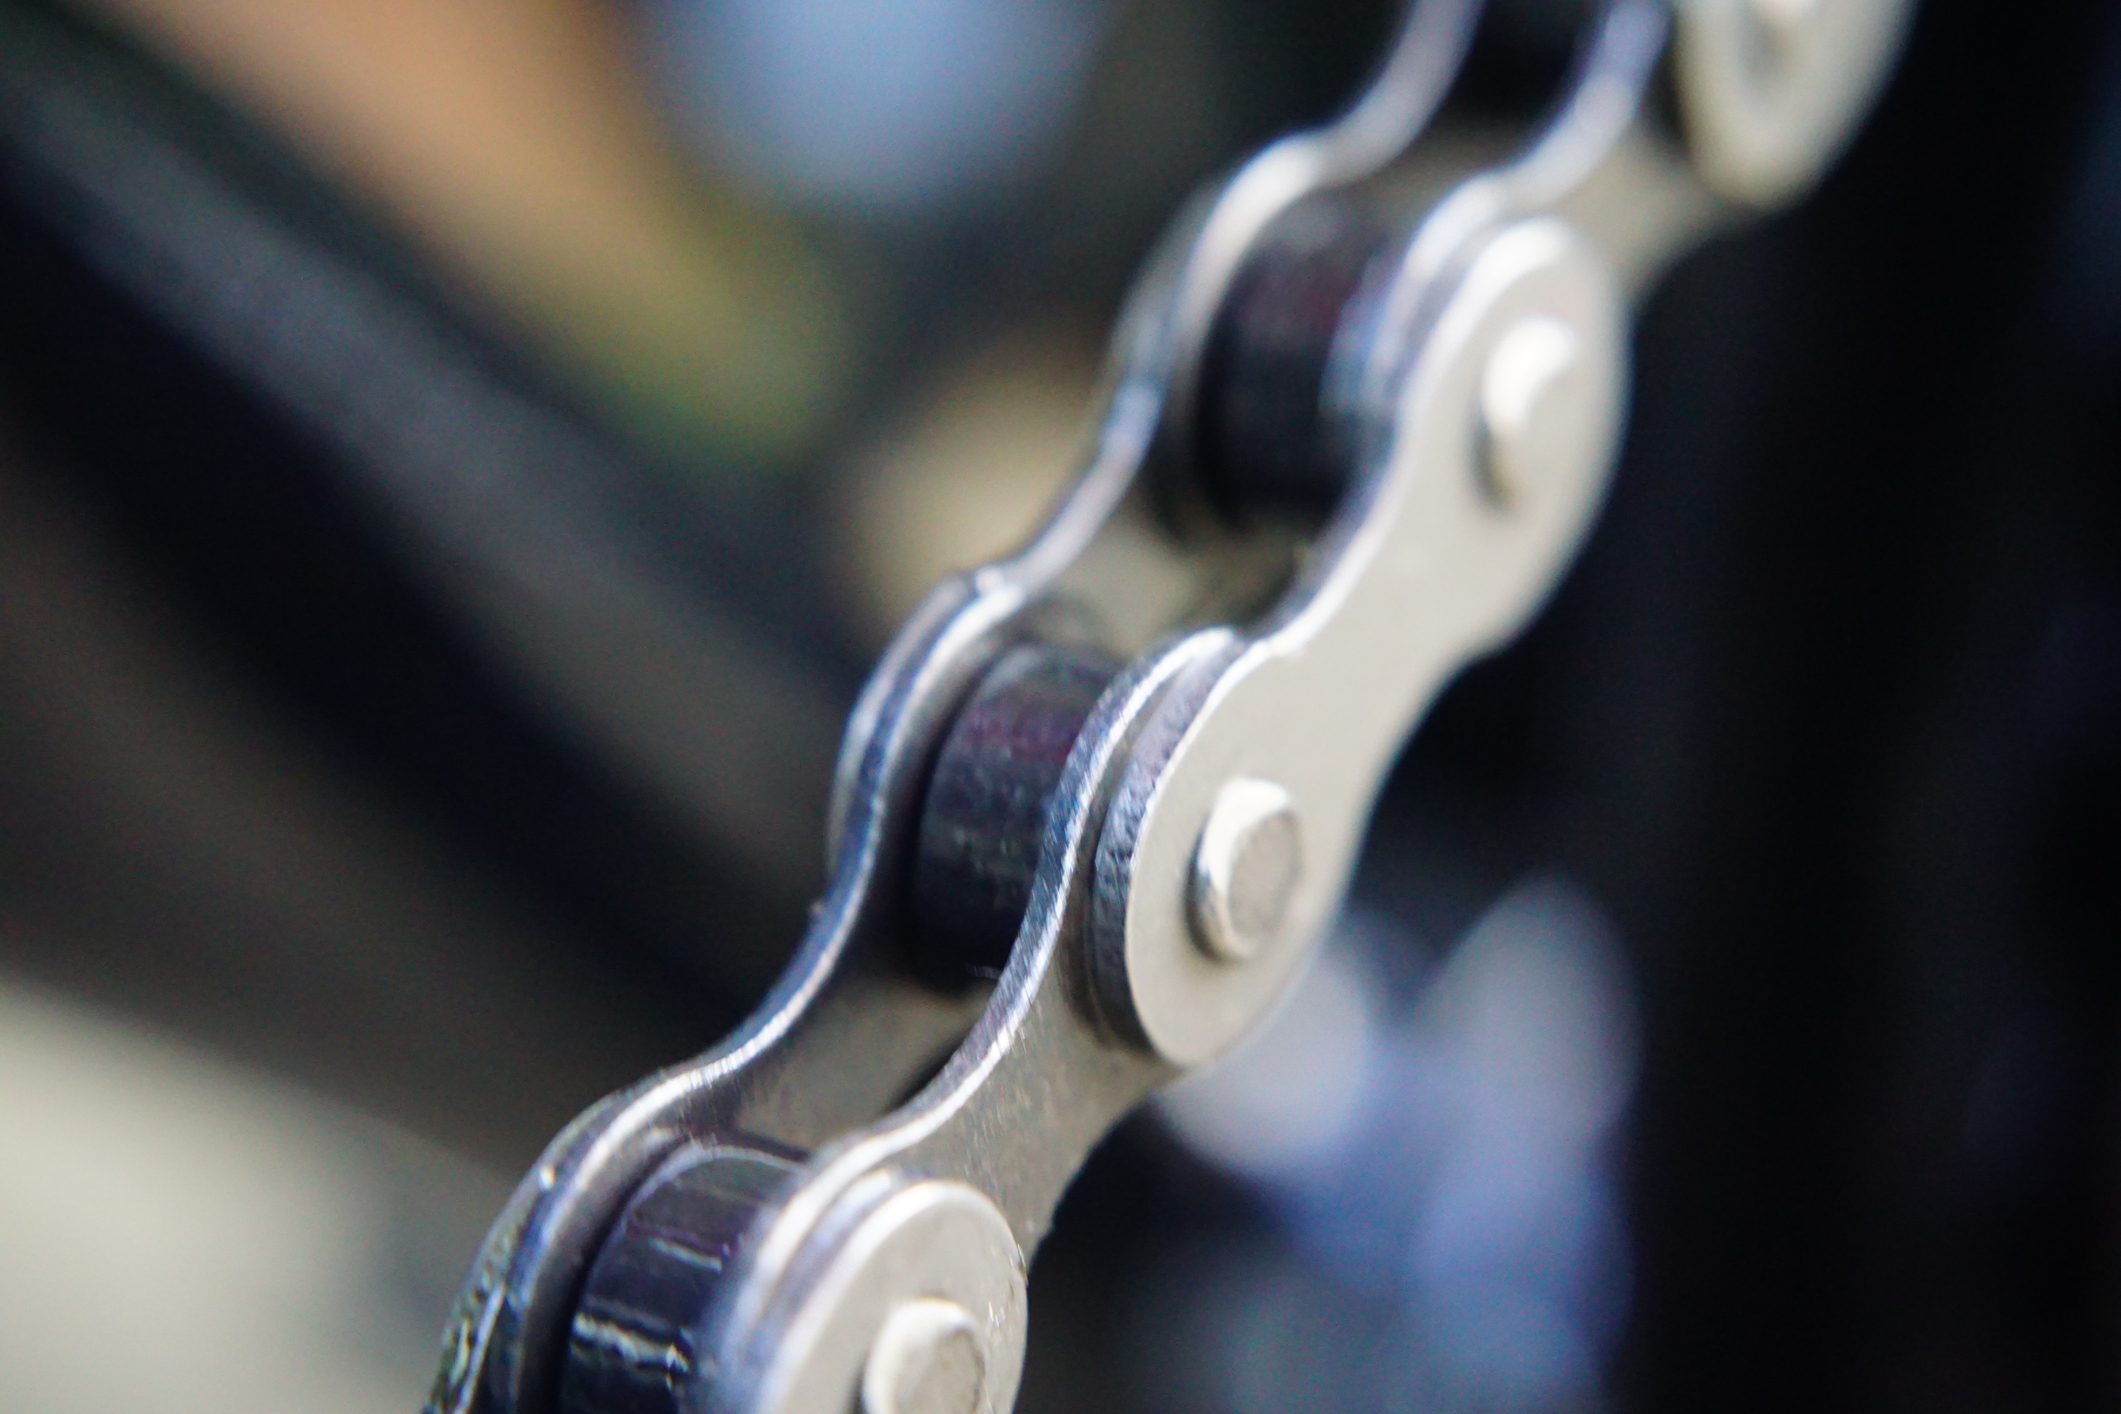
How to size a chain correctly
Keep your drivetrain working at its best with the right length of links

by Nick Di Cristofaro
You have to keep a close eye on your bike’s chain. It wears and you have to replace it regularly. Chains come in many different types, configurations and widths. There are also myriad crank and derailleur combinations, so sizing the chain to the correct length is extremely important for drivetrain longevity and shifting performance. If you install a chain too short or too long, you can affect performance. You could also have a safety hazard beneath you.
There are essentially two types of connecting methods for multi-speed chains: quick links and rivet pins. A quicklink chain uses two removable outer links to connect the chain. A rivet-pin chain uses a special pin to connect the chain. There are also master-link chains that use a link, outer plate and circlip to connect the chain, but these are mostly for single-speed setups. Here, I’ll focus on multispeed chain sizing.
When you are installing a new chain, you might not be able to use you old chain to help you set the right length. Maybe you added a new cassette with a wider range of cogs. In that case, you’ll likely need a longer chain. I always recommend going with a new chain rather than trying to add new links to an existing chain that is already worn.
First, see if your current chain is the correct length. Shift into the largest chainring and largest cog. You should be able to make the shift to the largest cog easily. You should also see two slight bends at each jockey wheel of the rear derailleur. If the chain is too short, this shift is difficult to make and the derailleur cage is stretched out and almost parallel to the chainstay. If the chain is really short, then you might not even be able to shift into the largest cog. Then, if you shift into the smallest chainring and smallest cog and if the rear derailleur pulls the chain back so far that it comes in contact with itself, the chain is too long.
Before you remove the chain, make sure it’s on the small chainring and smallest cog. Take out the rear wheel to release the chain tension. Next, push out a pin using a chain tool. Or remove the quick link with special link pliers or with needle-nose pliers. Using the specific link pliers makes this job much easier.
If the chain is the correct length, you can cut the new chain to the same length by counting links and placing the old chain next to the new chain on a long bench. I find this method both cumbersome and time consuming. I like to just remove the old chain, then install the new chain and size it on the bike to make things much quicker. I use the small/small method for most double-chainring setups.
With the chain threaded through the rear derailleur, and around the smallest cog and small chainring, pull both ends of the chain together until you get some tension in the rear derailleur cage. This is the point at which you want to cut the chain. You should have approximately 10 mm of clearance between the chain wrapped around the upper jockey wheel and lower run of chain. Ensure you cut the link with one “wide” and one “narrow” end remaining, if you’re using a pin. Make sure the chain has two “narrow” ends if you’re using a quick link.
For 1-by systems without rear suspension, the chain must be a little shorter in the smallest cog for the derailleur to tension the chain sufficiently. To measure the chain, wrap it around the chainring and the largest cog, but bypass the rear derailleur. Make sure the chain is engaged fully on the teeth of the largest cog. Pull the chain tight. Engage the closest pin to where the two ends could be joined on the chainring. Make sure to match inner to outer plates if you’re connecting via a pin. Or, install one half of a quick link if you’re connecting via a link. From this closest chain pin, count four rivets. Cut the chain at this fourth rivet only if it matches the opposite end according to your joining method. If it does not match, then add another rivet. You can also use this method on most double-chainring setups but adding two rivets instead of four. I, however, prefer the small/small method for double-ring setups.
For mountain bikes with rear suspension, you must account the distance between the cassette and front chainring that changes as the suspension moves through its travel. Get you bike on a repair stand. Remove a shock bolt and compress the linkage. Hold it in place by wrapping a toe strap or bungee cord around the rear wheel and the frame. At this point, the cassette cogs and front chainring are the farthest apart. You can now size the chain with the same method as above, adding two to three rivets.
