How to tune your rear derailleur with tools you have at home
Fix that pesky shifting issue without leaving the house
Having trouble shifting between cogs? Is your chain falling off the cassette when you shift? These issues might be due to how your rear derailleur is set up. Luckily, the fix doesn’t require any fancy tools and can be done at home with some easy troubleshooting.
Limit screws and cable tension: The basics
The goal of indexing your rear derailleur is to ensure it will respond to shifts you’re making by moving the chain between sprockets (aka cogs on your cassette) properly. It’s also important that you set the limits on your rear derailleur so that it doesn’t try to shift beyond the biggest and smallest cogs, thus throwing your chain into your rear wheel or off the cassette beyond the smallest cog.
Setting up your rear derailleur consists of two parts: setting your limit screws, and setting your cable tension.
Limit screws determine the full range of motion for your rear derailleur, and prevent your chain from falling off your cassette at either end of the range. This is a crucial part of setup as having your chain get caught up in your wheel can lead to damage to your wheel, frame, or drivetrain and a potential crash. Limit screws are typically labeled as H and L for high and low limit—high limit sets the position for your highest gear (aka smallest cog/sprocket on the cassette) and low limit for your lowest gear (largest cog, which is closest to your spokes).
Setting your cable tension will ensure that you shifting will properly move the chain across cogs on your cassette.
Before you begin
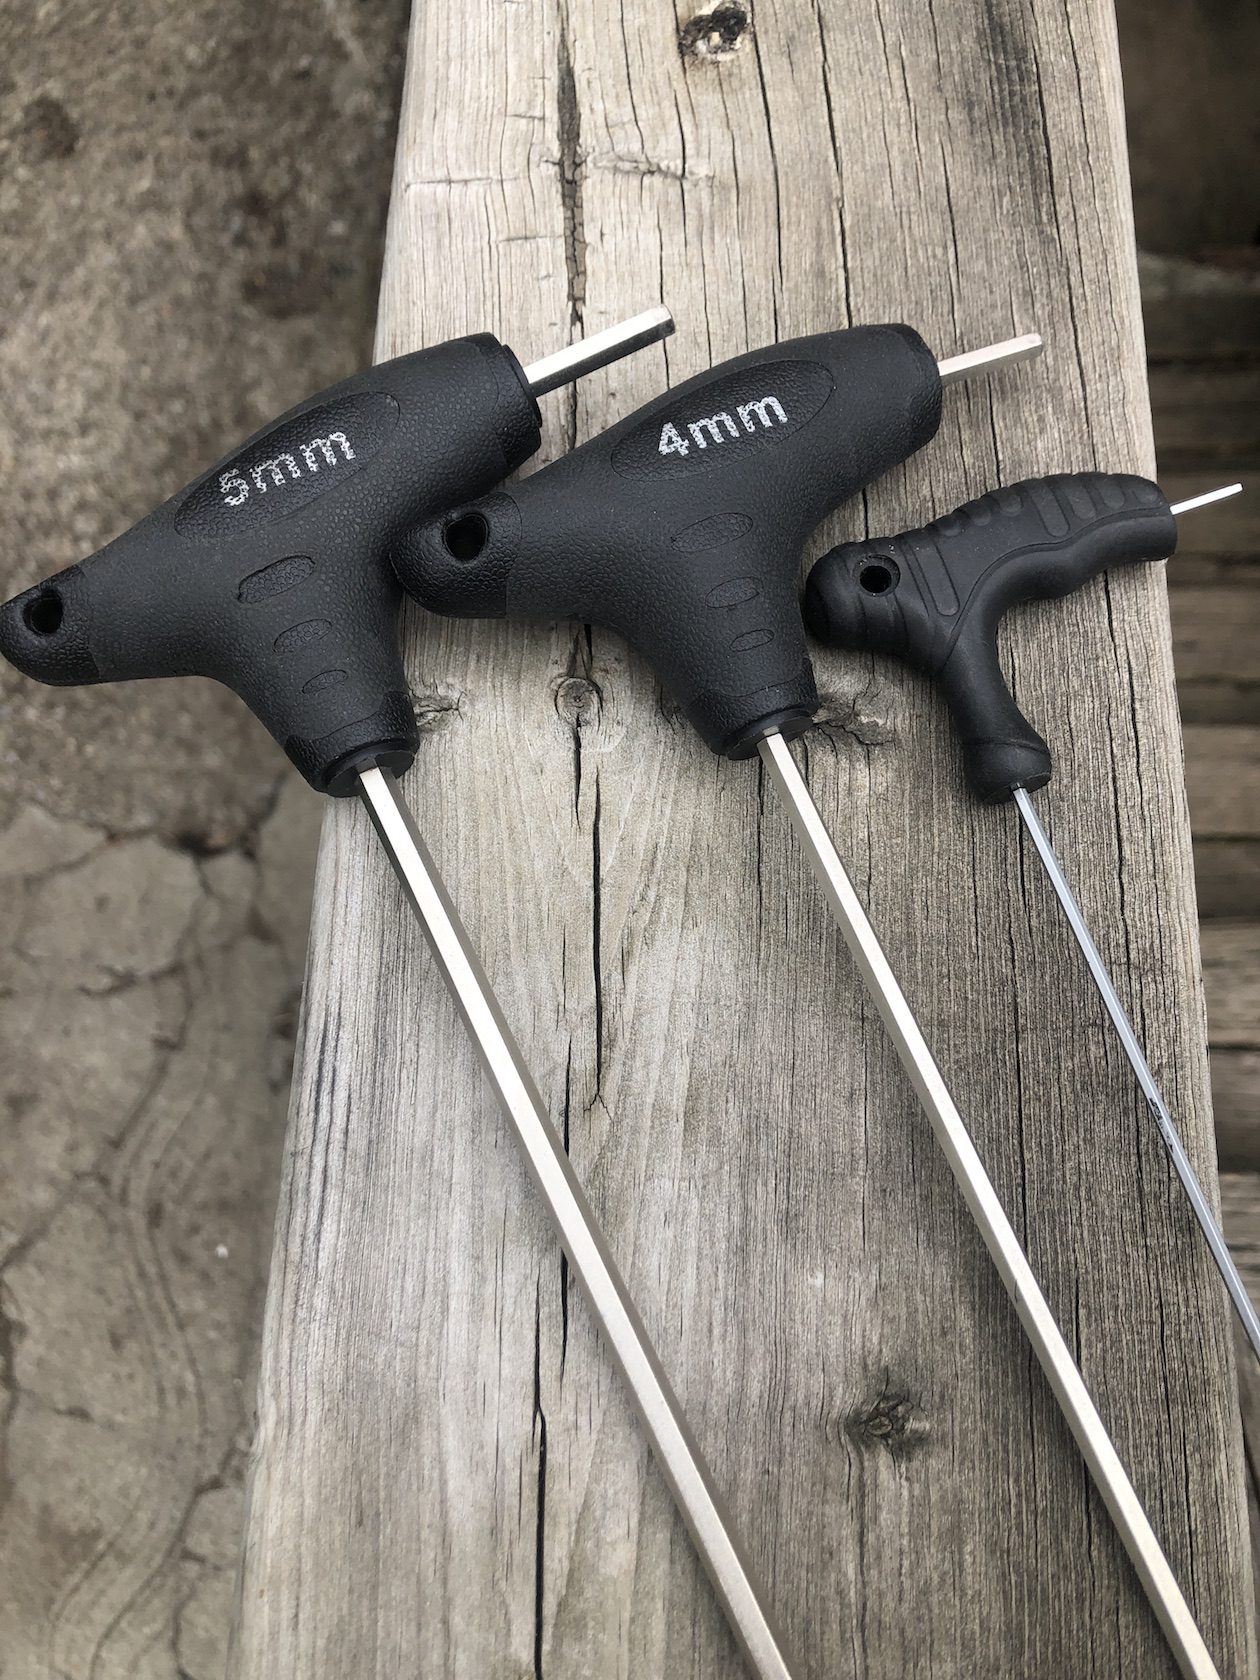
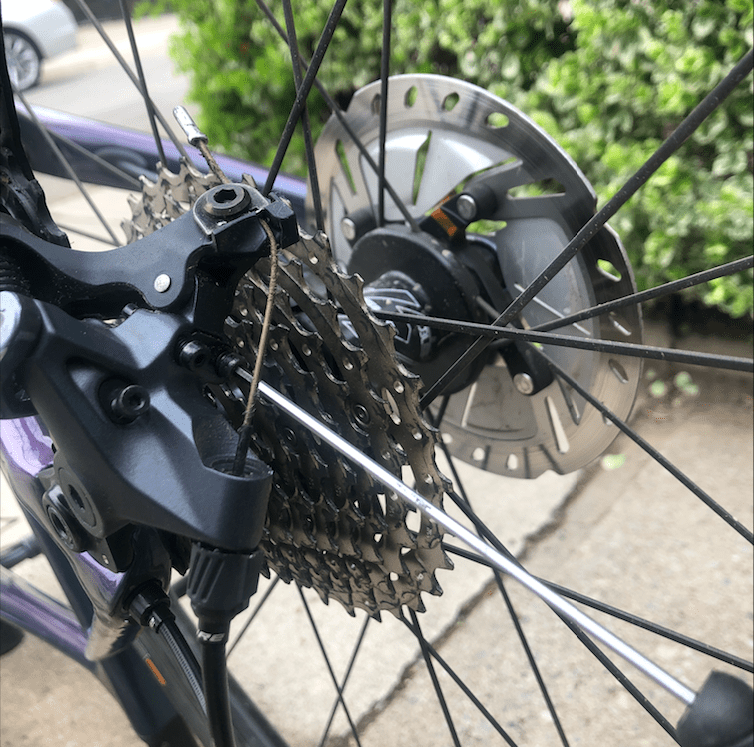
Start by cleaning and doing a visual inspection of your drivetrain/rear derailleur. This is an important first step to be able to troubleshoot shifting problems. Next, make sure that your rear derailleur is firmly attached to the derailleur hanger (the fastening bolt will typically use a 5mm allen key)
Setting limit screws
If your drivetrain was set up properly then it’s unlikely your limit screws are causing your shifting problems. However, if your chain has been falling off the cassette (at either end) then they likely need to be set.
Step 1: Shift into the highest gear (smallest cog in the back, largest chainring in the front if you have a 2x drivetrain)
Step 2: To make sure that the barrel adjuster screw on the rear derailleur is wound all the way in, turn it clockwise by hand until there is no tension being added to the cable. You will add back the tension needed for fast an accurate shifting once you’re sure the limits are set properly.

Step 3: Adjust the High (H) limit screw
While you are in the highest gear (chain as far to the outside as possible), check that the derailleur’s upper jockey wheel sits in-line (directly below) the smallest cog. If it doesn’t, use either a Phillips head screwdriver, a 3 mm allen key or a 2 mm allen key (depending on the make of your groupset) to adjust the screw marked ‘H’ to get it into position. Turning clockwise will push the derailleur closer to the wheel and counter-clockwise will push it farther away. If the limit is set too far outside you might be experiencing chain drops to the outside, whereas the high limit being set too far inside might be preventing you from shifting into your smallest cog.
Step 4: Adjust the Low (L) limit screw
Get into your lowest gear by shifting into your largest cog in the back and smallest chainring in the front. Use your hand to gently push your derailleur towards the spokes – if the jockey wheel is able to move beyond the largest cog and into your spokes then you need to adjust your L limit screw the same way your adjusted your H screw. You want to set it so the jockey wheel sits directly below and in line with the largest cog, and is unable to move further in towards your spokes, when in your easiest gear.
Step 6: Assess your shifting and adjust cable tension as needed
If you don’t have a bike stand, get a willing partner, roommate or child, and have them lift the rear wheel and do the shifting for you. If you don’t have any of these but you have a small tree with sturdy branches, hang the bike by the saddle from a branch and continue working. If you don’t have a tree, assistant or bike stand, flip the bike upside-down and work that way.
Shift your front derailleur so your chain is on the small chainring. Start shifting across your gears while turning the pedals – if you loosened your shifter cable barrel adjuster (in step 2) then you might not have enough tension to shift into your easiest gear/largest cog. Continue to add tension by turning the barrel adjustor counter-clockwise (this effectively makes the barrel adjustor longer, so you get more tension in the cable), until you’re able to pull enough cable with your shifts to move the chain into every gear.
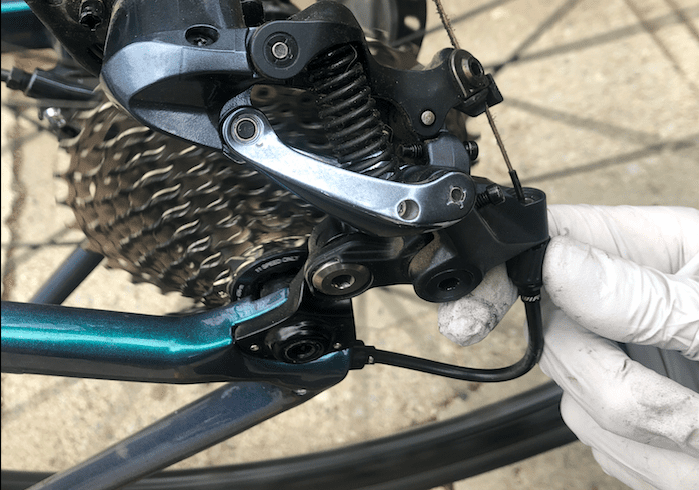
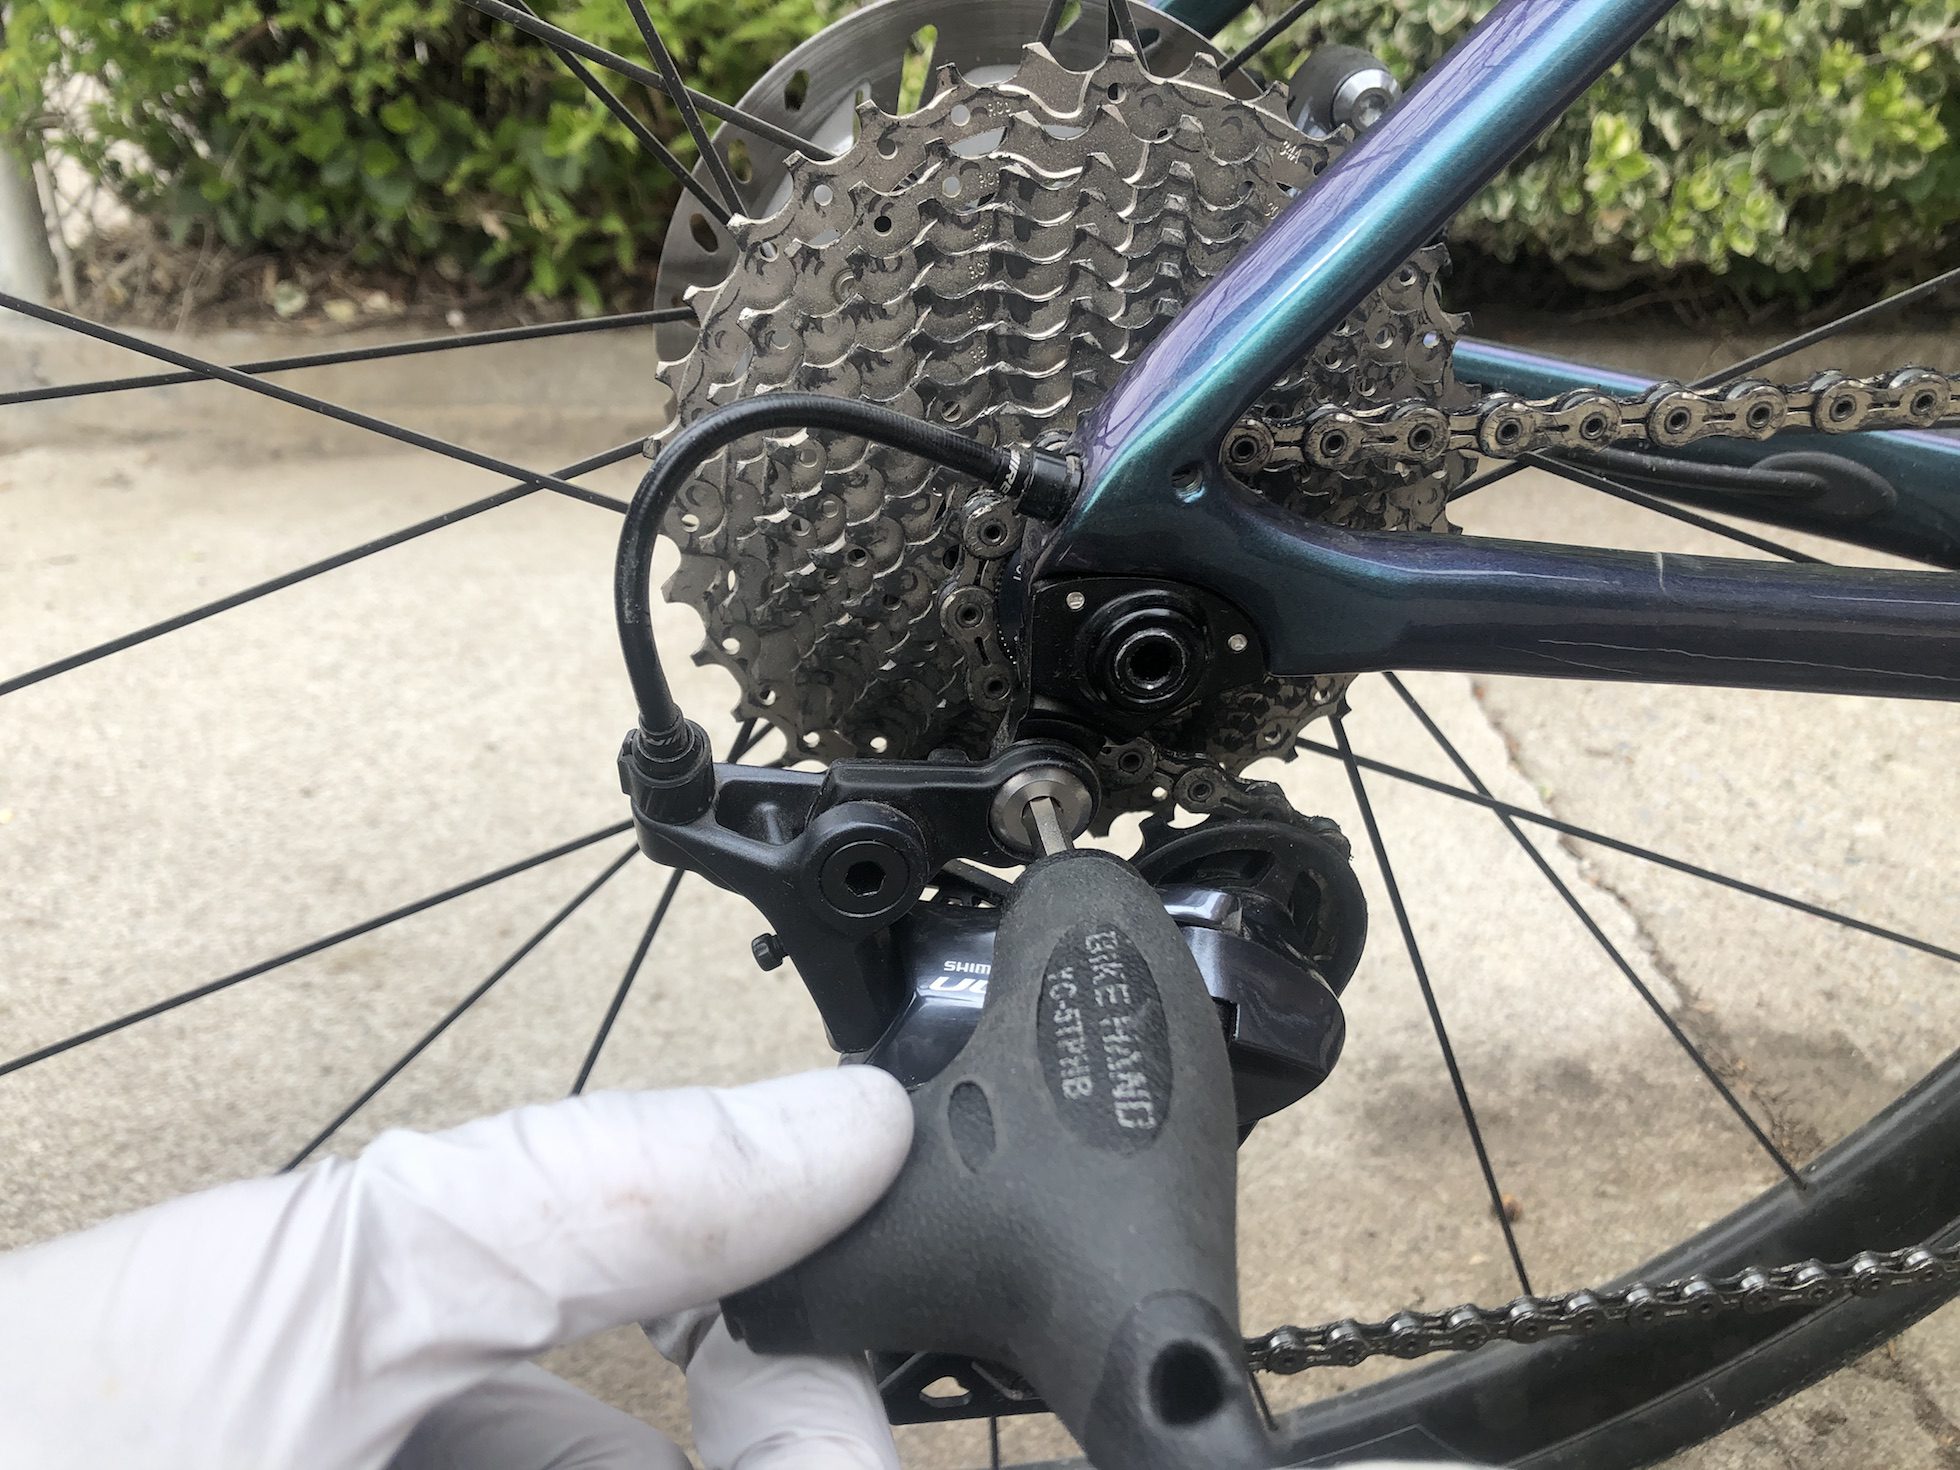
If you have the opposite problem, and your chain is resistant to shifting into the smallest cog, then you might have too much tension in the cable to begin with. To fix this you’ll need to loosen the fixing bolt for the cable (typically with a 4 or 5mm allen key), pull the cable tight while the rear derailleur is shifted into your highest gear (smallest cog), and then reaffix the bolt for the cable.
Continue to shift through all the gears and adjust cable tension until the chain smoothly and quickly responds to each shift. Then shift into your large chainring and confirm that you get the same shifting performance. With your limit screws and cable tension properly set your rear derailleur should be shifting quickly and accurately.
Step 7: Other problems
If your shifting is still wonky, there may be other problems at hand. Shifter cables wear out over time and can fray within their housings, leading to increased friction and poor shifting performance. If your shifting is still sloppy, there’s a good chance you need to replace your old shifter cables and housing. Worn out cassettes and chainring or old and stretched-out chains can also result in poor shifting, and regular replacement of these components is important for making sure your drivetrain performs as it should. Finally, a bent derailleur hanger can wreak havoc on shifting – even if everything else is brand new and perfectly set up. If you have any reason to suspect your hanger is bent (e.g. from a recent crash or your bike falling over) then it would be worth having it inspected and potentially replaced.