It’s a brand new bike, why do I have to fix it already?
What to look for before you ride, and soon after
By Nick Di Cristofaro
New bike day! You just picked up your new bike at your favourite shop or had it delivered to you. We all feel like a kid at Christmas when we take the plunge and purchase a new bicycle. You get anxious and excited and want to take it out for that first ride. But wait. To avoid future headaches and even possible injury, you need to get your new bike ready to rip.
I often hear: “It’s a brand new bike. Why do I have to fix it already?” Well, I wouldn’t call it “fixing.” It’s more about taking preventive measures. Even if you trust your shop completely, it’s always nice to have peace of mind before you ride.
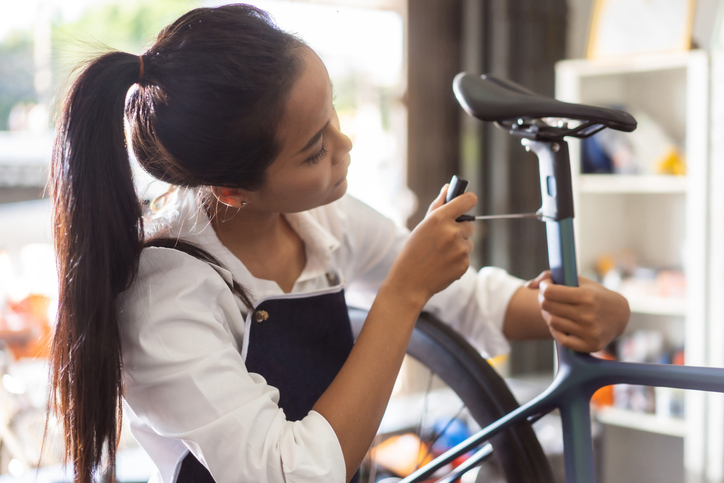
The complete examination
First, check the torque of all the fasteners – the nuts and bolts – on the bike. If you don’t have a torque wrench, I highly recommend that you get one, especially for checking fasteners on carbon components. Examine anything that is threaded and meant to hold things together: derailleur mounting bolts (but not limit or adjustment screws), lever bolts (under hood covers), crank and chainrings, suspension pivots on a mountain bike, brake-rotor mounting bolts, brake-caliper mounting bolts, and mechanical derailleur and brake cable mounting bolts. Whew.
Grease the threads on your pedals before installing them. This step will prevent seizing and make removal much easier in the future.
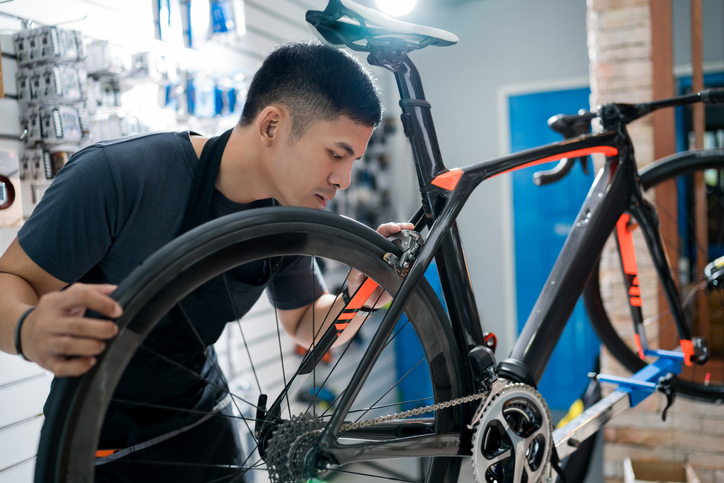
Make sure the tires have enough air. Next, look at your hubs. Grab each wheel and give it a wiggle. You are looking for any side-to-side movement. If the axles, whether thru or quick-release, are properly tightened, there should be none. Spin the wheels. Are the brakes rubbing? If so, adjust accordingly. Give mechanical brakes a few good hard squeezes and re-check your adjustment.
If you had a fitting session on your new bike, the saddle height and setback are dialed. If not, take the measurements from a previous bike of yours. For the saddle height, find the distance from the centre of the bottom bracket along the seat tube to the top of the saddle. To find the setback – the horizontal distance from the centre of the bottom bracket to the tip of the saddle – hang a plumb bob from the tip of the saddle while holding the bike level and upright. Measure from the centre of the bottom bracket to the hanging string. (If you don’t have a plumb bob, tie a piece of string to a small, heavy object such as a large nut.) Make sure there’s carbon paste on the seatpost. Snug up saddle and seatpost clamps.
Head to the headset. See if your stem is aligned with the front wheel. Grab the front brake. Rock the handlebars back and forth. There should be zero movement. Adjust if there is play. Modify the position of the levers and the handlebar rotation to your liking if a fitting wasn’t done. Ensure carbon paste is applied to the handlebar/stem interface. Make sure all handlebar and stem bolts are secure.
If you’re preparing a mountain bike for the trails, set your suspension sag, pressure and settings according to the manufacturer’s instructions. If you have disc brakes, bed them in. Ride up and down a quiet road and gradually but firmly apply the brakes while coming to a pretty hard stop. Do this process at least 10 times.
Check after a few rides
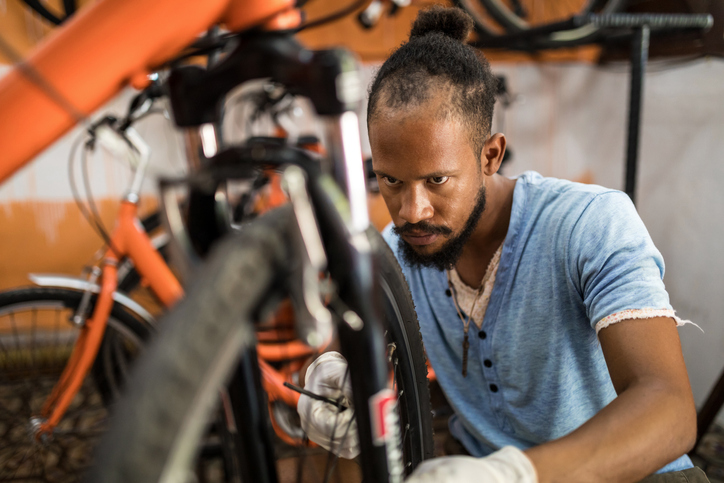
You’ll want to re-examine your bike after you’ve taken it out. Go back over the fasteners: make sure all the bolts are snug. Give the drivetrain, including the chain, a wipe and lube. Check shifting and brakes and adjust if needed. New cables will stretch, so you’ll probably have to do some fine-tuning. Also, take the time to re-evaluate your fit and decide if you want to adjust saddle height, setback or handlebar height. Check spoke tension and wheel trueness. Wheels also need to break in.
If your bike was custom-built at a reputable shop you trust, then the mechanic would have greased the bottom bracket, headset and, on a mountain bike, the suspension pivots. If the bike came pre-assembled in a box, then this work is usually not done at the factory. Add the grease to prevent future problems and to increase the longevity of the components.
If you want to look pro, get rid of the plastic guard behind your cassette. During this process, check your cassette lockring, too. You can find another use for the reflectors that came with the wheels. It is much safer and better to invest in some quality front and rear lights if you are riding in low-light conditions.
This story originally appeared in the April/May 2021 issue of Canadian Cycling Magazine