Replacing a cassette and chainrings
How to keep the toothiest parts of your bike in top shape
by Nick Di Cristofaro
While paying attention to your chain – cleaning, lubing and replacing it – is important for a smooth running drivetrain, you shouldn’t forget other key components: your cassette and chainrings. To keep these parts working well, you need to replace your chain before it becomes extremely worn. My rule of thumb is to replace it at 75 per cent wear (as measured with a chain-wear indicator). If you stick with this guideline, your cassette and chainrings will last a lot longer. A cassette, in most cases, can last for approximately two to three chain replacements if they are done at the right time.
RELATED: Get your bicycle’s shifting in-line
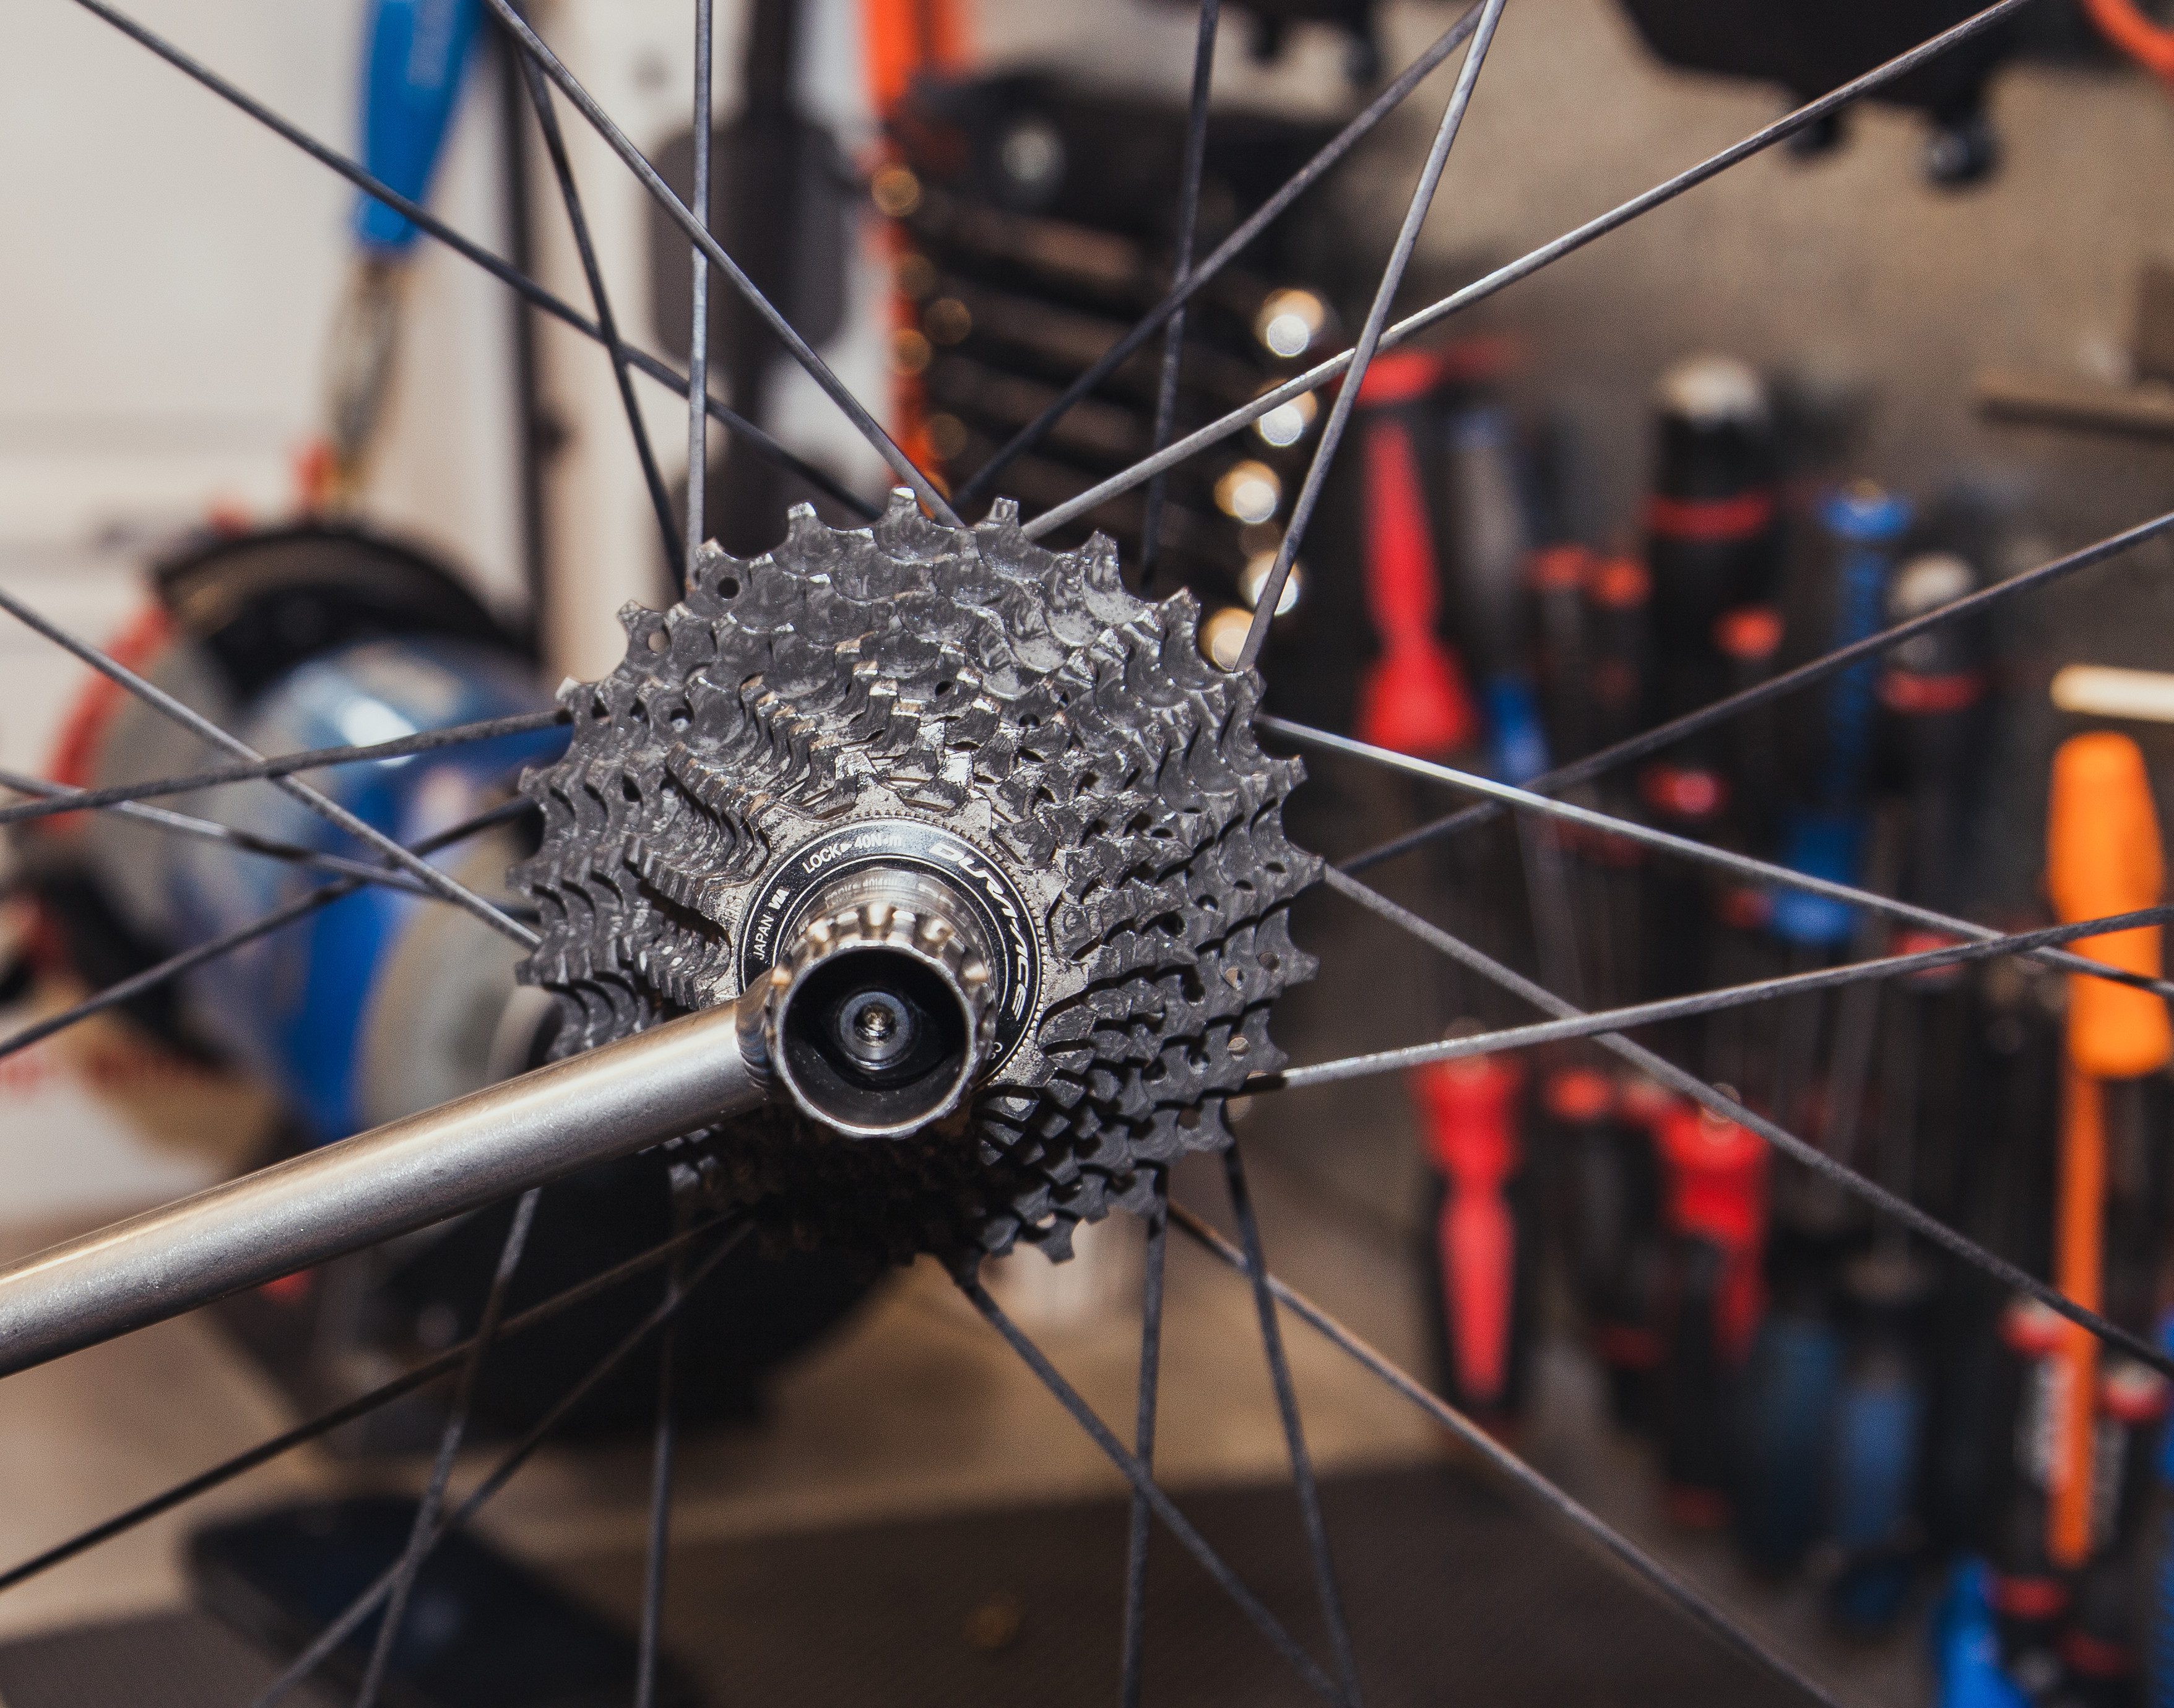
Gauging cassette wear
Checking cassette wear can sometimes be a bit more difficult than chain wear. If you only run one wheel on your bike, then you can estimate wear based on your chain-replacement schedule. If you run multiple wheels (different wheels with their own cassettes for training and racing, for example), tracking wear might be more difficult. I sometimes use a tool by Rohloff for checking cassette wear. It’s made of a section of chain connected to a small lever. You wrap the chain around a cog and tension it with the lever to simulate load. If the last link of the chain does not fit over the corresponding tooth smoothly, then it is time for replacement. Another method is to install a new chain and lock the rear wheel with the rear brake while simultaneously putting pressure on the drive-side crank arm at 3 o’clock. If you see any major movement of the chain on the cassette, it might skip under load while riding. It would then be time for replacement.
Replacing your cassette
Installing a new cassette is not difficult, but you do need some special tools: a chain whip or cassette pliers to hold the cassette and a lockring tool. There are two main types of lockring tools, one for Shimano/SRAM and one for Campagnolo. The spline pattern is a bit different between the two, so make sure you get the right one. I prefer the type that has an arm for leverage as opposed to the hex type that requires a socket or wrench to turn.
With the wheel on the floor and at your feet, wrap the chain whip around a cog. Use a cog that allows you to wrap the entire length of chain around it. Hold the chain whip in place with your left hand to push downward. Use your right hand to turn the lockring tool counter-clockwise to loosen. Once you remove the lockring, the cassette should slide off. If there is difficulty, then the cassette might have grooved out the splines on the freehub body. A little tap with a soft mallet in the opposite direction of chain movement should get things loose. You can also try a slot screwdriver to pry gently between the stuck cogs, but be careful not to bend them if you plan to keep them. Once the cogs are off, inspect the freehub. File down any groove markings, which are usually caused by a loose cassette. When installing the new cassette, ensure the cogs are in order with the necessary spacers. Generally speaking, the stamped (or rounded) side of each cog faces outward. Grease the freehub lockring threads and thread it on while being careful so to not cross-thread. I have seen many DIYers rush through this step and ruin the threads. Once you have the lockring on, torque it to the manufacturer’s specifications.
RELATED: Misadventures of a DIY bike mechanic
Changing chainrings
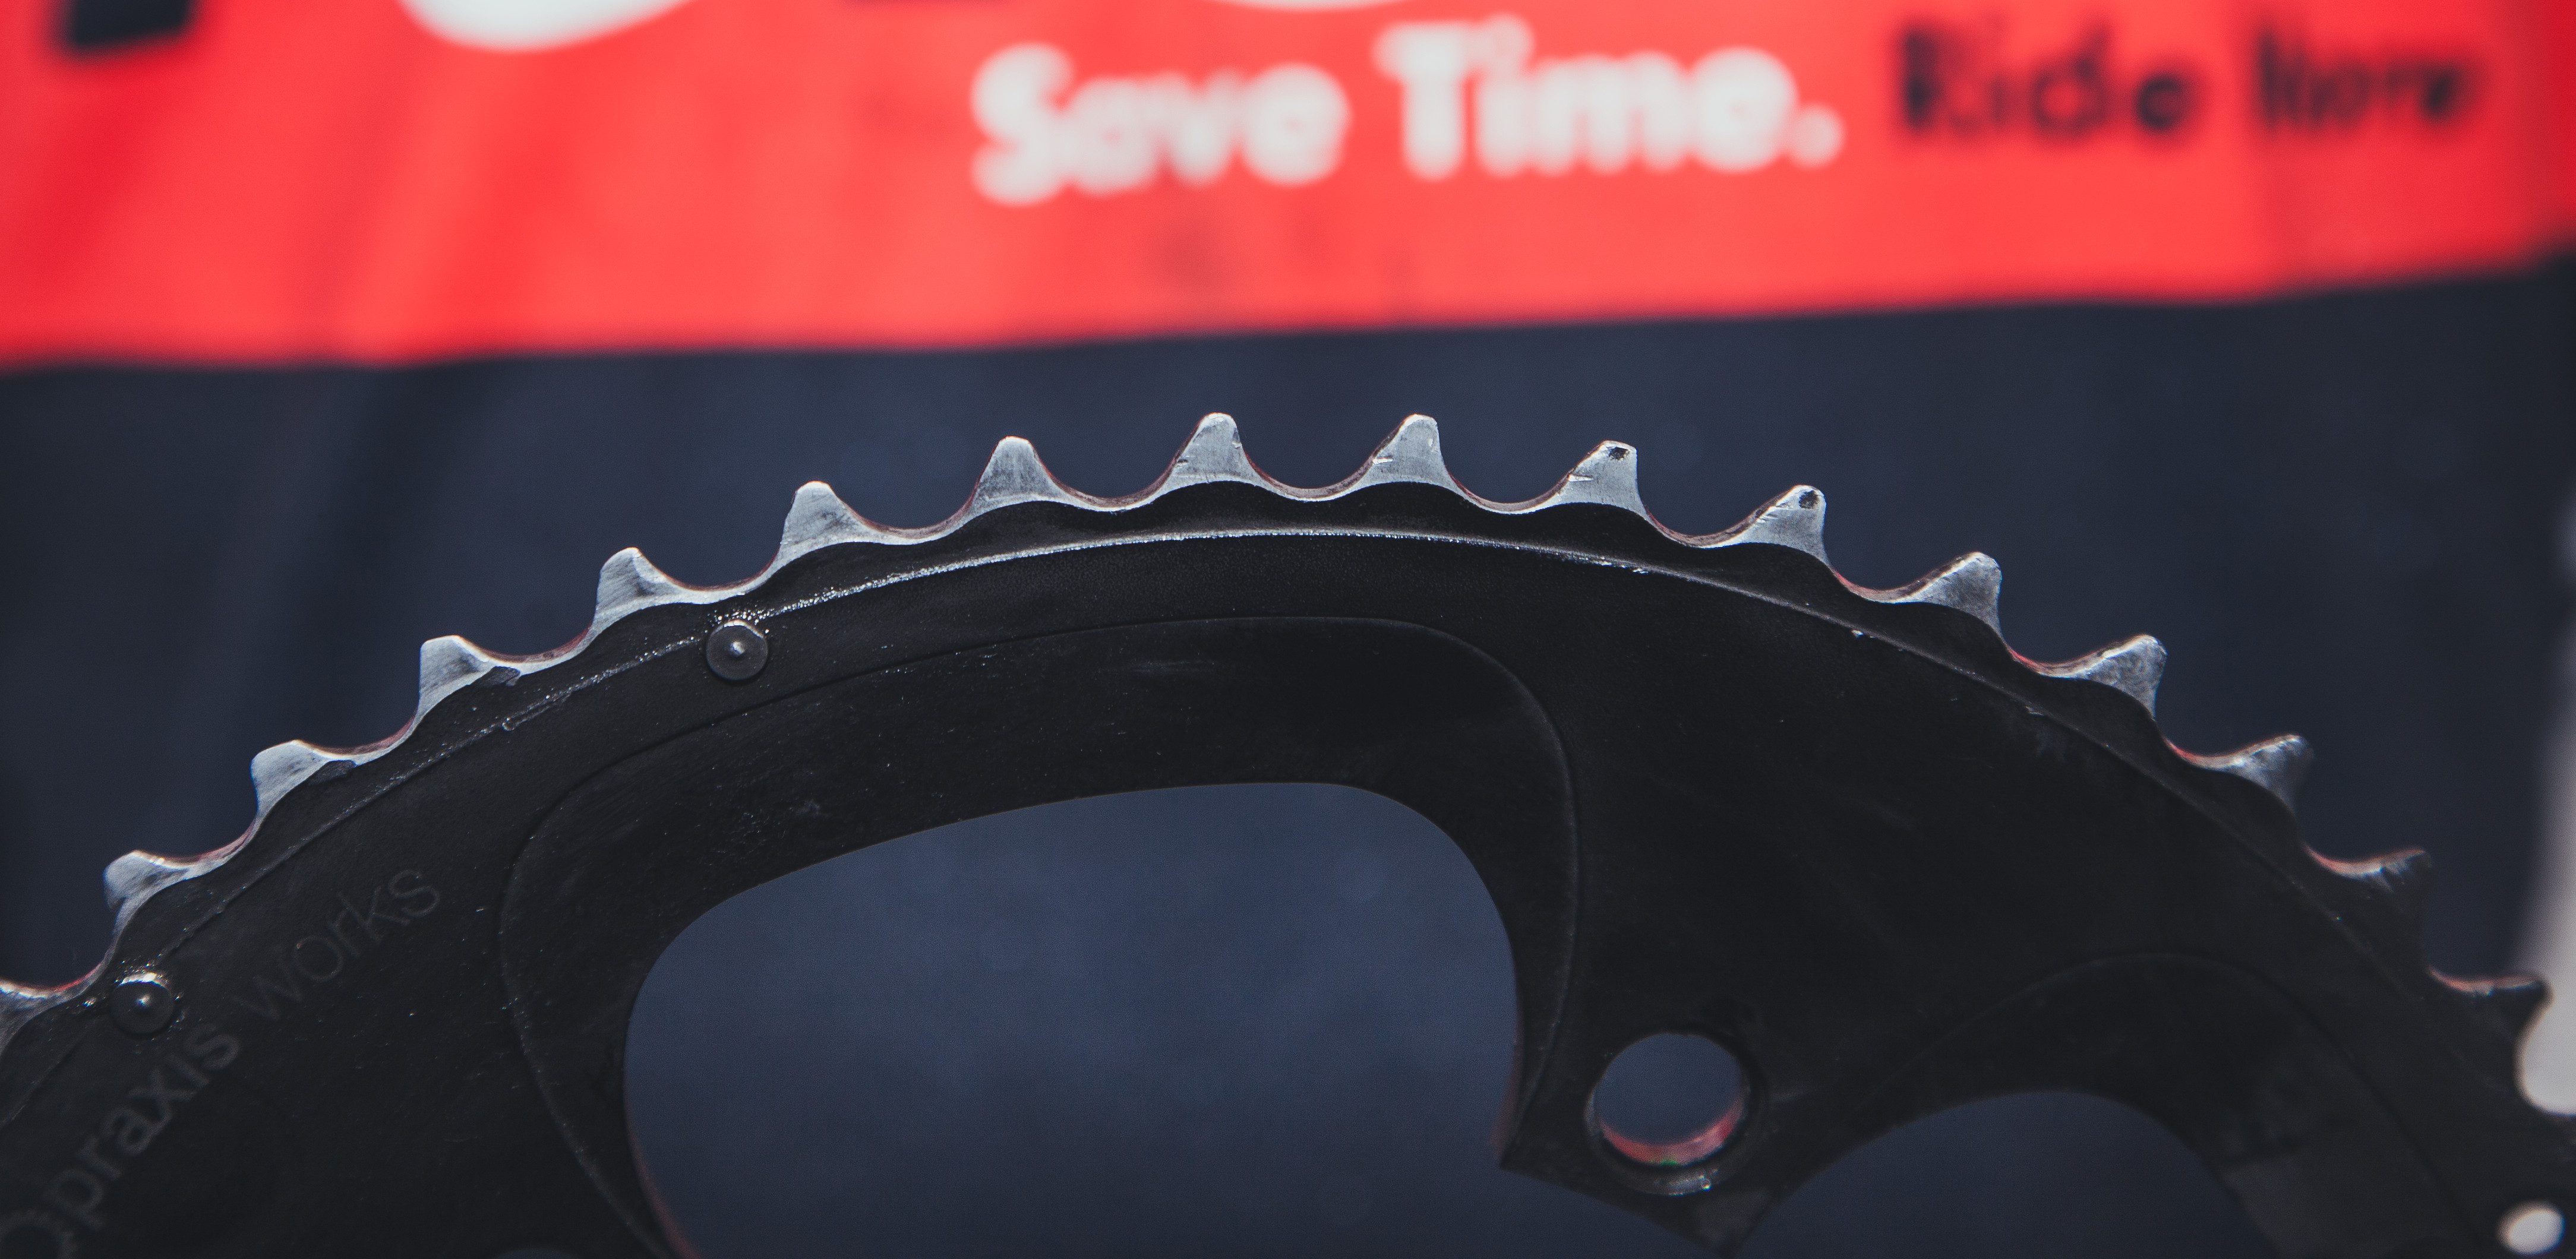
It generally takes a while for chainrings to wear out. I’ve had some run for more than 25,000 km on a road bike. If you notice the front shifting becomes less than optimal after replacing your chain (and assuming the front derailleur is tuned), then have a closer look at the teeth on the chainrings. When they become hooked and thin, it’s time to replace. I always stress using the chainring recommended by the crank manufacturer. Some cranks can only use proprietary chainrings and some can run universal components. Make sure to match chainring combinations accordingly. Get the proper bolt-circle diameter (BCD) for your crank. When replacing chainrings, remove the crank to make the job easier. At this point, you can inspect, service and maybe replace your bottom bracket. Once the old rings are removed, clean the mounting surfaces and grease the bolts before installing the new rings. Check with the crank manufacturer on how the rings should be oriented before installing. Usually, a stamped arrow on the small ring will match up with the crankarm along with chain-drop-prevention pin on the big ring. Tighten each bolt gradually and in a cross pattern before torquing to the manufacturer’s specifications.
RELATED: When to replace these 6 bike parts