Shifting off? It may be your derailleur hanger
No matter how good you are at adjusting or maintaining your drivetrain, a bent derailleur hanger means you’ll likely never get your rear derailleur shifting just right.
by Ben Dawson
No matter how good you are at adjusting or maintaining your drivetrain, a bent derailleur hanger means you’ll likely never get your rear derailleur shifting just right. Try as you may, adjusting the limit screws and cable tension at the back of your road or mountain bike will never be effective if you don’t start out with an aligned hanger.
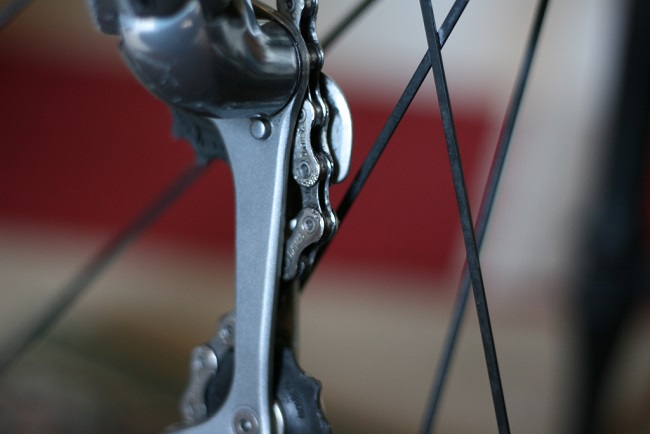
A rear derailleur hanger is a small tab of metal that connects the derailleur to the frame at the junction of the chainstay and seatstay. It’s designed to be the weak link so that it breaks first and saves other more expensive parts from failure. It’s always a good idea to have a spare one on hand instead of trying to track one down in an emergency since they are typically manufacturer – and sometimes bike model – specific. Hanger alignment should be checked often since they’re almost always slightly off. Even brand-new hangers need to be aligned properly sometimes. Most of the time, it’s not visible to the eye if a hanger is bent or not. But a typical symptom of a misaligned hanger is the rear derailleur will shift fine for a few gears, only to lose adjustment while shifting further up or down the cassette.
Tools Needed
- 5 mm Allen key
- Hanger alignment tool
Step 1: Always make sure the rear wheel is centred in the dropouts. There’s no point adjusting a derailleur to perfection only to find later the wheel was crooked in the frame.
Step 2: Shift rear derailleur to the hardest (smallest) cog on the back. This makes the derailleur easier to work with.
Step 3: Take a 5 mm Allen key and fit it securely into the B-axle bolt on the rear derailleur. Loosen the bolt slightly.
Step 4: Grasp the entire derailleur in one hand and rotate it clockwise so that it is floating free of the frame. The B-axle bolt can now be easily loosened all the way out as you guide the derailleur straight out towards you. This protects the threads on the hanger while removing the derailleur.
Step 5: Let the derailleur hang free of the bike.
Step 6: Wipe any dirt or grime off the hanger so that there’s a clean surface to attach the hanger tool and then carefully screw the hanger tool into place, being careful not to cross thread.
Step 7: Line up the hanger tool arm with the wheel valve stem and adjust the arm to within a few millimetres of the rim. Use the valve stem to reference the same spot as you rotate the wheel since the wheel might not be perfectly true.
Step 8: Now the hanger can be aligned. Rotate the tool and the wheel clockwise, keeping the alignment arm right next to the valve stem. You’ll only be able to rotate the tool about three-quarters of the way around the wheel before the seatstay gets in the way.
“Hanger alignment should be checked often since they’re almost always slightly off. Even brand-new hangers need to be aligned properly sometimes.”
Step 9: Carefully bend the hanger so that there is an even gap between the arm of the tool and the rim as it’s rotated. It’s easier to align the hanger by rotating the wheel and hanger tool clockwise. Keep in mind aluminum doesn’t like to bend. If a hanger is out of whack by a lot, there is a chance it could break while trying to align it.
Step 10: The hanger is now aligned. Remove the hanger alignment tool and remount the rear derailleur. We rotate the derailleur clockwise in our hand so that the B-tension adjustment screw will line up properly with the hanger. Tighten the 5 mm B-axle bolt until the derailleur is lightly contacting the derailleur hanger. Release your grip on the derailleur and allow it to rotate back down into place. This is especially crucial with newer-style Shimano (Shadow) derailleurs to ensure they fit properly against the derailleur hanger. Torque the B-axle bolt to its final tightness. Be firm, but careful.