What is ‘cable stretch’? And why you should pre-stretch cables for better shifting and braking
Cables elongate slightly with use and, over time, performance suffers
by: Nick Di Cristofaro
What key components do most bicycles have in common that are also some of the cheapest to replace? Cables, of course. Remarkably, these steel-braided lengths of wire do a lot of work. Without them, you wouldn’t be able to shift gears or slow down.
One thing that can affect the performance of those inexpensive and essential components is cable stretch. What is that? A cable elongates slightly with use. Shifting to larger cogs and rings and braking applies tension to the cable. Over time, performance suffers as the cables get longer. Also, the housing settles into the ferrules, while the ferrule ends settles into frame stops, shift lever bodies, and barrel and inline adjusters. The housing itself will also compress slightly. All of the above will contribute to decreased braking and shifting performance.
Have you ever bought a new bike only to have it jump gears after the first ride? The cause is almost always the stretching and settling I mentioned. The shop didn’t properly “pre-stretch” the cabling systems. Most of the time, when a new bike is built at a factory, it is slapped together without care taken to ensure lasting shift and brake performance. When I build a new bike or replace any cable, I will always pre-stretch, re-adjust, and then do a final test ride.
8 Cable Pre-Stretching Steps
- With the handlebars unwrapped and housing unsecured to the bars, shift to the largest cog in the back and the large chainring in the front.
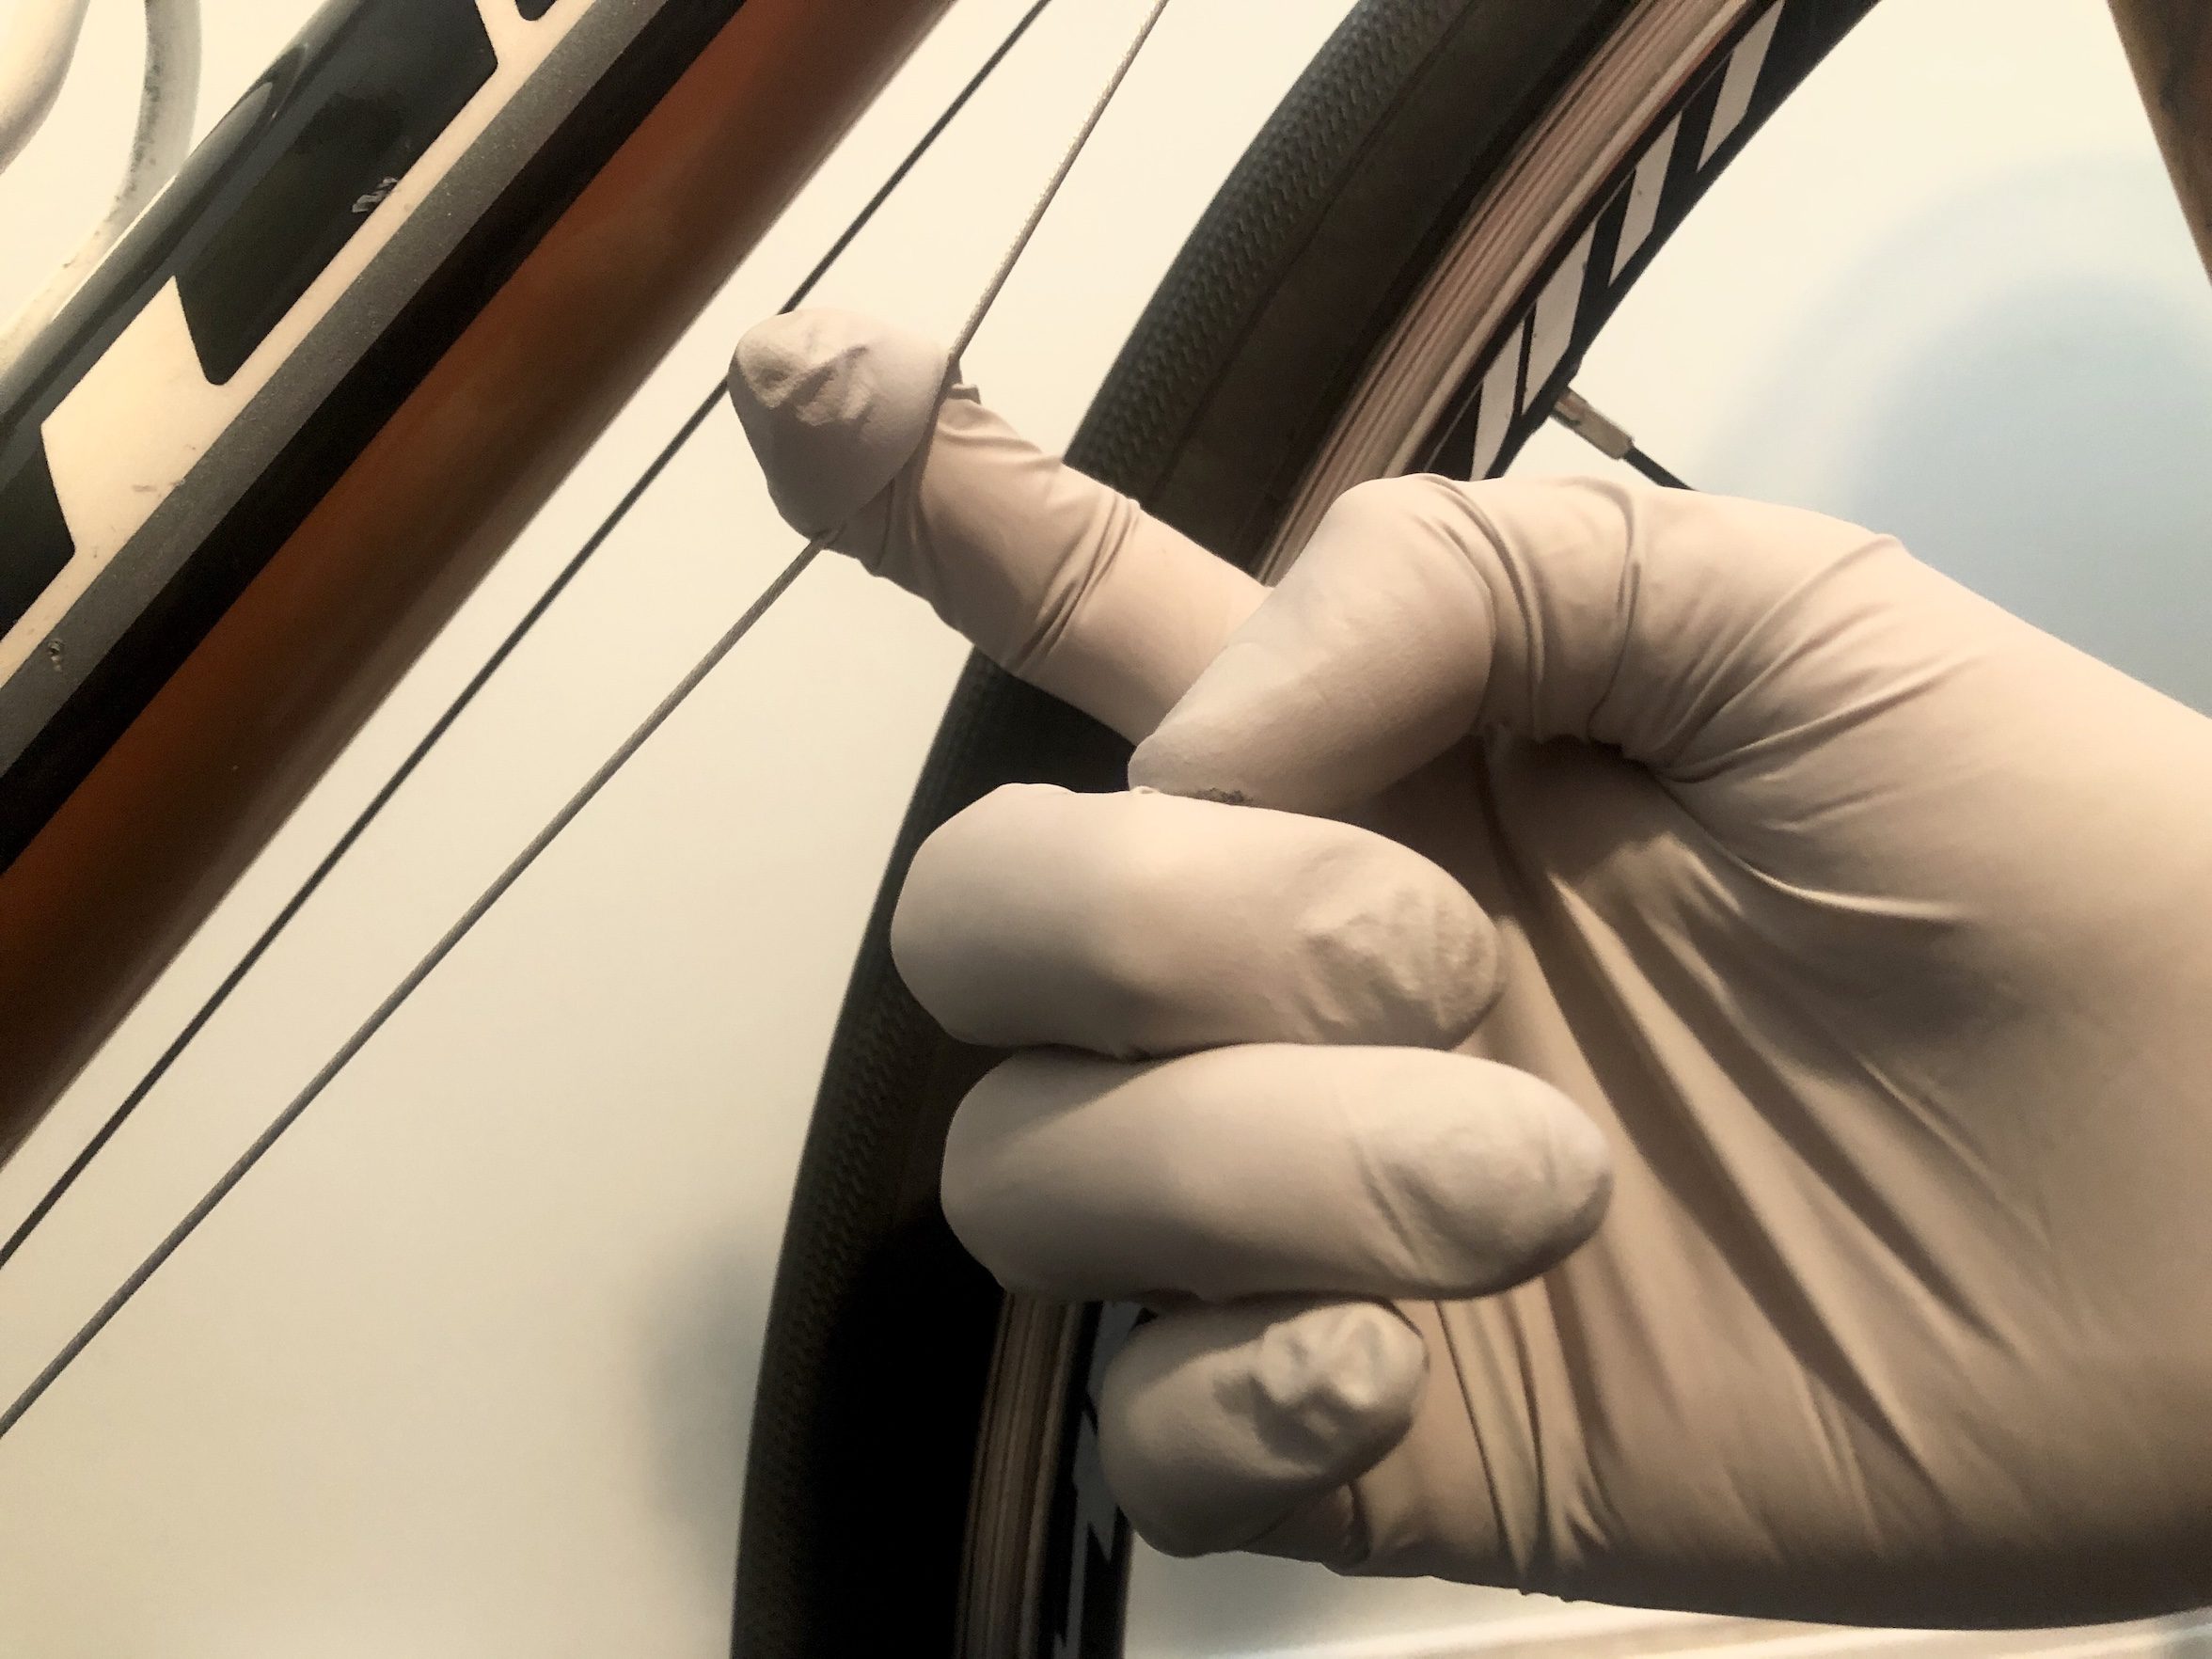
- For an externally cabled bike, pull on the cables lightly, one at a time. Start at the down tube, and then at the right chainstay for the rear derailleur. Do not pull too hard. If you do, you risk breaking cable stops or frame inserts. If the bike is internally cabled, the process can be a bit more difficult as there is no exposed cable to grab a hold of. Shift the rear derailleur to one of the middle cogs. Hold the derailleur at one gear with your left hand, while simultaneously creating tension with the corresponding shift lever. Do this ever so gently until you just about feel the shift lever click up to the next position. The same can be done with the front derailleur.
- Shift the rear derailleur to the smallest cog and the front derailleur to the smallest chainring.
- Turn all barrel adjusters In. Reset the cables by loosening anchor bolts and pulling out any slack before re-torqueing them.
- Do your final tuning. Secure the housing to the handlebars (on a road bike) and wrap the bars.
- For your brakes, squeeze them firmly at least five times to seat everything, and then readjust.
- Once everything is tuned and the bike is on a stand, go through all the gears rather quickly and with more force than you’d normally use when riding. This step provides extra insurance that you’ve removed all the slack out of the system. Check your work again to see if you need to make any further adjustments.
- Go for a test ride. Run through all the gears to ensure everything shifts well. If you perform the above to a T, I guarantee you won’t need a follow-up adjustment after your first ride.