5 tips for optimizing your indoor trainer setup
Get your pain cave perfect for the winter season
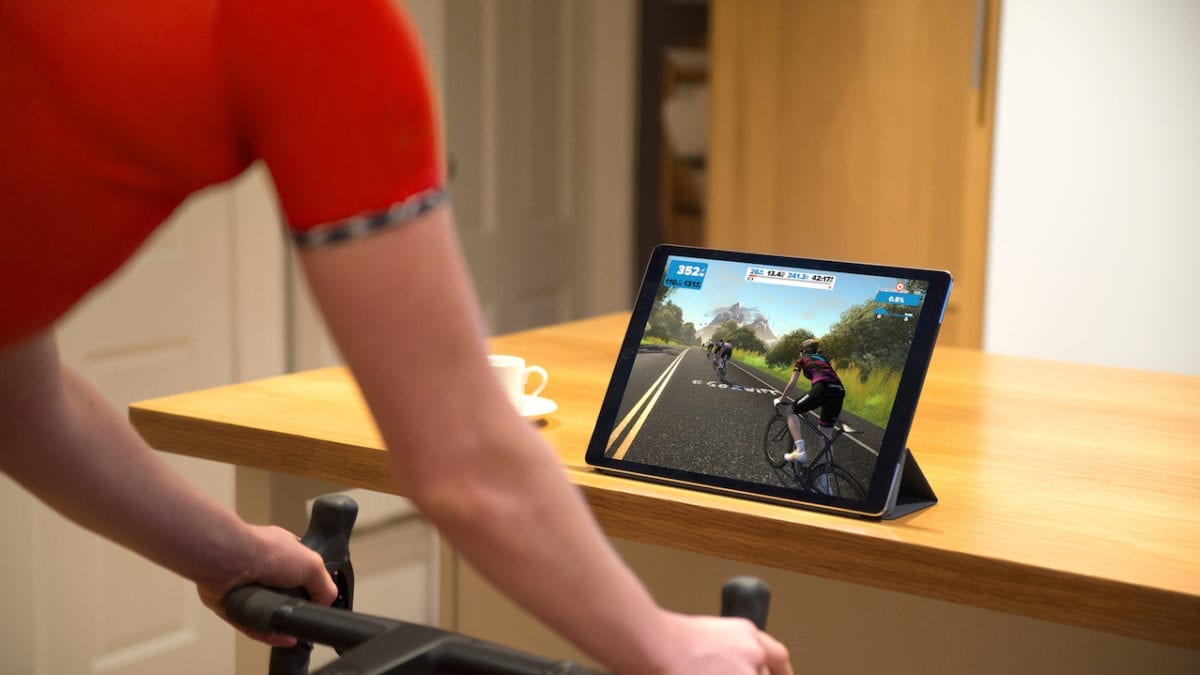 Photo by:
Zwift
Photo by:
Zwift
Across Canada indoor trainers are selling out before bike shops even get them in store. If you, like many other Canadian cyclists, intend to spend the colder months of the year grinding away inside, it’s definitely worth it to take some time to evaluate your indoor setup. Here are some tips for optimizing your experience on the trainer.
1. Pick the right location
When cycling outside, your sweat gets wicked away from your body by the wind. Unfortunately, the wind won’t cool you down when you’re training indoors. Try to find a spot for your bike where you’re able to open a nearby window or even a door to let in some cooler air. If you have space in a garage, a basement or a room closed off from the rest of your living space you’ll be able to get the temperature down to a tolerable level for training.
If you know the effort of setting up the trainer every time will affect your willingness to get on the bike, try and find a place you can leave the trainer set-up and ready to go. Think about how busy the location will be if you live with others, and whether the noise of your ride will be an annoyance.
RELATED: Optimize your FTP test preparation
2. Get a good fan

Most of the time an open window alone won’t cut it while you’re setting a PR on the Alpe du Zwift. Stand up fans help a little, but your best bet for cooling yourself down is a powerful floor fan.
Wahoo makes an indoor training-specific floor fan, the Kickr Headwind. The fan connects by bluetooth to your heart rate monitor and will increase in speed as your heart rate increases.
3. Protect from sweat
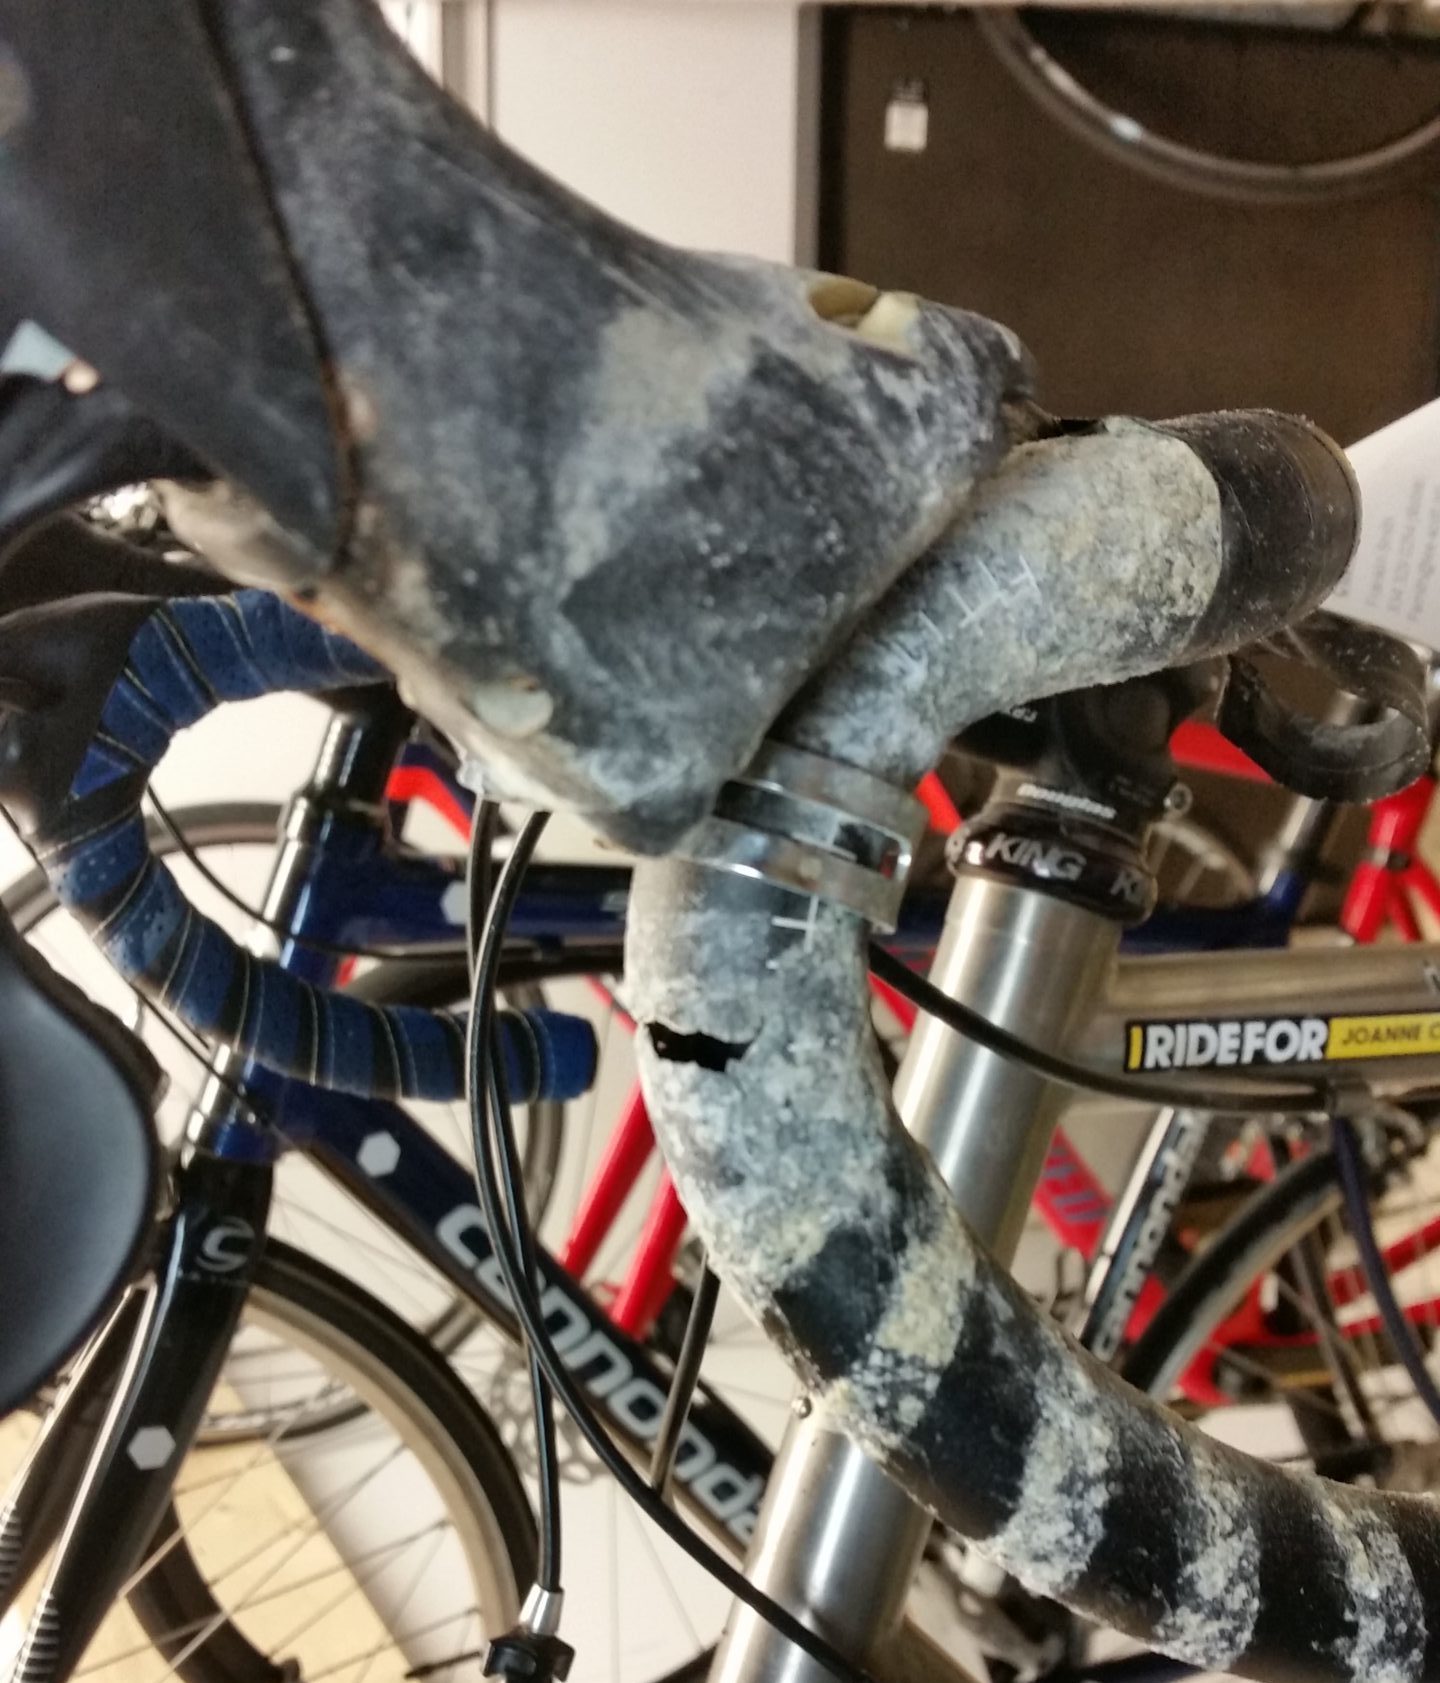
Sweat can be super corrosive and will build up in surprising quantities over a season of indoor riding. Protect your top tube and headset from sweat with a towel or specialized cover. It’s also nice to have a second towel handy for wiping your forehead as you ride.
RELATED: Is your sweat ruining your bike?
If your device didn’t come with a mat, get a yoga mat to put underneath your trainer and bike. Not only will the mat protect the ground from sweat buildup, it’ll also give you traction for getting off the bike in slippery cleats.
4. Properly position your screen
Before you make any final decisions on where and how you’ll be setting up your trainer, set it up with the device you’ll be connecting it with (tv, laptop, tablet, phone, etc.). When you’re looking at your screen, is your neck tilted forwards or downwards too much? Will you be comfortable in this position for an extended period of time?
You may be required to get creative with the surface you put your devices on—stools are a popular option. Remember, an unattractive setup that doesn’t cause you pain is better than a designer pain cave with a tv mounted way above eye-level.
5. Figure out a fuelling surface
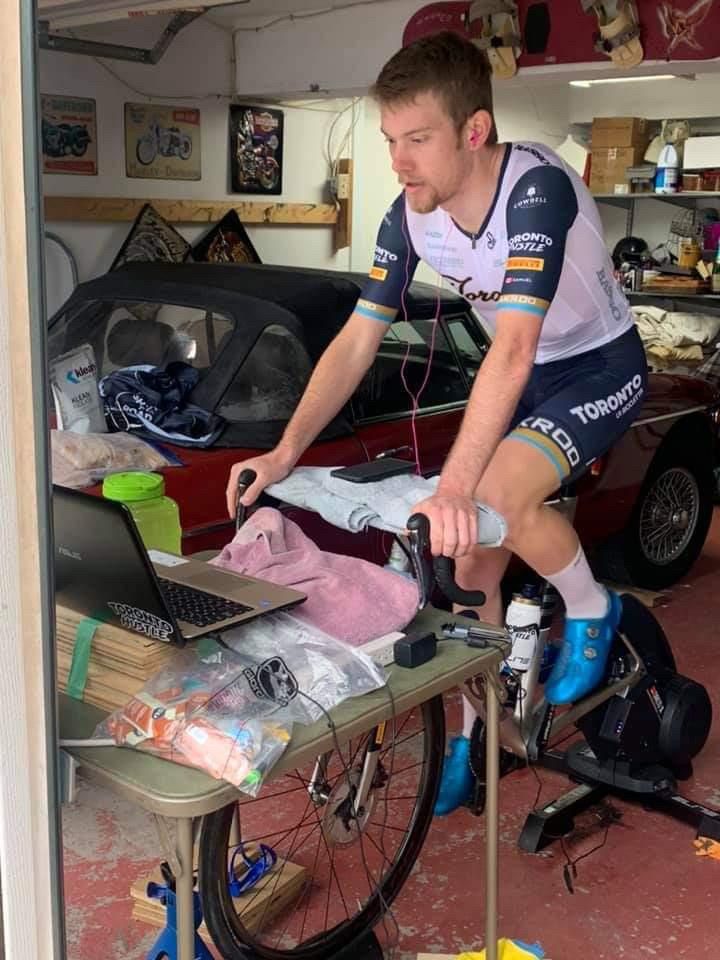
The great thing about indoor training is that you don’t need to make sure all your provisions fit neatly into your pockets. Setup your trainer near a surface you can reach (once again, stools work pretty well for this) and you can pile it up with bottles, snacks and your phone.