What the Strava data from your ride can tell you
The information new cyclists should be thinking about
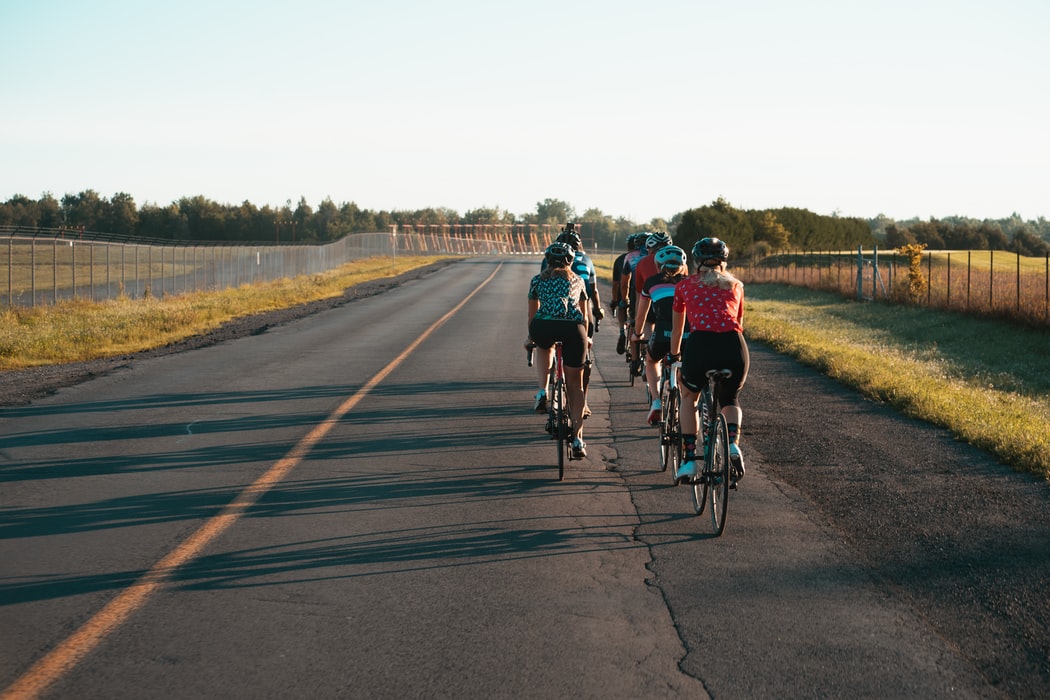
 Photo by:
Strava
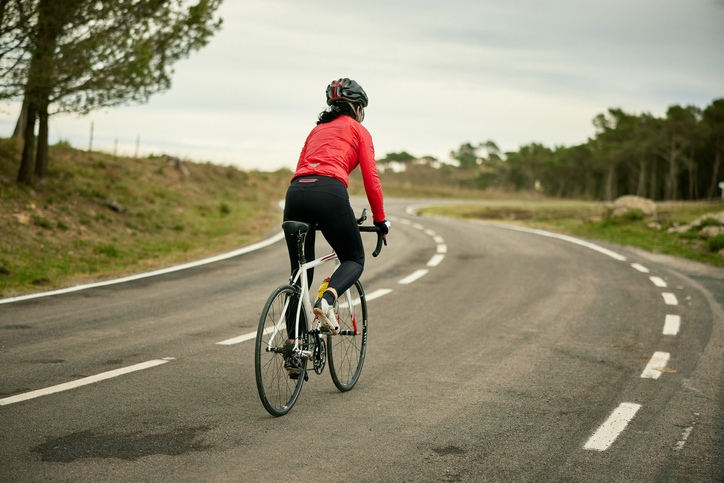
Photo by:
Strava
When you post a ride to Strava the application provides you with a large amount of information. If you’re just starting off, it can be hard to figure out what you should be paying attention to and what isn’t as important.
While different rides will have different points of interest, here are a few data you can use to get a better understanding of your performance.
Distance and elevation
Distance is one of the most logical metrics to measure a ride, but it doesn’t tell the whole story.
Elevation can make a huge difference in the difficulty of a ride. A “hilly” route is obviously harder, but elevation can sometimes creep up on you and add up gradually as you ride on gentle gradients throughout the day. Paying attention to the elevation of your rides will help you gain a better understanding of why some rides seem harder than others of comparable distances.
RELATED: Taking on your first big climb: Tips from a pro cyclist
Speed
When you upload a ride to Strava, the app will tell you your average speed in kilometres per hour. Unless you change the settings, Strava doesn’t take into account your stopped time, so the average speed should be an approximation of how fast you were going while you were moving.
Strava gives you your moving time, but, if you want to see how long the ride itself took (including time that you were stopped) click on the ‘view analysis’ button and scroll down to ‘Elapsed Time’ under speed.
Average speed can be a good indicator of how hard you are pushing yourself compared to other rides, but, as with all cycling data, it should be used contextually.
Factors such as whether you were cycling in a group with others, if you had a tailwind or if you were riding on straight country roads will lend themselves to a higher average speed. On the other side, riding through the city and having to start/stop at lights, strong headwinds or a hilly route will naturally lower your average speed.
Power, heart rate and calories
To measure power and heart rate you’ll need to buy additional sensors. If you have a heart rate monitor, be sure to input your max heart rate in your Strava profile so the application shows your heart rate zones accurately.
While you’re inputting your max heart rate, check to see if your weight is also accurate. Using heart rate data, your weight (and power if you have it) Strava will estimate the number of calories you burned during your ride. When you’re trying to figure out what to eat to replenish your body, it’s useful to have at least an estimate of how many calories you burned.
If you have your functional threshold power (FTP) make sure it is also up to date in your profile. Under ‘view analysis’ you’ll be able to see your average power, max power and, if you have Strava premium, your weighted average power and more.
RELATED: Should you do an FTP test outdoors?
Strava will estimate the power you were putting down during your ride if you don’t have a power meter. Generally speaking this estimate isn’t super accurate, so don’t pay too much attention to it.
Results
Segments are a good way to keep track of your personal progress. Strava has locked many of its segment features for non-premium users, but even without a subscription you’ll be able to see when you’ve gotten a personal record or your top three best time on a segment that you ride frequently.
Particularly if you’re frequently riding the same roads, segments can be a useful way to challenge yourself and measure your progress.