A quick cable inspection for your bicycle
A little bit of attention can have a big effect on the quality of your ride
Unless your road bike has an electronic gruppo to handle shifting, or a hydraulic system working with disc brakes, your bike’s shift and brake components make use of cables to change gears or stop your ride. Cables connect each shifter with its derailleur and each brake lever with its caliper. Each cable runs through a rigid housing specifically built for each application. Some frame manufacturers use partial housing with stops, allowing the bare cable to run along straight stretches of the frame, which minimizes weight, increases serviceability, but leaves the cable more susceptible to contamination. Other designs use internally routed cables, keeping everything tucked safely inside of the frame’s tubing. Although these cables are less susceptible to dirt, all cables wear as they are used and require frequent attention to work at their best.
Bicycle cables are made of steel strands wound together and bound with an anchor on one end. The anchor will be specific for different styles of brake or shifter manufacturers. Most good-quality cables are made from stainless steel, some coated with an anti-friction material.
There are two types of cable housing, one for brake cables and one for shifter cables. Brake housing is made from a single, flat strand of steel that is coiled into a tube. The steel tube is then coated and lined with plastic for protection and reduced friction. This type of housing can withstand a high amount of force, which is why it is good for braking applications. Due to the coil construction, the housing does compress slightly, a feature that would hinder the precision of shifting systems.
Shift housing is “compressionless” housing made from several strands of steel running the length of the cable. Because this housing doesn’t compress, it is perfect for shift applications where consistent cable tension is critical. A plastic outer coating covers the housing’s strands. The housing’s strength under extreme force is minimal, making it dangerous to use for braking applications.
Both types of housing usually get capped off at the ends with ferrules, which help hold everything together and create positive interfaces with the frame and components.
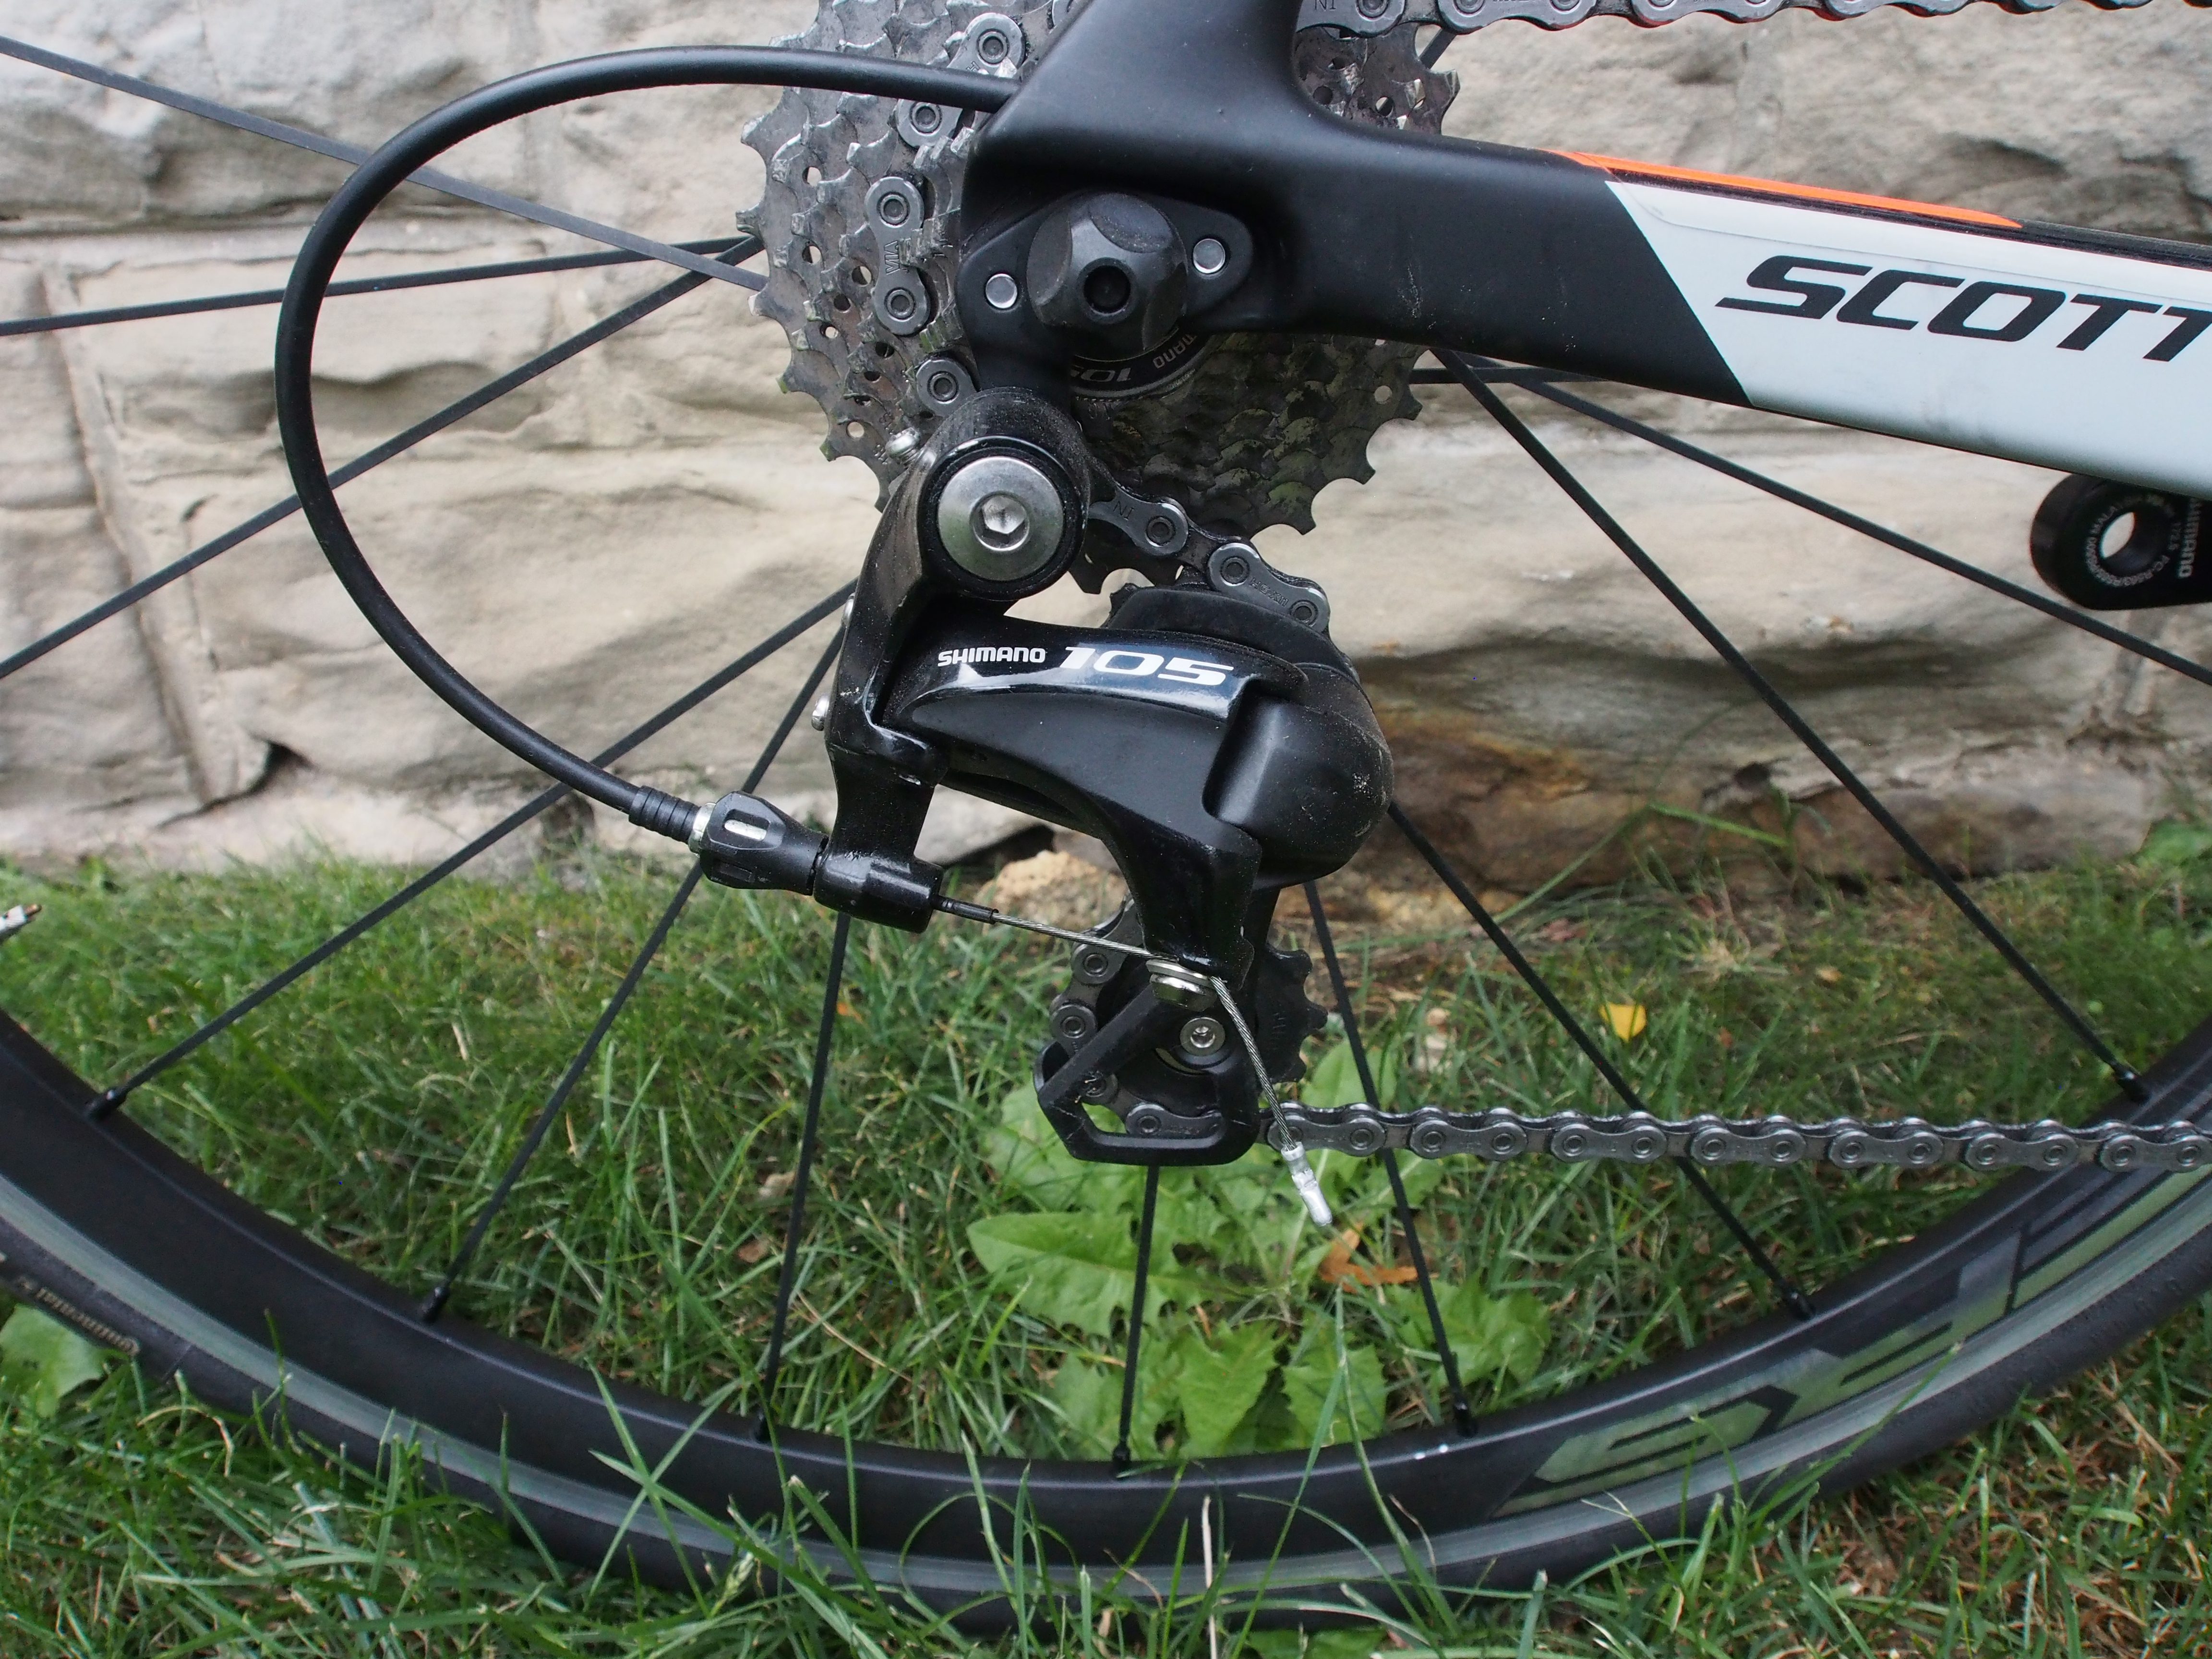
On a road bike with brake/shift levers, you increase tension on a cable to engage brakes, to shift to a larger cog or to shift to a larger chainring. When you release the brakes, shift to a smaller cog or chainring, the cable tension is released. Each component relies on a spring to ensure the cables remain taut. As cables wear or get contaminated, friction between the cable and housing affects the components’ ability to move to the proper positions smoothly. You get mis-shifts or sticky brakes. A clean and lubricated cable works with minimal resistance and will be smooth and accurate.
A simple cable inspection and lube is the best way to maintain a healthy bike. It’s a quick process, too. After you do your check, replace cables and housing that show any sign of damage or wear. This simple bit of maintenance will have a big effect on the quality of your ride.
Pro tip
How to inspect and lube externally routed shifter cables and housing
Most road bikes in the club ride peloton have externally routed shifter cables and housing. This setup makes it easy to do a quick inspection.
1. Shift into the largest cog and largest chainring.
2. Without turning the crank, take the tension off of the cables by shifting into the small ring and small cog.
3. Remove the ends housing that are inserted into the housing stops of the frame. You will now be able to slide the sections of housing up and down the cable, exposing the previously hidden areas.
4. Look for frayed cables, dirt buildup or corrosion. Replace if you find any bit of deterioration.
5. Inspect the ends of each piece of housing for damage, corrosion or exposed lengths of the steel sheath. Again, replace if you find anything.
6. Wipe the cables clean with a rag.
7. Apply a lightweight lubricant to the cables, sliding the housing back and forth over the cables to work the lube into the cable housing. use minimal lube as too much can be worse than none at all.
8. Place the housing ends back into the stops.
9. Slowly pedal forward. As the chain drops into its proper position, the cables will regain their tension. You’re now ready to ride again.