Parting and replacing disc brake pads
When to replace your pads and when to just separate them
by Nick Di Cristofaro
So, you’ve removed your wheel and someone has pulled the levers of your hydraulic brakes a few times. Or maybe you’ve packed up your bike for travel and along the way something disturbed the calipers. In either case, you find the pads within the calipers are pressed against one another. The pads are stuck. Now you can’t get your wheels and their rotors back on. What to do?
First, let’s discuss what you should have done. After you remove a wheel, place a brake-pad spacer between the pads. This plastic insert can be designed for your particular caliper or a generic one that fits. If a lever gets pulled or moved and the spacer is in place, the pads press up against the spacer instead of themselves. You can make your own spacer out of an old credit card, which you can hold in place with a rubber band. A piece of dense cardboard works, too.
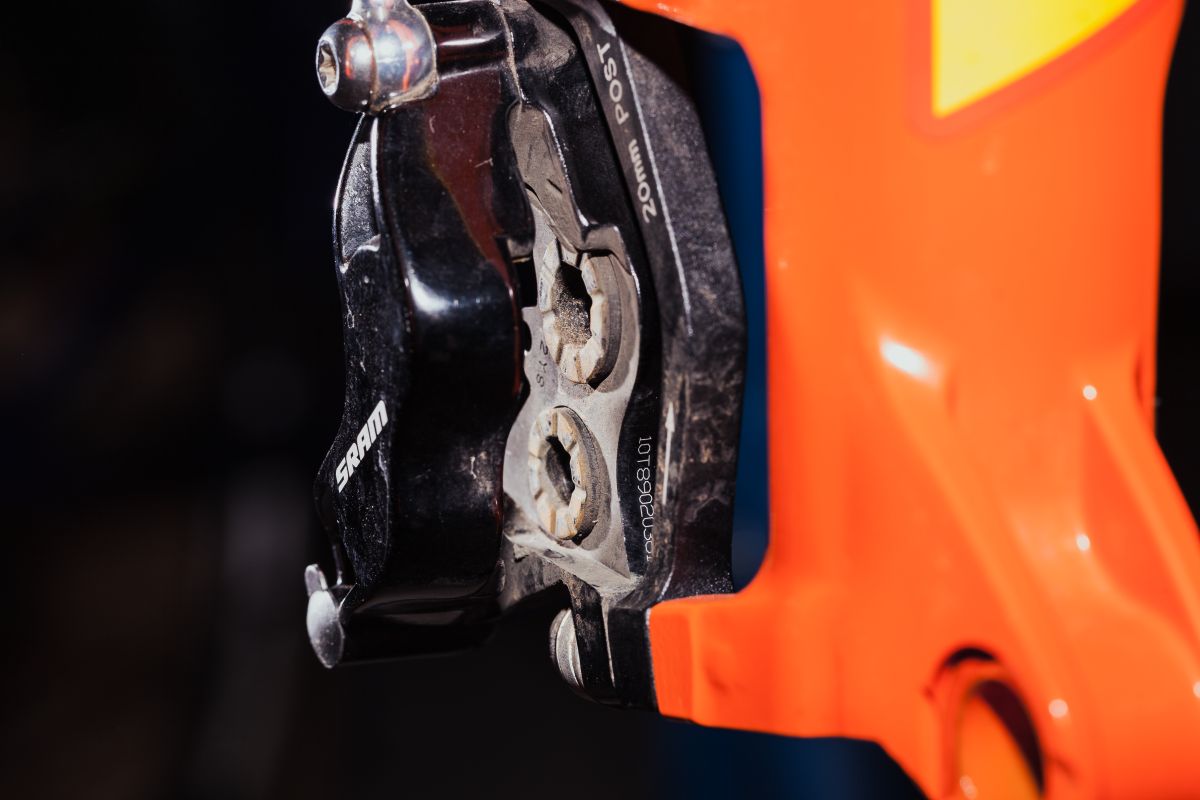
But your pads are shut. To get them apart, you can try to use a plastic tire lever or a specific piston press tool to separate them gently. Never use a sharp object or screwdriver because it might damage the pads. If you can’t separate the pads, you’ll need to remove them. Pull out the pad retaining pin and slide the pads out to expose the pistons, which are cylinders that push the pads toward one another. Use a piston press tool (which is useful to have) or a plastic tire lever to push the pistons back into the caliper gently and one at a time. You’ll have to work gradually and sometimes little by little to get them to move back into the caliper evenly. Make sure one piston isn’t exposed more than the other, or you’ll have rubbing issues when the wheel and rotor are installed. Once the pistons are pushed back, you can reinstall the brake pads. You should then be able to get your wheel back on and disc in between the pads.
Replacing the pads
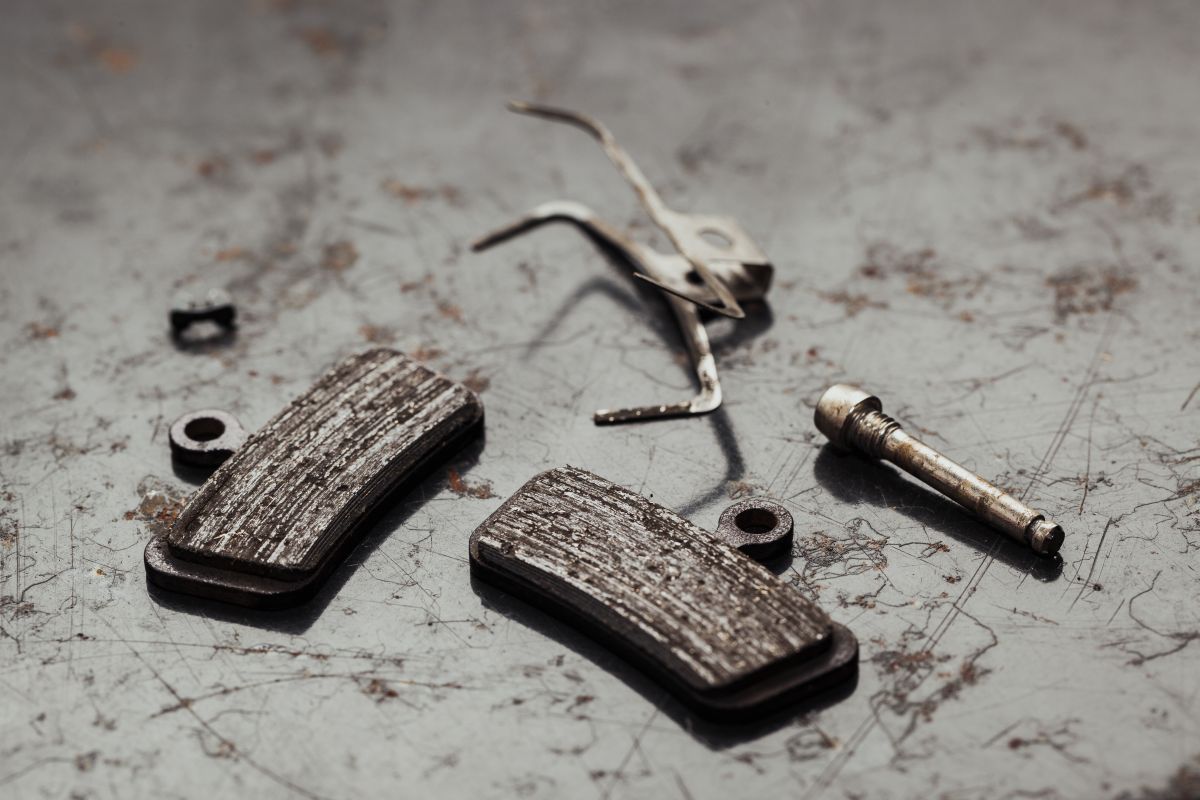
Just like rim brake pads, disc pads will wear out and need to be replaced. Check with the manufacturer’s wear specifications. Usually, if there’s less than 1 mm of pad material left, it’s time for a change. With the wheel off, remove the pad retaining pin, and then the pads and their separating spring.
Whenever you replace hydraulic pads, it’s a good idea to bleed and flush the system with new fluid. As pads wear, the caliper pistons become more and more exposed, sometimes letting air enter the system. That air makes your brakes feel less firm at the levers. Bleeding removes this trapped air. You also refill the system to the proper volume once the pistons have been reset. I recommend that you take your bike to a professional to have this process done if you are not familiar with it.
Once your pads are replaced and brakes are bled, install the wheel and ensure the axle or quick release is tight. Spin the wheel. If you notice any rubbing, you must realign the caliper. Loosen the caliper mounting bolts just enough to wiggle the caliper around with your hand. Give the wheel a gentle spin and pull in the brake lever hard. Hold the lever in while you gradually tighten one bolt and then the other – with a torque wrench – alternating between them a couple times until you reach the desired torque. Give the wheel a spin and check for rub again. If there’s still rub, try realigning the pistons. Remove the wheel, and install a pad spacer specific to your model of caliper. Press hard on the lever to reset the pistons. Install the wheel
and check again.
If you hear rubbing and see it’s in just one spot, the issue is a warped rotor. Most of the time you can true the rotor by using a specific tool or even a small adjustable wrench. You want to bend the rotor straight at the point where it rubs the brake pad. This process can be tedious, but be patient and gentle. If the rotor is warped beyond a simple bend, then you will need to replace it.
After you’ve replaced your pads or rotor, you must bed in the pads, which wears in some of the pad material into the rotor itself, so that everything grips optimally. Ride the bike up to speed and then apply brake lever pressure evenly and gradually to come to a stop. Do this step about 10 times, and then you should be good to go.