10 tips for quick and safe tubeless road setup on hookless rims
A no-mess and no-stress guide
Tubeless tire technology may be well established in mountain biking but, much like disc brakes, its crossover to road racing is going less than smoothly. This goes double for the new style of hookless carbon fibre wheels. With a few high-profile problems, that may or may not be the fault of the tire system, hookless rim tubeless tire safety is in the spotlight right now.
Tubeless can be safe, though. And relatively easy. It is different than the old tube/tire and tubular systems, though. That means there are a few different steps you have to take to make setting up tubeless road easy and safe. At least you don’t need glue, though.
Here’s a few tips to make setting up road tubeless easy and safe.
Before you start
Make sure your tires and wheels are tubeless compatible
This is the absolute first place to start. If the tire or rim aren’t designed to be used in a tubeless system, it just won’t work. While it seems like an obvious point, many tires still come in tubeless and non-tubeless compatible versions. These two versions often look identical, other than some label saying it is tubeless compatible. If it doesn’t say tubeless somewhere on the tire or packaging, it probably won’t work.

Make sure your tires and rims are compatible with each other
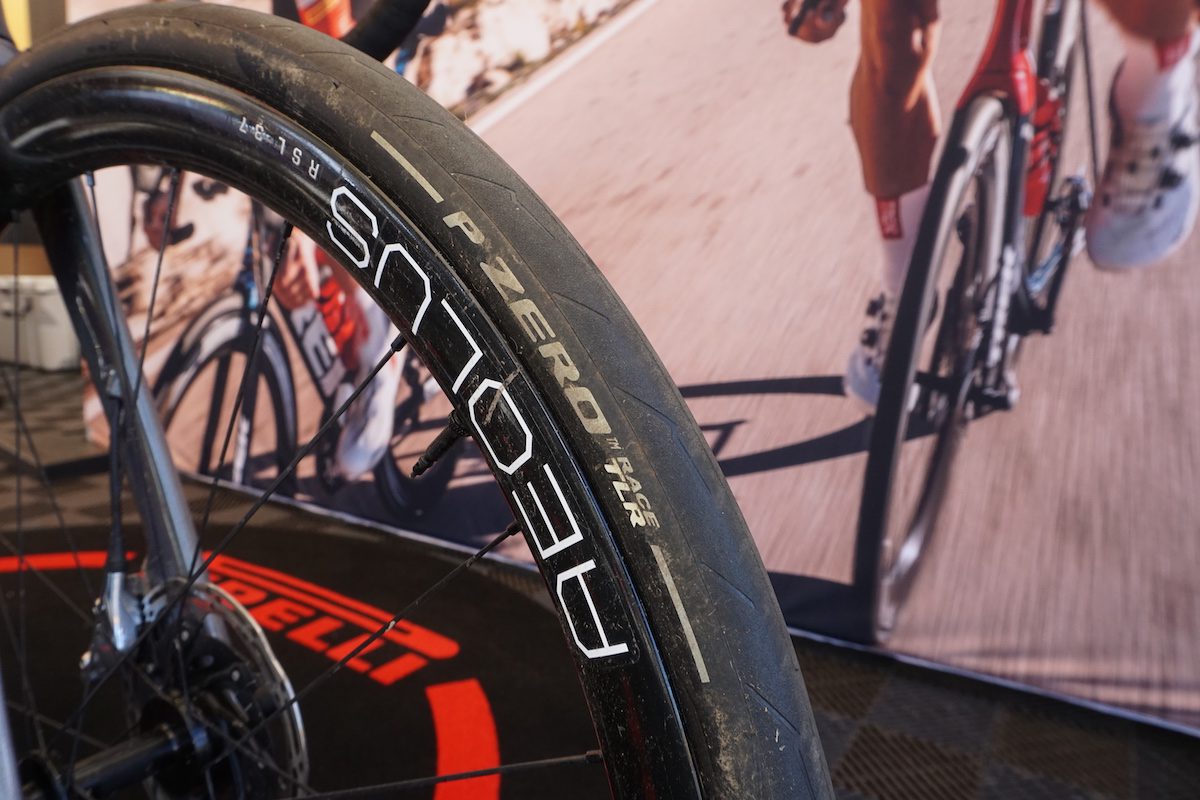
Disc brakes opened up a whole new world of tire sizing for road bikes. No longer restricted to the narrow range of sub-28cc tires, riders are realizing higher-volume tires can actually be more efficient. Rim widths are also changing to match the new tire options. But the new, wider range of road tire and rim widths means not all rims will work with all tires. If your tire is too narrow for your rim, or your rim is too narrow for your tire, the system will not work as planned. In the worst case scenario, this could lead to the tire coming off of the rim while riding.
There aren’t yet universal, hard rules for what tire and rim widths will work together. Right now, you have to check the tire and rim you will be using together to make sure they’ll match. There is usually a range of compatible widths. Just make sure you’re checking internal rim width, not external width.
If you can’t find a hard rule printed on your tire, a good rule of thumb is to make sure the tire width is at least 4mm more than the internal rim width. But, if it doesn’t say a hard range anywhere on packaging, maybe go back to the step above.
Tubeless road: the installation process
Check your rim tape
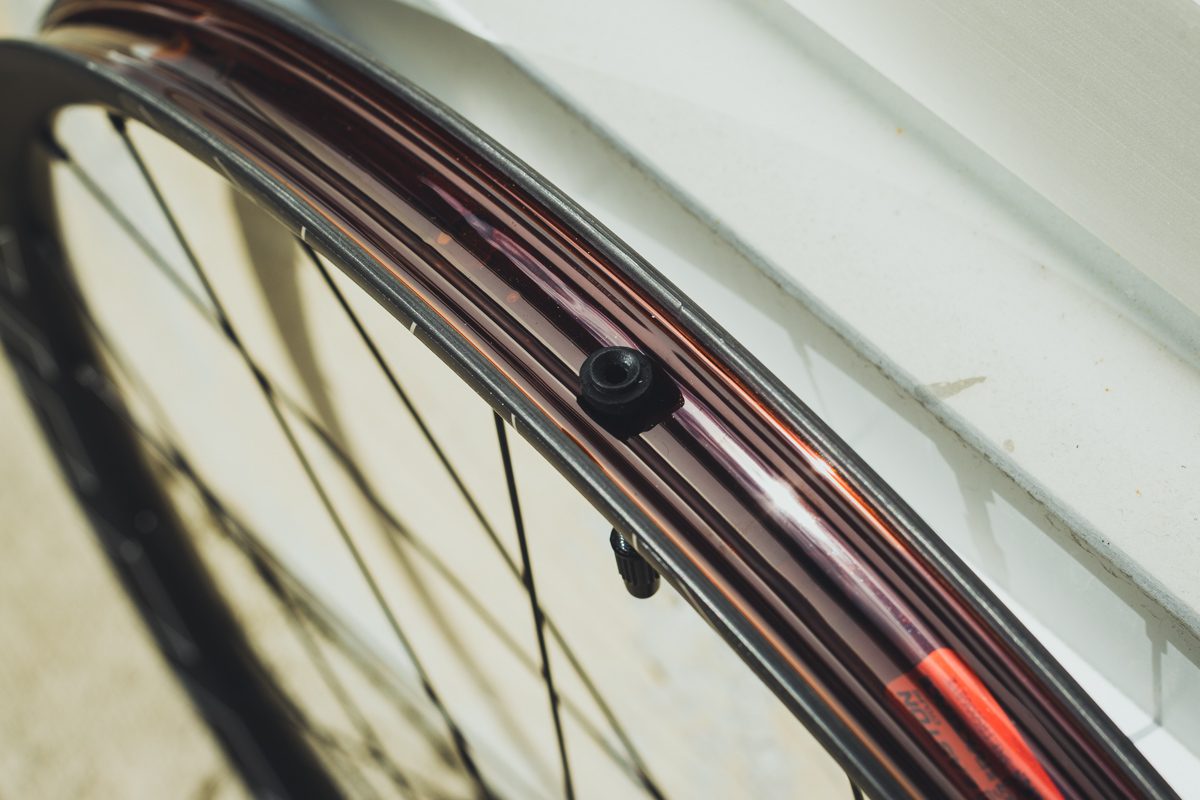
Once you have your tire and rim, the next step is installing and inflating your tire. Before you throw the rubber on the rim, make sure you check your rim tape. Rim tape is essential for creating a well-sealed system that will retain air. Any cracks or peeling of the tape, or tape poorly installed, can make setting up tubeless tires a frustrating or impossible task. Check your rim tape every time you change or install a new tire, too, as removing a tire can sometimes peel back small sections of the tape.
Installing the tire
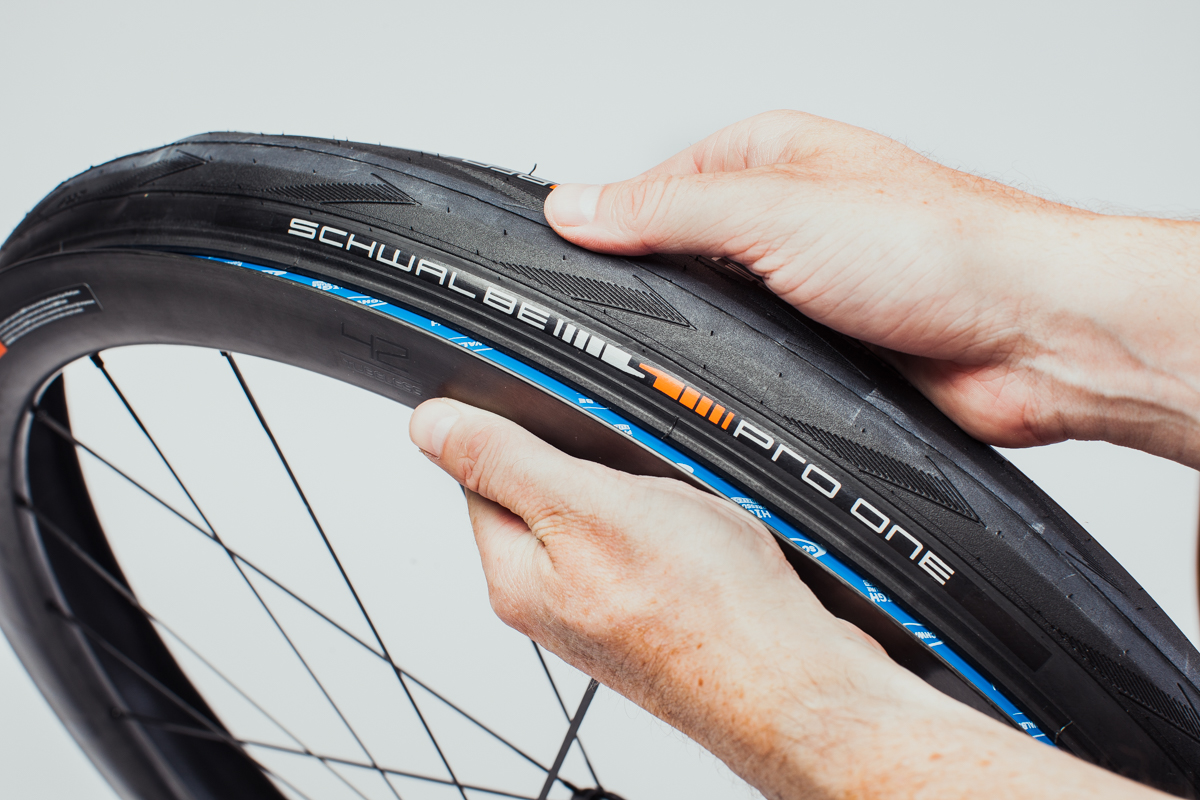
Tubeless tires require tight tolerances to be secure, especially for hookless rims. The downside of that security is that it can require more effort to get the tire onto the rim. Some tubeless rim/tire combos are especially difficult while others are relatively easy. One way to make getting the tire bead over the sidewall easier is to push the tire bead into the centre channel on the rim as you work your way around. It doesn’t seem like much, but that can give you the extra room you need to get that last bit of tire bead onto the rim.
Bonus: Tire Inserts
As tubeless gains ground in road, so are tire inserts. These devices sit in the void between tire and rim. There are numerous different designs for tire inserts offering a variety of overlapping benefits. Most offer some combination of flat protection, rim protection, sidewall support and tire bead support. Not all inserts offer all these advantages, though, so make sure you know what you want when shopping for an insert.
All inserts, though, add an extra step to the install process. They have a reputation for making installing tires more difficult but this, again, isn’t true of all inserts. No matter which one you use, it’ll require a bit of extra manouvering to get in place. Once you have one side of the tire on, you can add in the insert. Don’t be afraid to push it around a little to get the tire bead on. Then check you make sure it’s evenly seated in the rim bed before you fully inflate your tire. Installation is so different for each insert that there aren’t many universal tips, but you’ll likely want at least one set of sturdy tire levers around to smooth out with the process.
Inflating the tire
Some tire/rim combos will inflate easily with a floor pump. Some require a bit more effort. The trickiest tire/rim combos can only be seated for the first time using an air compressor. If you don’t have access to an air compressor, or a high-volume floor pump, there are a few tricks you can try to make setting up tubeless easier.
The first is to use a tube to seat the tire. You have to remove the tubeless air valve to get a tube in, so do this step before you add any sealant to the system. You will have to unseat one side of the tire to get the tube back out, but it’s not a wasted step. Having one side of the tire securely on can help inflate the tire again. And even the side you unseat to get the tube out should be easier to re-seat again.
Make sure the tire is evenly seated
Once you have your tubeless valve back in and have added sealant, it’s time to inflate the tire. As the tire bead begins to seat on the rim, you’ll hear that comforting/surprising “pop” at least once per side, but sometimes more.
Once you think the tire is fully seated, be sure to visually inspect both sides to make sure it is evenly and completely sealed. Some tires have a helpful little guide line or ridge in the rubber to make this easier.
Maintenance and proper pressure
Max tire pressure is lower for hookless rims
Tubeless systems are designed to work using different tire pressures than tube or tubeless systems. Hookless rims use lower pressure again than tubeless tires on hooked rims. Many brands recommend a max pressure of 72.5 psi. Some brands allow higher pressure, but some rims, or some specific rim-tire combinations might have a lower maximum tire pressure. It seems onerous to check all these details, sure. But, until the industry reaches some kind of standardization, it’s better than risking a system failure.
All that said, lower pressures are one of the big selling features of tubeless systems. Lower pressures are more comfortable and, according to several studies, faster rolling. So you might as well experiment with lower pressures. If you’re used to running higher pressures, slowly decrease your tire pressure by 3-5 psi at a time until you find what feels best.
Note: No pump is perfectly accurate. If you’re running close to the max pressure of your wheel/tire system, be sure you’re not unknowingly over-inflating. A digital tire pressure gauge seems unnecessary, but its better than blowing a tire off the rim.
Check your pressure every ride
Every tubeless system will lose a little bit of pressure over time. This is true of road, gravel and mountain bike, hooked and hookless rims. But, with higher pressures and lower tire volumes, the effects of a little bit of air loss can have larger effects.
Check to make sure your tires are still in the psi range you want, ideally every ride. You might not have to add air every time, but its better to know than start you ride too low.
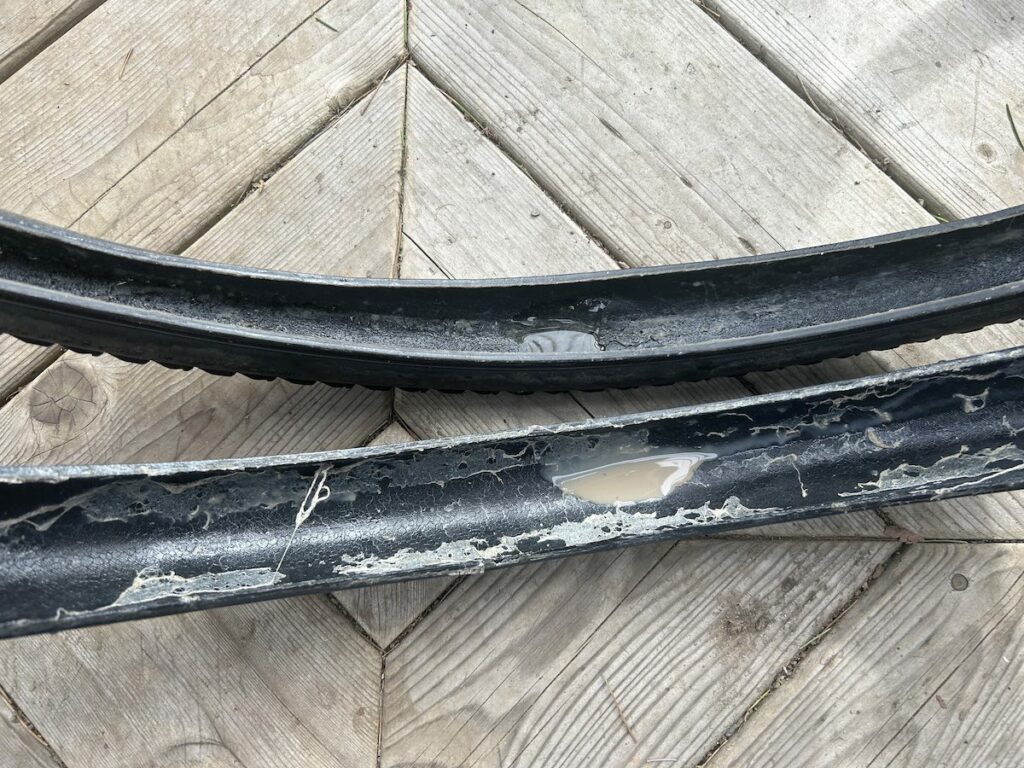
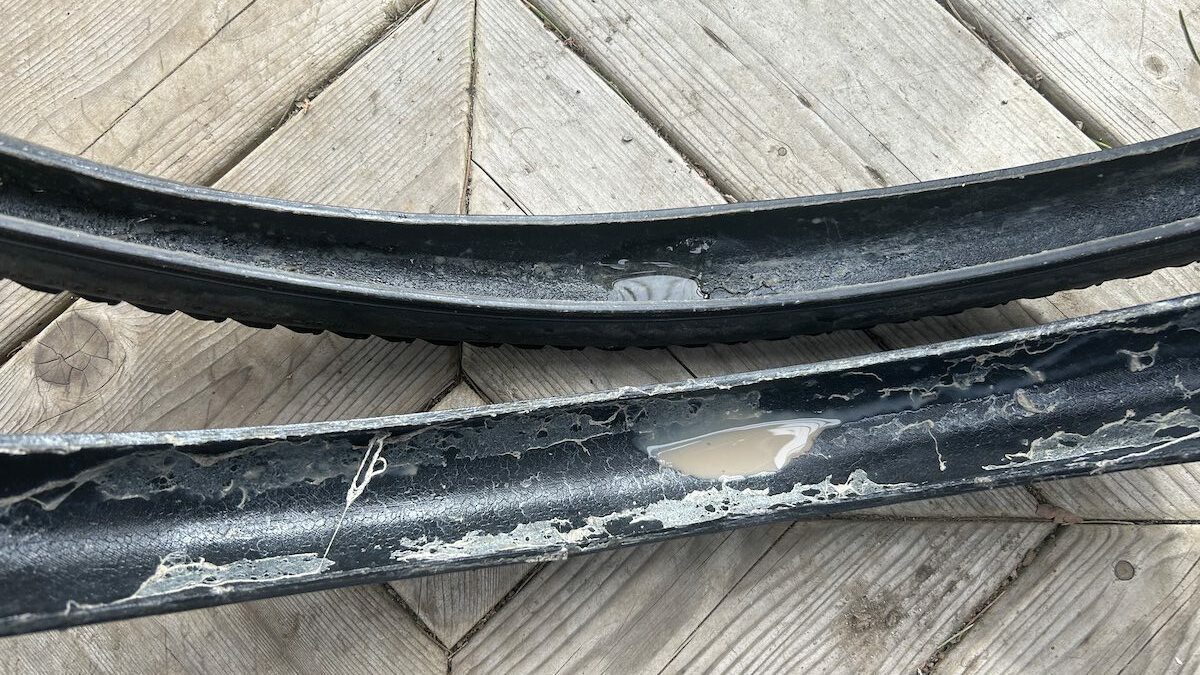
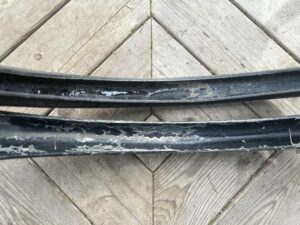
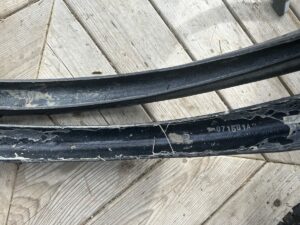
Putting this story together inspired your author to check two of his own (gravel) tires. The one on the bottom had a tiny bit of sealant left ..

...but most of it was dried up.
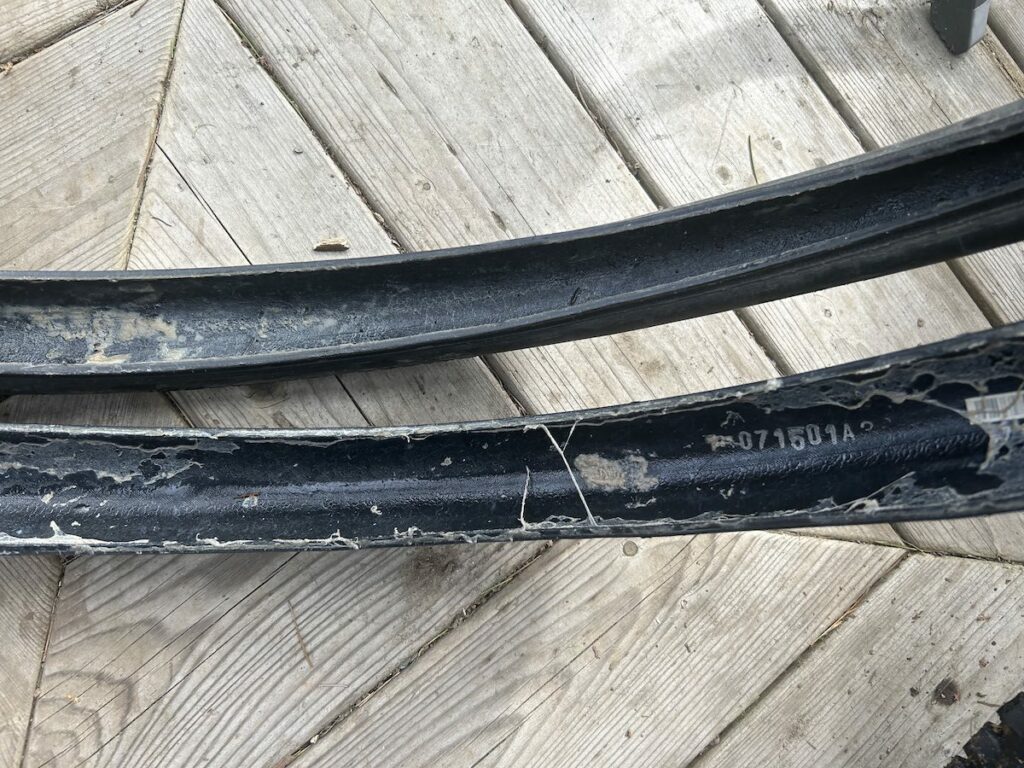
The tire on the top was almost totally dry. Good luck I hadn't flatted recently ...

Sealant doesn’t last forever
Another new element of maintenance that comes with tubeless is maintaining your sealant. Even if you never flat, your tubeless sealant will dry up over time. Any time you change a tire or plug a tire you should check to make sure you’re sealant is fresh and plentiful. Every few months you should check it anyway.
You don’t have to take the tire off to add more sealant, if you’re just topping up every few months. You can remove the valve core on your tubeless valve to add a bit more fluid.