How to adjust your cleats
Set up your shoes and pedals for more power and comfort.
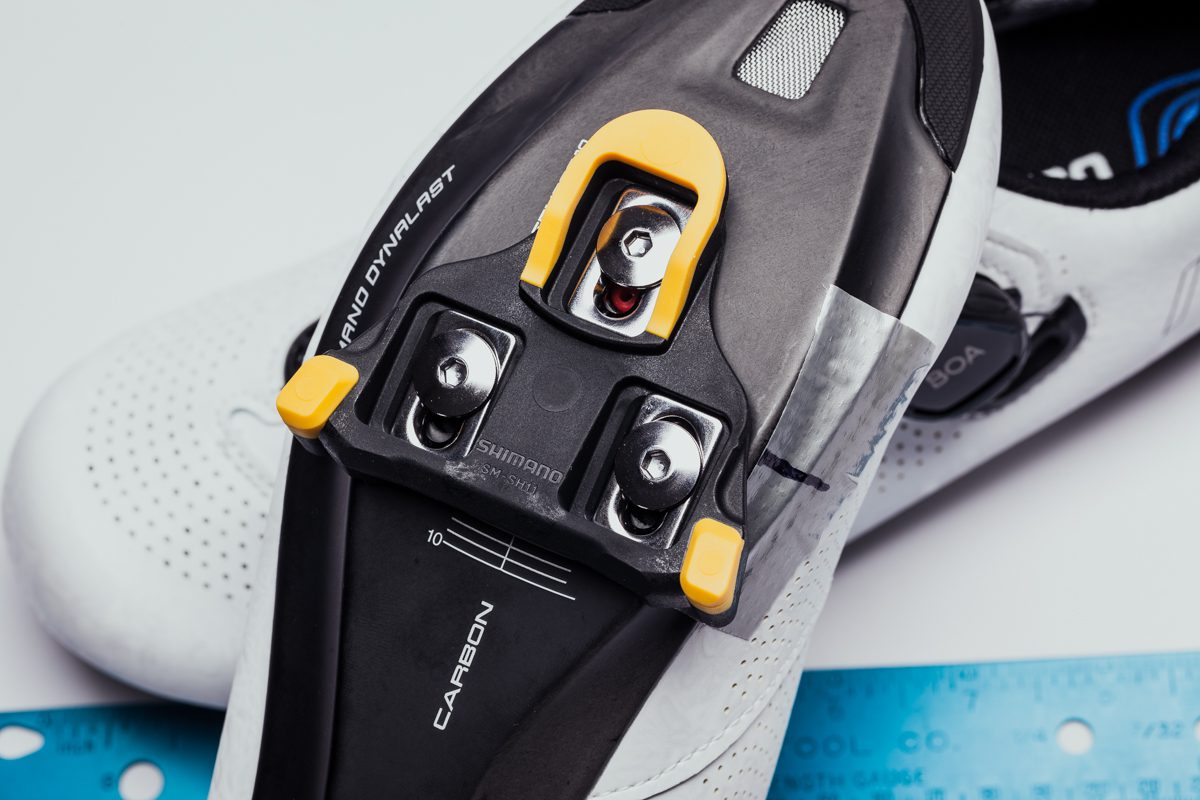
With 26 bones, that’s almost a quarter of the total number in your body, and 33 joints, the foot is a strong but complicated structure. It goes without saying, therefore, that it is an important, arguably the most important, part of any bike fit. As non-symmetrical structures, we have chosen a very symmetrical sport, and run the risk of forcing our bodies into position as a result. Ill-fitting shoes or misaligned cleats can result in all sorts of problems: sore feet and knees, cramp and referred pain into the back, shoulders, neck, and hands are the most common complaints and in some cases may lead to long-term damage. It’s no big surprise, therefore, that cleat placement is significant.
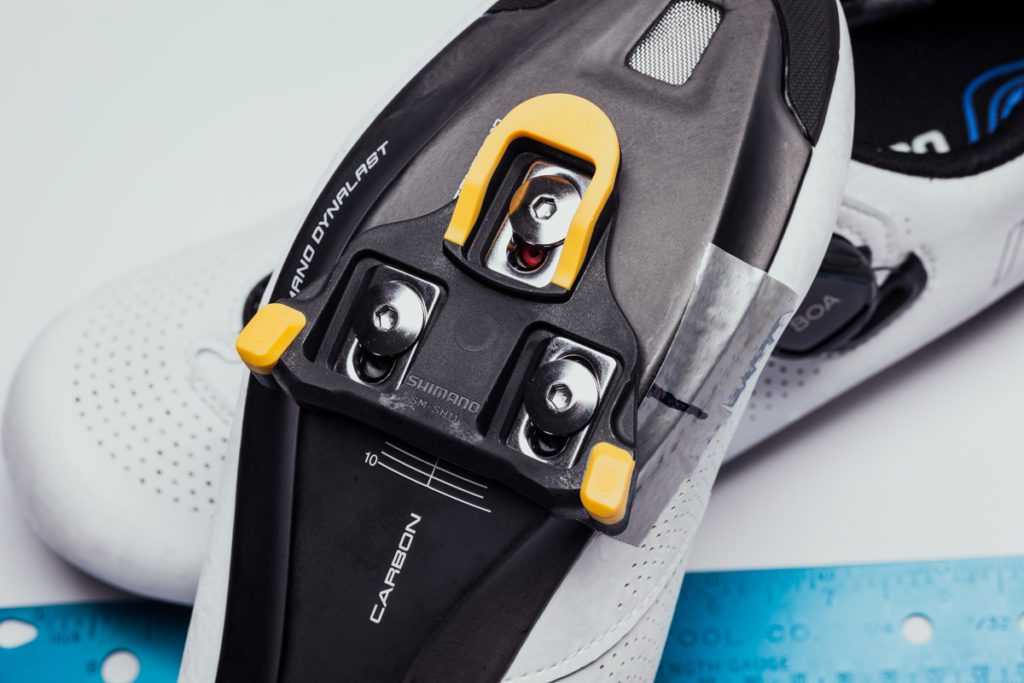 Cleat position can be adjusted on a multi-directional basis; medial and lateral adjustments allow the feet to be positioned closer to or farther from the cranks, fore and aft depends on the length of the foot and the toe length in particular, whilst rotational adjustment compensates for any directional requirement, often associated with turned out/in feet.
The following advice isn’t intended to replace a professional bike fit, quite the contrary. A professional bike fit is highly recommended and should be assessed on a regular basis, as your skills and fitness progress – more on that later. Instead, this article is meant to complement a professional bike fit and provide you with the confidence to make the adjustments you need in between.
Lateral position
The aim of a bike fit is for the cyclist to adopt a neutral position, one that keeps the lower body in alignment and reflects the rider’s normal standing position. Any wider or indeed, narrower, can add unnecessary strain on the hips, knees and ankles, which in turn, will reduce pedal efficiency and associated power transfer. There are a couple of tricks you can use to assess your natural stance off the bike to assume the correct position on the bike.
You can line up the front of the pelvis with your toes but considering that most of us aren’t symmetrical, as mentioned, try marching on the spot in front of a mirror and take a look at where your feet naturally land when you stop. This is your natural stance and should be reflected in your position on the bike.
 Most people have a relatively small stance in comparison to a standard bike frame. With this, you may need to position your cleat toward the outer edge of your shoes to coax your feet closer to the cranks and obtain a more neutral stance. Those with a wider stance will need to do the opposite to ensure their feet and hips are aligned.
Canadian Cycling Magazine tip – As a rule of thumb, when adjusting your cleats, you often need to oppose the opposite force to that which you are trying to achieve. The lower body is essentially a lever system and so, much like backing up a truck, it relies on opposing forces. For example, if you want to take your foot closer to the bike, you move the cleat position farther away. Farther back, move the cleat forward, and so on.
For and Aft
On a similar thread, a neutral foot position (horizontally speaking) minimizes the risk and frequency of cramping whilst encouraging maximum power output. Of course, the saddle position is a likely culprit, but more often than not, any discrepancies are a result of the cleat being positioned too far forward or back.
The cleat position plays an important role with regards to the recruitment of different muscle groups and the resulting pain or numbness at associated touchpoints. Too far forward will overload the lower leg muscles, similar to standing on your toes for a long period, whilst too far back will strain the upper leg muscles. Both scenarios will fatigue the localized areas, often resulting in pain and cramping, and significantly reduce the power transferred during the pedal stroke.
So what can you do?
Stand with your heels backed against a wall and measure from the wall to the ball of your big toe for each foot in turn. (Don’t panic if they aren’t the same length. As mentioned earlier, we are non-symmetrical beings so this is normal.)
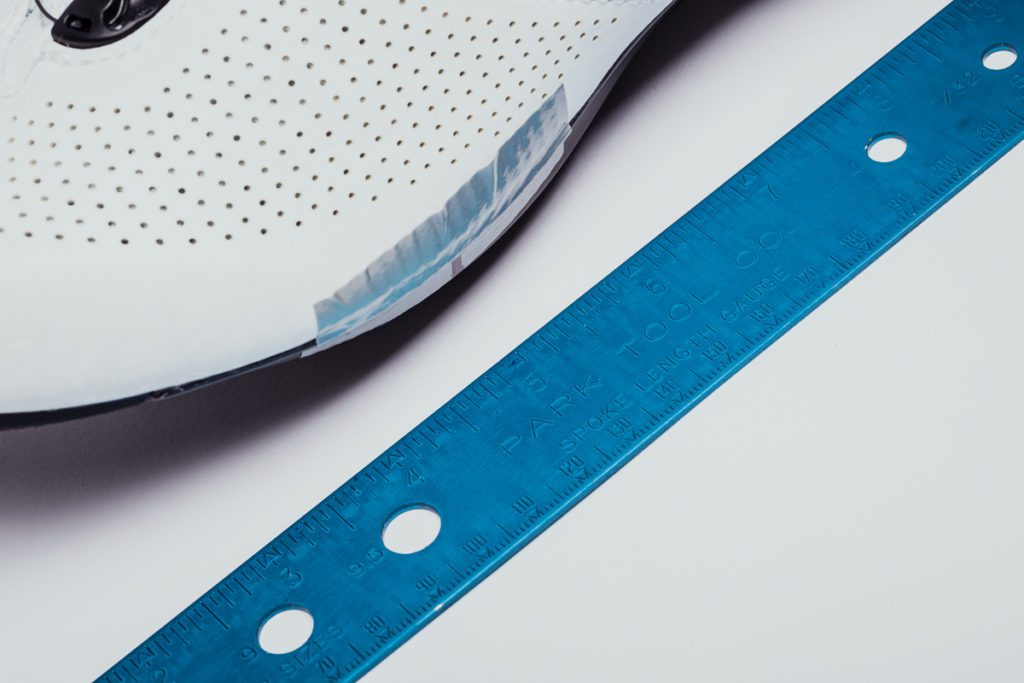
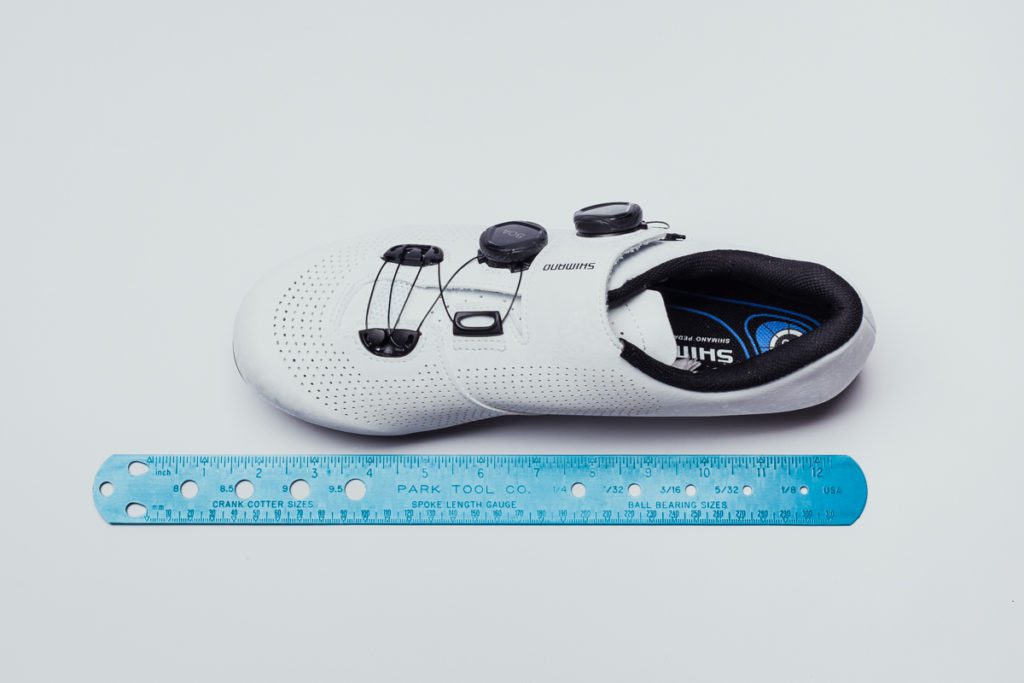 Now position your shoes against the wall in the same way and draw a line on the side of the shoe to reflect the measurement of the corresponding foot, that is, right with right and left with left. Don’t worry about factoring in the width of the back of the shoe (within reason); there are many synovial joints in this particular spot and these may become uncomfortable when pressure is applied so including the width of the shoe will help avoid these pressure points.
Canadian Cycling Magazine tip – apply some masking tape to the side of the shoes before you mark them with your foot measurement, that way you won’t mark your shoes permanently. Take the tape off once the cleats are in place.
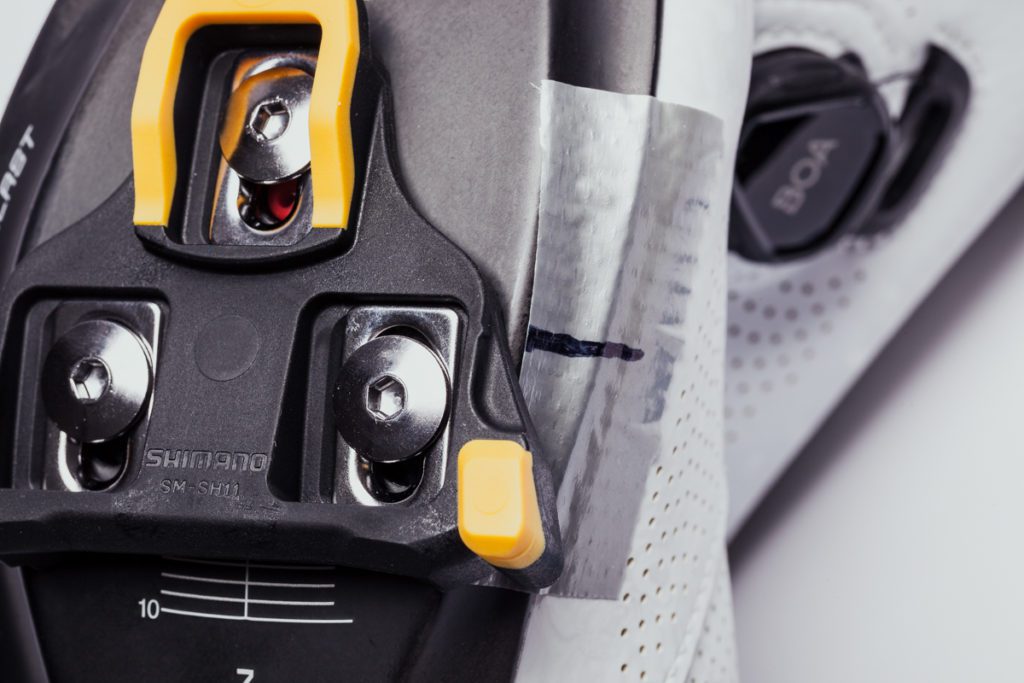 Once you have the line marked on the side of the shoe with the corresponding foot measurement you took earlier, you can line this up with the small indicating line/protrusion on the edge of the cleat in turn. Done correctly, this will make sure the cleat isn’t too far forward or aft.
Rotation
Again, there are a couple of basic tricks you can try at home to indicate that a slight rotation of your cleat in/out could help bring wandering knees or toes back into alignment. You can try sitting on a high platform so that your feet cannot reach the floor and take a look at which direction your feet naturally hang. You can squat with your feet facing forward and your hands above your head to make a note whether your knees favour a particular direction. Then adjust the cleat to accommodate.
Canadian Cycling Magazine tip – small changes lead to big results. When making adjustments, start with tiny increments from the neutral position and take some time to ride following each change to avoid injury.
With each adjustment, set up your bike on a trainer to ride in front of a mirror to check the hip, knee and ankle alignment safely. You can even try closing your eyes as you ride to heighten your sensitivity to how it feels and reduce the influence and associated judgement based on how it looks. Whilst it might feel a little strange to start, it’s important to remember that the aim is for it to feel comfortable, not forced.
Float
The float refers to the side-to-side movement of the foot on the pedal; more float offers increased mobility whilst less float holds the foot in a set position. Shimano, one of the most common pedal systems currently in use, offers three cleats, each with a different level of float. Most systems will offer different cleats for different amounts of float, or allow adjustment of a standardize cleat.
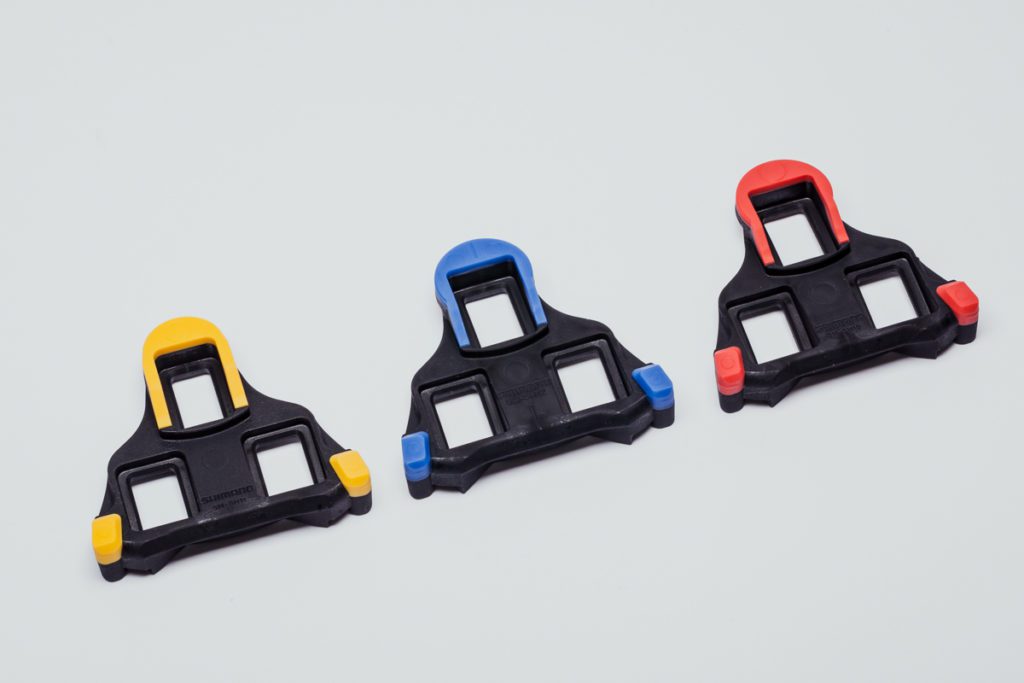
The yellow cleat has 3 mm of lateral float and allows the foot to move more in the pedal in comparison to the 1 mm of lateral float with blue cleat. That’s not the only difference. The yellow cleat provides a central rotation as shown below, whereas the blue cleat adopts a front rotation to enhance the power transfer to the drivetrain while still allowing a level of biomechanical float. The red cleat doesn’t offer any lateral float.
It is a common thought that those who have limited mobility or problems with their knees should increase the float to accommodate, but this isn’t always the case. A limited-float system may, in fact, reduce additional strain on the joints and the associated discomfort by providing greater stability throughout the different stages of the pedal stroke. It is worth mentioning, that given that the foot remains in one position, a limited-float system does require greater accuracy in the setup. A qualified technician with specialty tools and years of training can help eliminate the guesswork: something to consider as the volume and/or intensity of cycling increases.
Wedges and Insoles
Insoles provide another opportunity to reduce the tendency to supinate or over-pronate and offer greater stability to the foot, so provide a better platform to push against during the downward stroke. Many of the latest shoes come with insoles that have swappable wedges to vary the level of arch support. And there are aftermarket options too, of course.
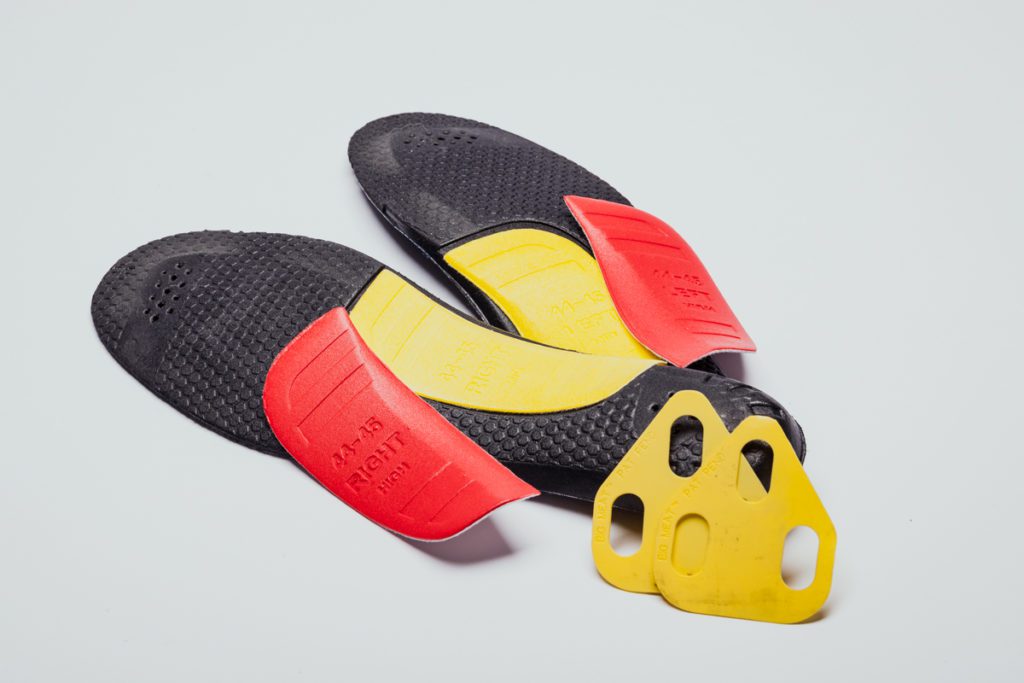
Now, when it comes to wedges and shims, we are entering a whole new realm, and the level of accuracy is essential to maximize the benefits and reduce any risks of fatigue and potentially, long-term damage. At this stage, a professional bike fitter can advise based on your individual needs.
In essence, as you progress as a cyclist, your needs and demands will change to suit and your position on the bike is likely to adapt accordingly. Whilst a professional bike fit is recommended, often the need to make minor adjustments crop up in between—a greater level of fitness and flexibility, new shoes, new saddle and perhaps even injury are just a few examples. So, whether you are a seasoned pro or just getting started with clipless pedals, the guidelines provided should allow you to make these subtle changes to complement a professional fit and improve your overall riding experience.
